54 Free Printable Pantry Labels + Editable Canva Template

If your pantry is hard to keep organized, labels can make the system much easier to follow.
Everyone can see where the pasta goes. Baking supplies have a home. The snack bin stops becoming a mystery pile. And when you are making a grocery list, it is easier to see what you already have.
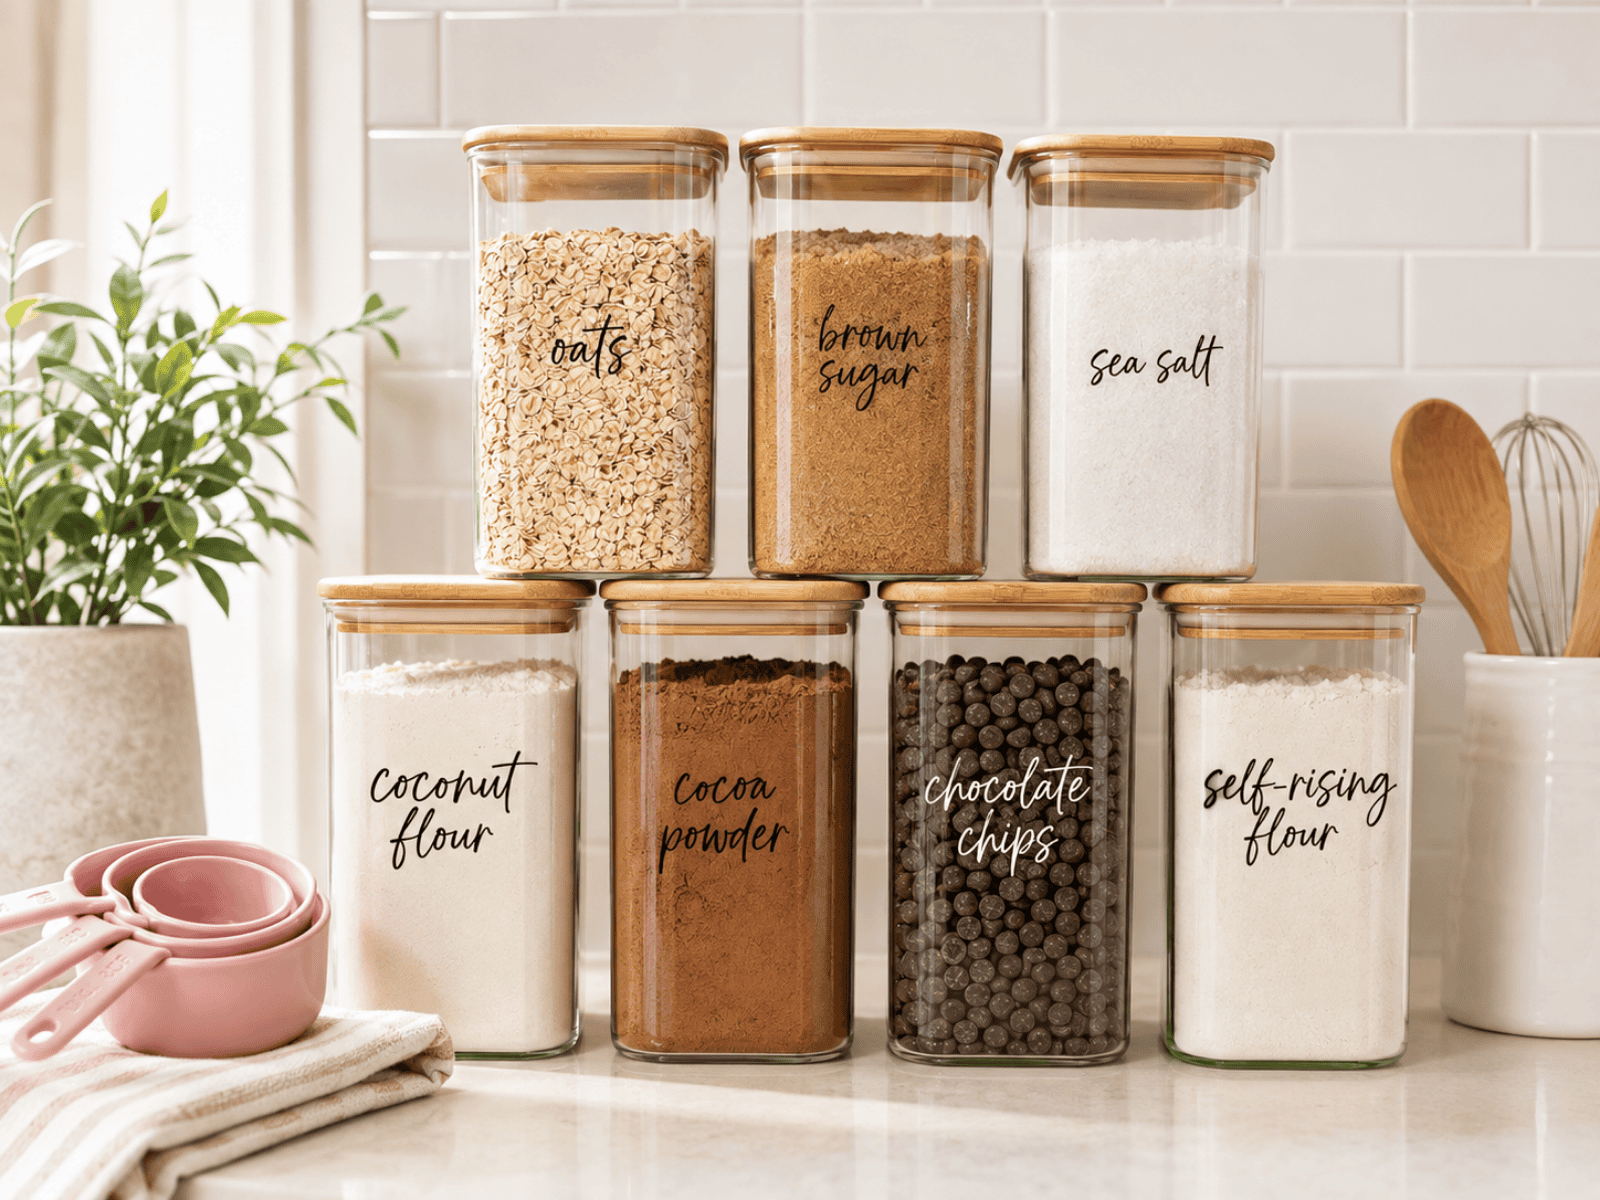
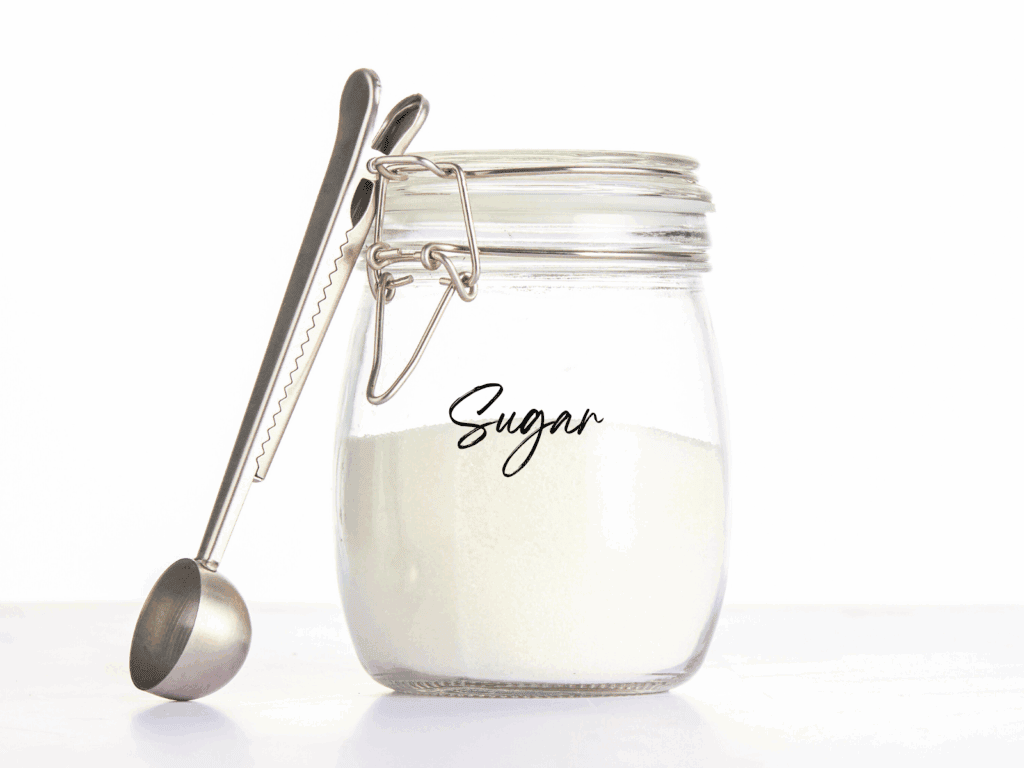
I created this set of 54 free printable pantry labels in a simple black script that works on jars, canisters, bins, baskets, and pantry shelves.
You can download the complete six-page PDF, print only the individual pages you need, or use the editable Canva version to make labels for categories that are specific to your pantry.
Download the Free Printable Pantry Labels
You can use the labels three ways:
Or scroll down to preview and download individual pages if you only need certain labels.
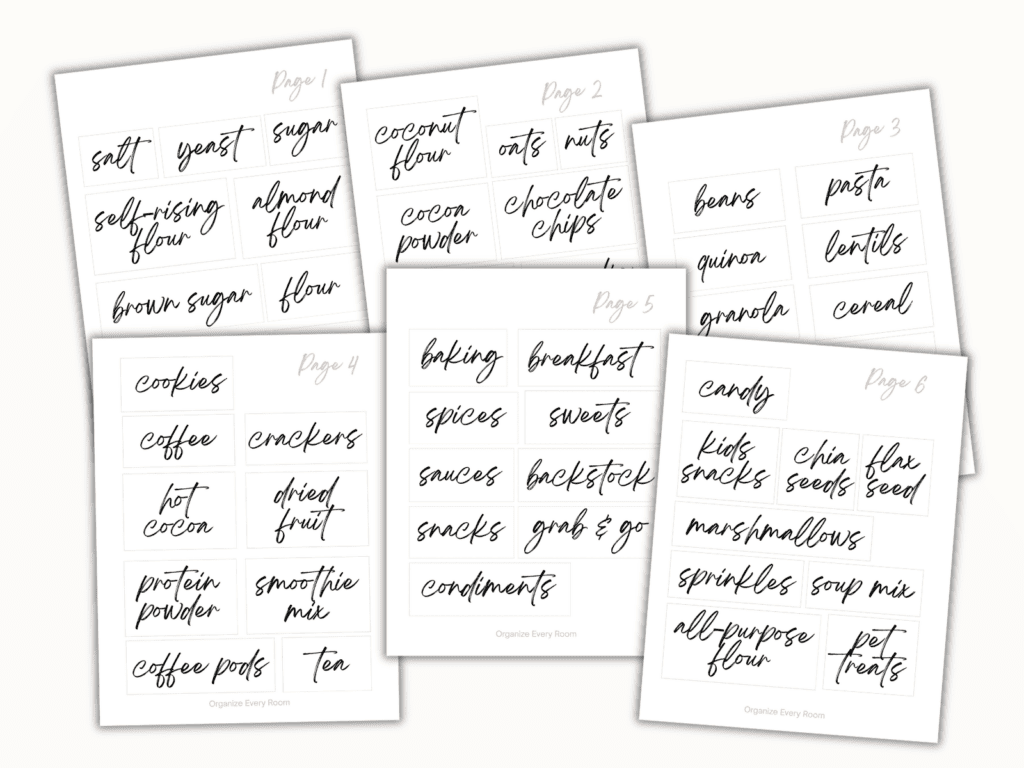
The printable PDF contains 54 pre-filled labels on six US Letter pages. The editable Canva version also includes the option to create your own custom labels.
What’s Included
The complete set includes:
- 54 pre-filled pantry labels
- 6 printable pages
- large black script lettering
- individual page downloads
- one complete 6-page PDF
- an editable Canva version for custom labels
- label sizes that vary to fit the wording
What Size Are the Pantry Labels?
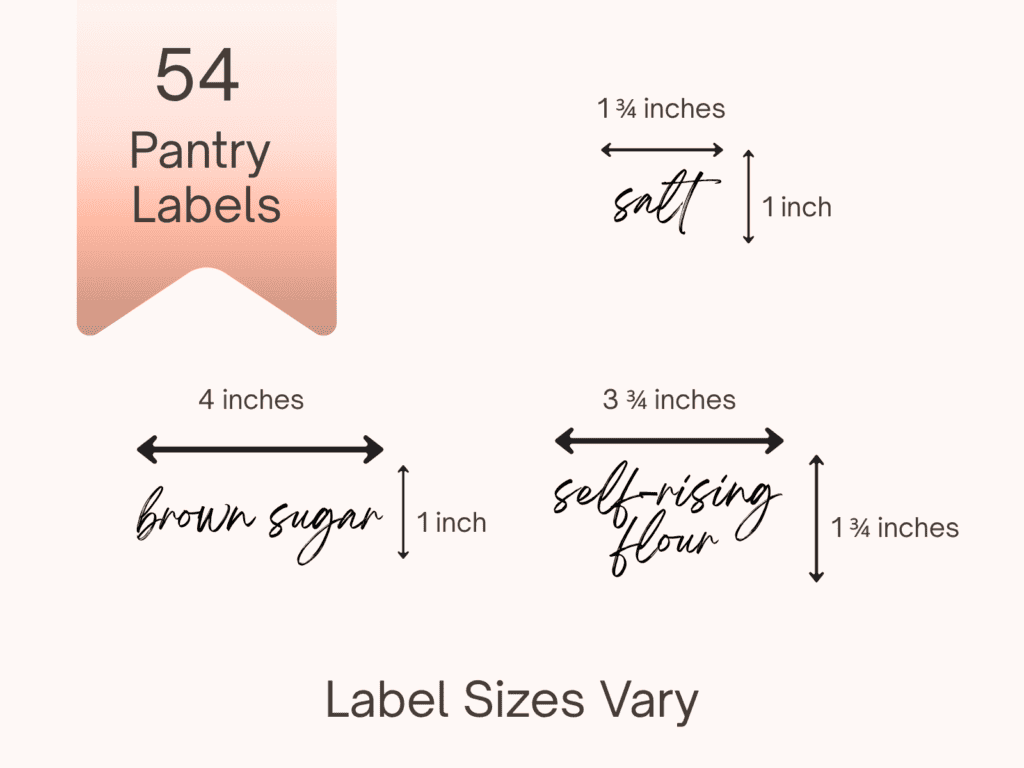
The labels are different sizes depending on the wording. Here are a few examples:
- Salt: approximately 1¾ × 1 inch
- Brown Sugar: approximately 4 × 1 inch
- Self-Rising Flour: approximately 3¾ × 1¾ inches
The printable is formatted for US Letter paper (8.5 × 11 inches).
For the intended label sizes, print at 100% or Actual Size.
Choose the Pantry Label Pages You Need
You do not have to print all 54 labels.
I separated the set into six pages so you can print only the categories that make sense for your pantry.
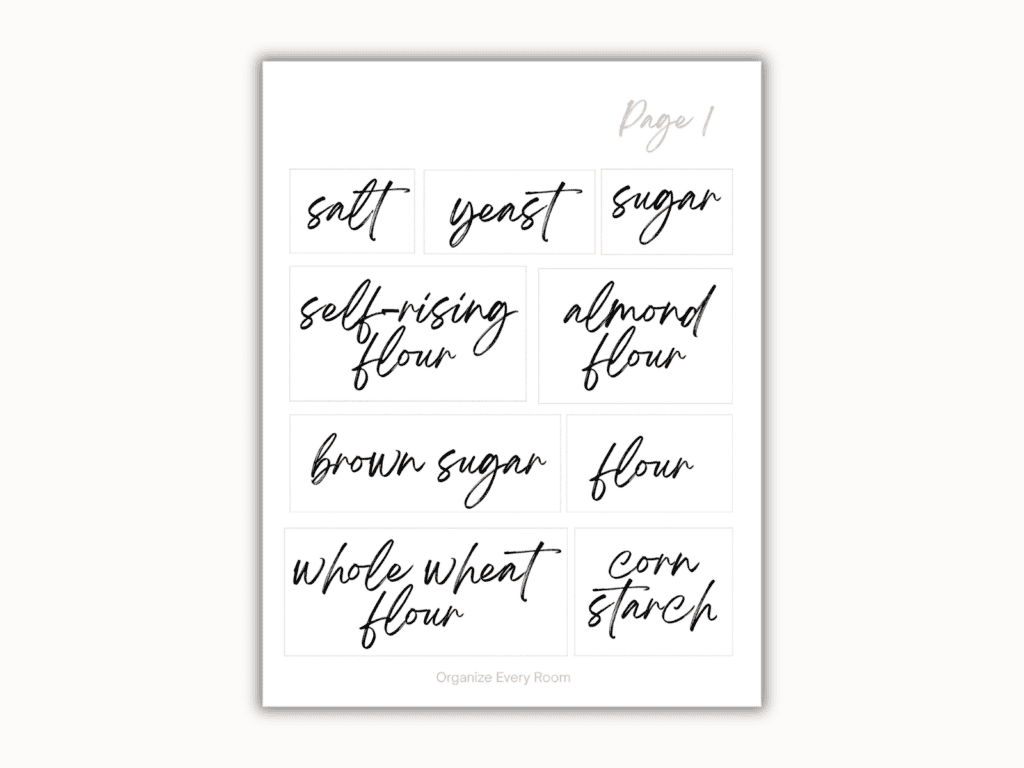
Page 1: Flour, Sugar & Baking Basics
This page includes:
- Salt
- Yeast
- Sugar
- Self-Rising Flour
- Almond Flour
- Brown Sugar
- Flour
- Whole Wheat Flour
- Corn Starch
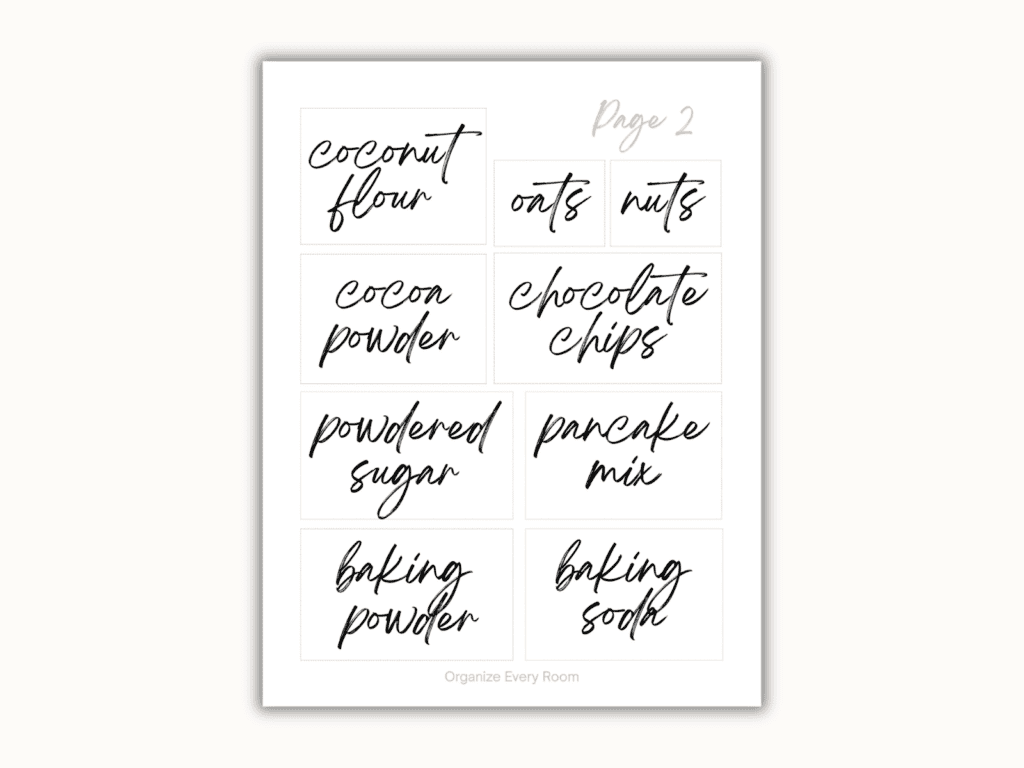
Page 2: Baking Ingredients
This page includes:
- Coconut Flour
- Oats
- Nuts
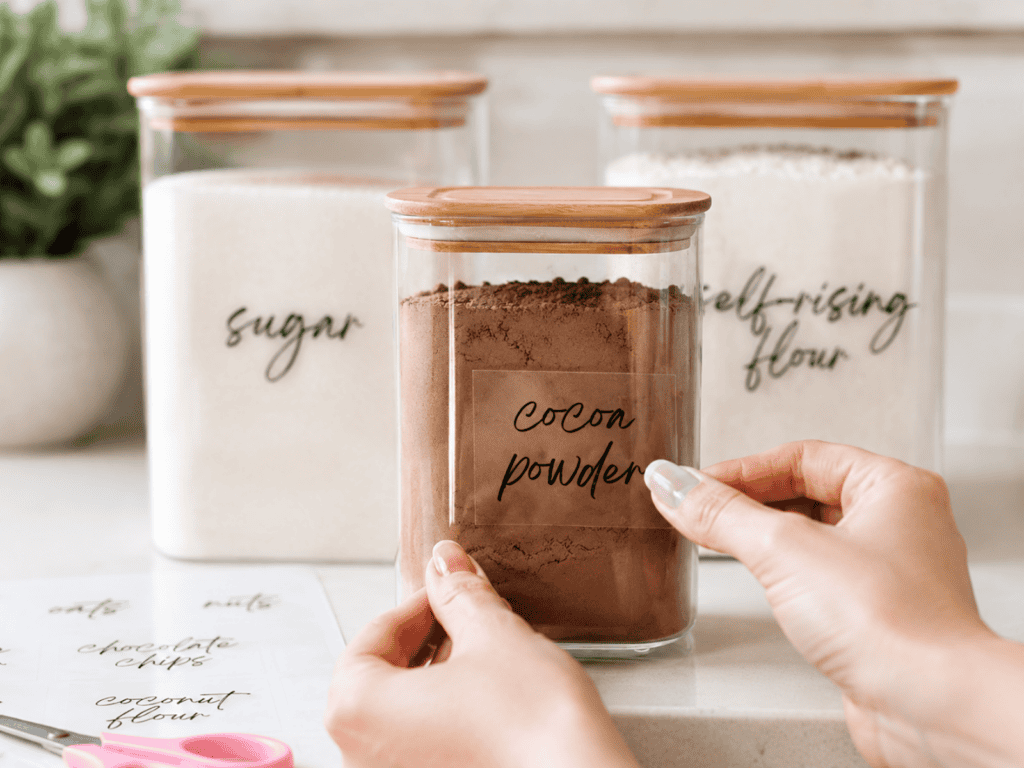
- Cocoa Powder
- Chocolate Chips
- Powdered Sugar
- Pancake Mix
- Baking Powder
- Baking Soda
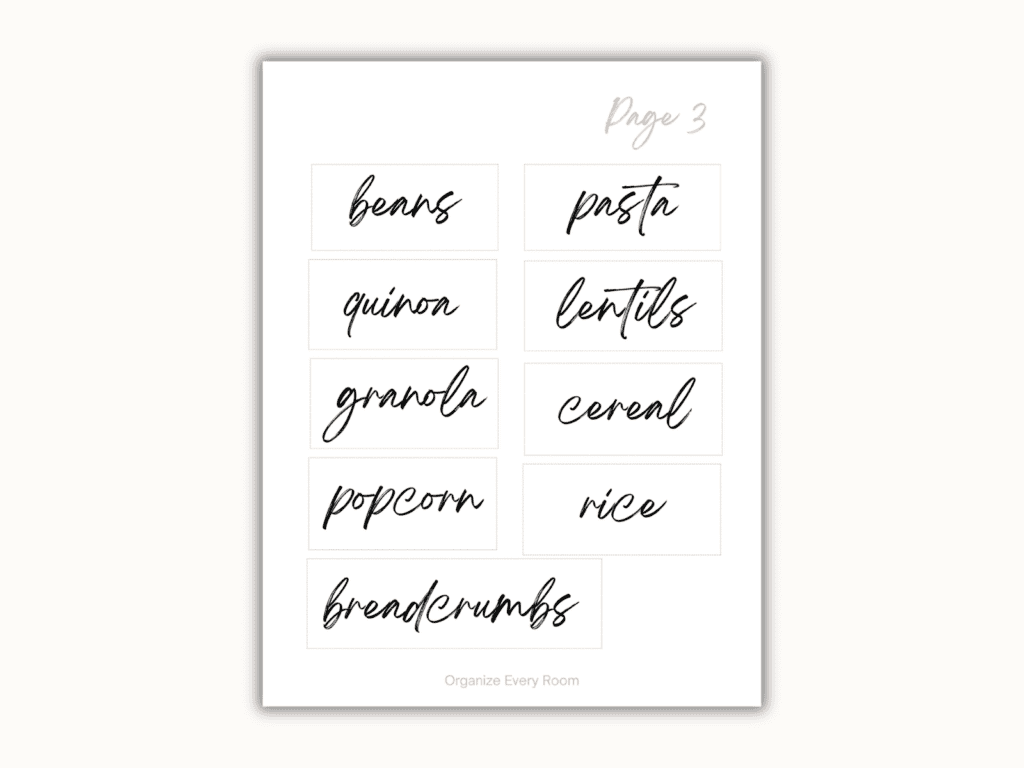
Page 3: Grains & Dry Goods
This page includes:
- Beans
- Pasta
- Quinoa
- Lentils
- Granola
- Cereal
- Popcorn
- Rice
- Breadcrumbs
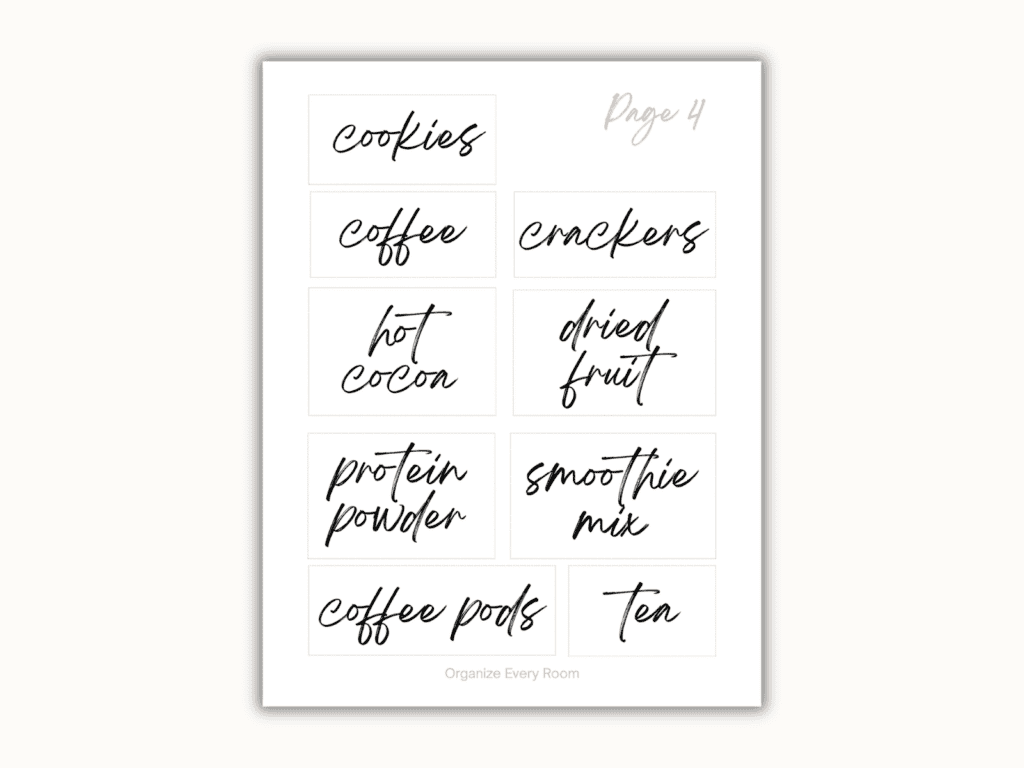
Page 4: Drinks & Snacks
This page includes:
- Cookies
- Coffee
- Crackers
- Hot Cocoa
- Dried Fruit
- Protein Powder
- Smoothie Mix
- Coffee Pods
- Tea
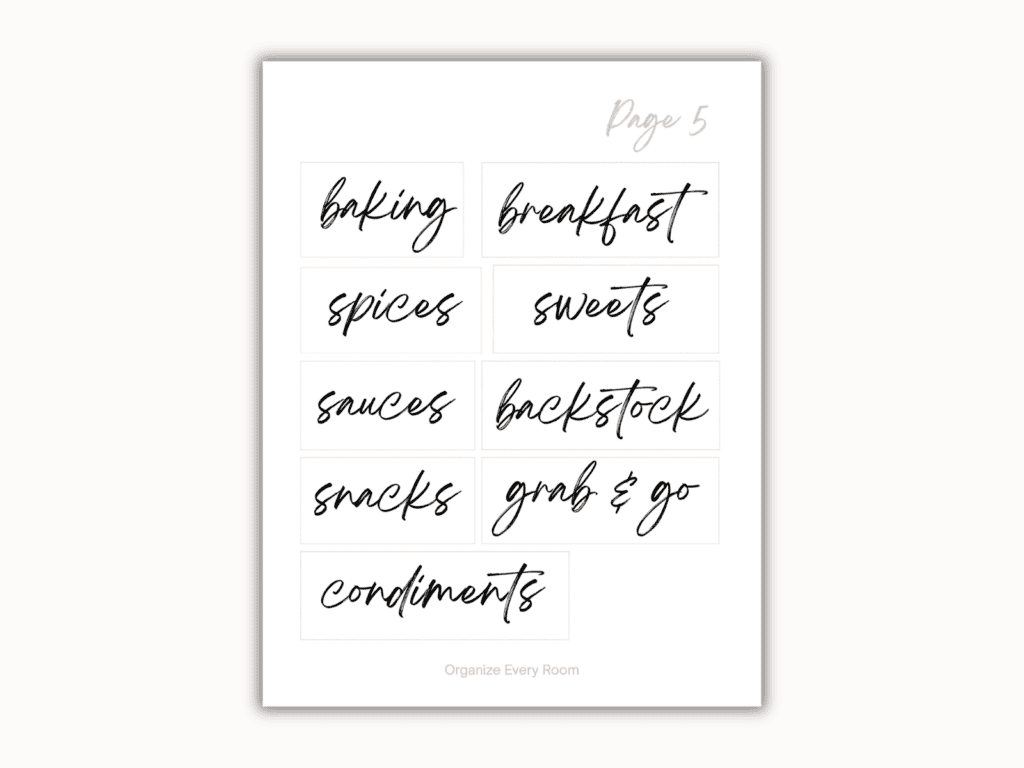
Page 5: Pantry Categories
Sometimes a broad category works better than giving every individual food its own container.
This page includes:
- Baking
- Breakfast
- Spices
- Sweets
- Sauces
- Backstock
- Snacks
- Grab & Go
- Condiments
Page 6: Extra Pantry Labels
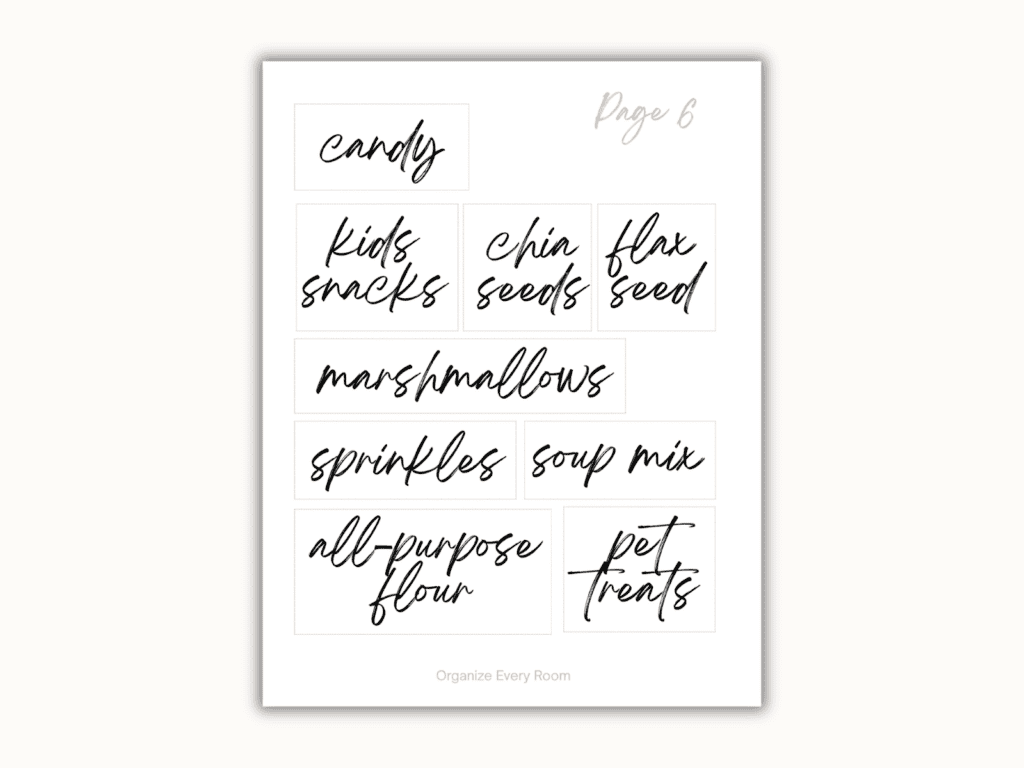
The final page includes:
- Candy
- Kids Snacks
- Chia Seeds
- Flax Seed
- Marshmallows
- Sprinkles
- Soup Mix
- All-Purpose Flour
- Pet Treats
Need a Pantry Label That Isn’t Included?
No two pantries are exactly the same.
You may need labels for gluten-free flour, coffee creamer, lunch supplies, cereal bars, baking extras, refills, or something I would never think to include in a standard set.
That is why I also made an editable Canva version.
You can change the wording or create new labels that match the rest of the set.
If you have never made labels in Canva before, my guide on how to design and print custom labels in Canva walks you through the process.
If you like this handwritten look but would rather skip the printer altogether, you may also like my tutorial on how to make labels like The Home Edit with just a Sharpie.
Declutter Before You Start Labeling
Before you print a label for everything in your pantry, spend a few minutes clearing out what does not need to stay.
Labels make a good pantry system easier to follow. They cannot fix expired food, duplicate boxes, or ingredients nobody in the house is going to eat.
You do not need to empty the entire pantry. Start with one shelf, one bin, or one category and remove:
- expired food
- stale snacks
- empty packaging
- food your household no longer eats
- duplicates you are unlikely to use
- containers without matching lids
- packaging that takes up more room than necessary
Then decide what actually needs a label.
If your pantry needs more than a quick reset, my guide on how to organize your pantry walks through the whole process.
You can also use my list of 121 things to declutter in your kitchen if you want help spotting what can go before you organize.
How to Print Your Pantry Labels
You can print these labels at home or have them printed at a local print shop.
The pages are formatted for 8.5 × 11-inch US Letter paper. Print at 100% or Actual Size if you want the labels to stay at their intended dimensions.
The best paper depends on how you want to use them.
This post contains affiliate links. As an Amazon Associate I earn from qualifying purchases.
Print on Clear Sticker Paper
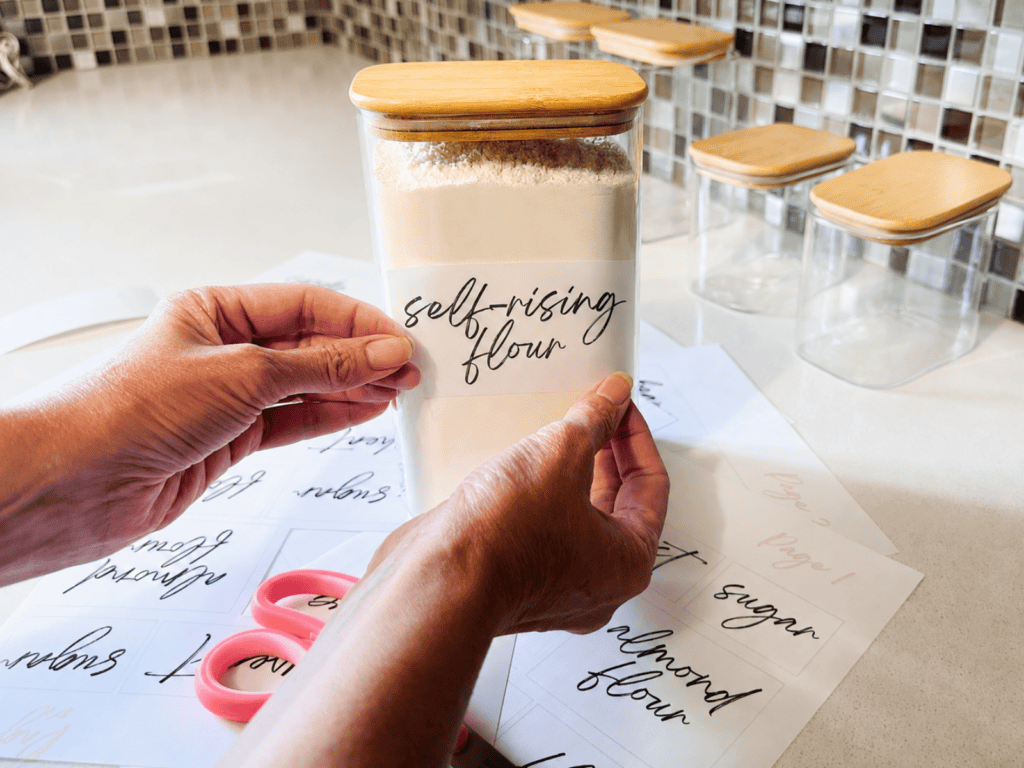
For the labels shown in my photos, I used clear printable sticker paper. I like the way the clear background lets the black script stand out without covering up the container underneath.
See the clear printable sticker paper I used
The sticker sheets are 8.5 × 11 inches, so they work with the US Letter version of the printable. Before printing, check that the sticker paper you choose is compatible with your printer.
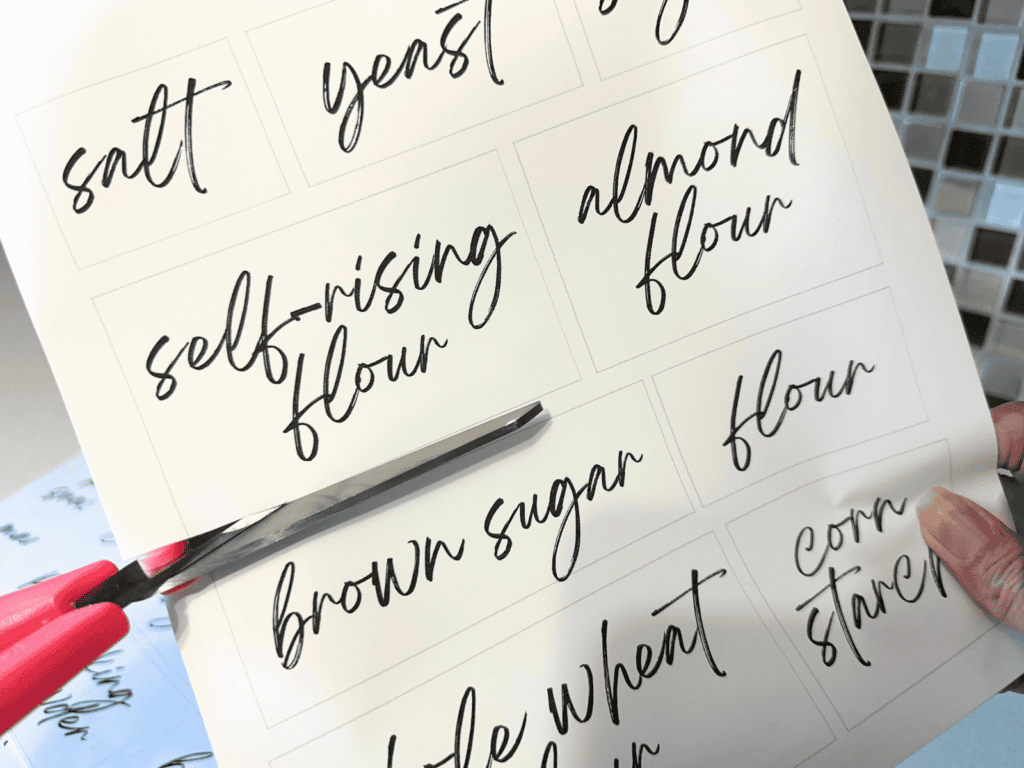
Once printed:
- Let the ink dry completely.
- Cut each label around the dotted guideline or closely around the wording.
- Wipe the container clean and let it dry.
- Peel off the backing.
- Smooth the label onto the container.
Print on White Sticker Paper
White full-sheet sticker paper is another good option.
It gives each label a solid white background, which can be helpful on dark containers or containers filled with food that makes black lettering harder to see.
Print on Cardstock
Cardstock works well if you want to label baskets or bins without permanently attaching a sticker.
Cut out the labels and attach them with:
- clips
- ribbon or twine
- removable adhesive
- label holders
I usually prefer this approach for woven baskets because stickers do not always stay attached well to textured surfaces.
Print on Regular Printer Paper
Regular printer paper is completely fine if you want to use what you already have. Attach the labels with clear tape, double-sided tape, or removable adhesive.
This is also an inexpensive way to test your pantry categories before using sticker paper.
Have Them Printed at a Local Print Shop
If your home printer does not handle sticker paper well, you can take or send the pages you want to a local print shop.
Ask them to print the file on 8.5 × 11-inch US Letter paper at actual size.
The Pantry Containers I Used in These Photos
You do not need new containers to use these labels. I always recommend using what you already have when it works for your space.
I prefer glass containers for my pantry, and this set from Amazon is the perfect size for my cabinets. I like how they look with these labels.
See the glass pantry containers I used
I like the combination of clear glass and simple labels because you can immediately see both what is inside and where it belongs.
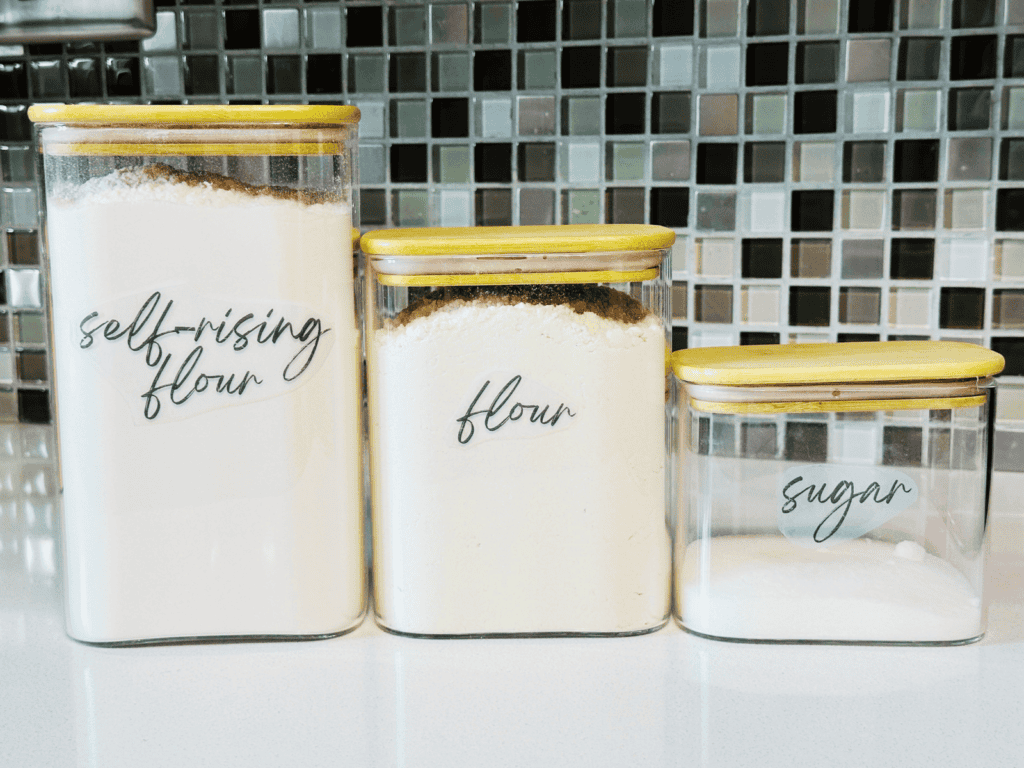
If you are buying containers for your own pantry, measure your shelves first. Check the height, width, and depth before ordering anything, especially if you are trying to fit several containers side by side.
You Don’t Need Matching Containers to Use Pantry Labels
Even though I used matching glass containers in some of these photos, your pantry does not need to look like that.
You do not have to transfer every ingredient into an identical jar. In real homes, that can create more work than it solves.
Use jars and canisters for foods you genuinely prefer to decant. Use bins for categories that change frequently. Leave food in the original packaging when that is the easiest system to maintain.
Pantry labels can work on:
- jars
- canisters
- baskets
- bins
- shelves
- containers you already own
The point is not to make every shelf look identical. The point is to make it obvious where things belong.
Use Specific Labels for Foods You Decant
Specific labels make the most sense for ingredients that consistently live in the same container.
Examples include:
- flour
- sugar
- rice
- oats
- pasta
- coffee
- baking soda
- chocolate chips
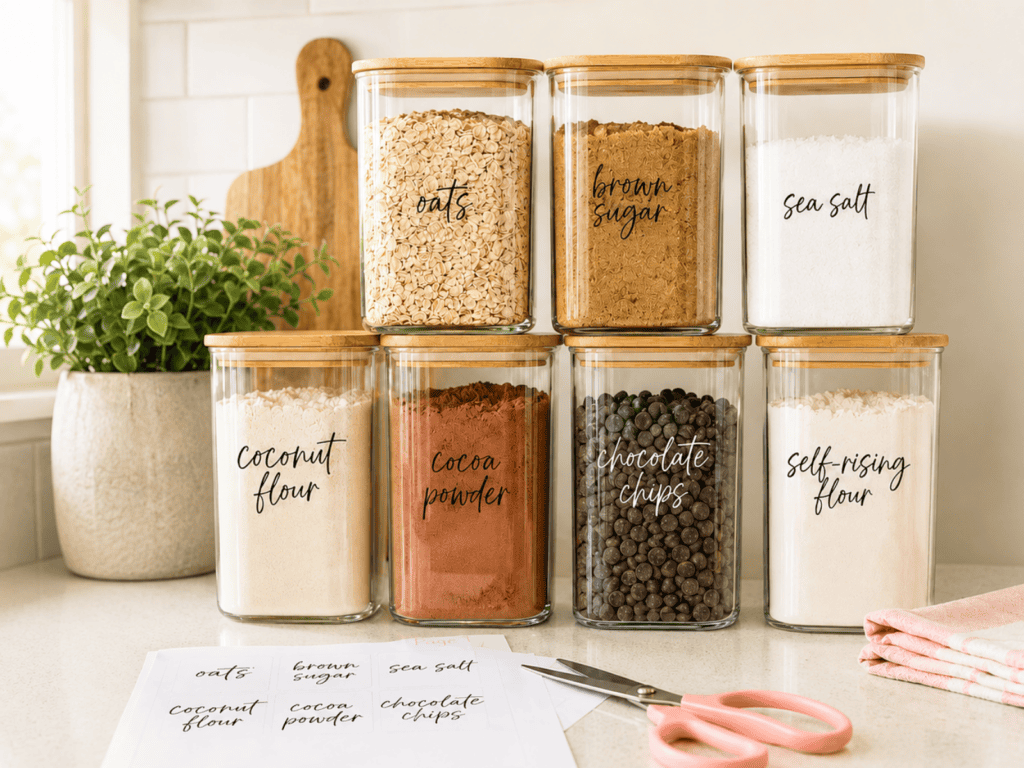
Clear containers make it easy to see how much is left, but the label keeps you from guessing when two ingredients look similar.
Use Broad Categories for Foods That Change
This is one of the things I have found makes pantry systems much easier to maintain.
Not everything needs its own container.
If the snacks you buy change every week, a bin labeled Snacks may work much better than separate containers for crackers, granola bars, pretzels, and fruit snacks.
The same idea works with labels such as:
- Breakfast
- Baking
- Sweets
- Backstock
- Grab & Go
A broad category gives the system room to change when your grocery list changes.
Give Backstock Its Own Place
Backstock is the extra food you have not opened or started using yet.
When those extras are spread across several pantry shelves, it becomes surprisingly easy to forget what you already have and buy another one.
Give extras a defined shelf, basket, or bin and label it Backstock. Then check that area before you make your grocery list.
It is a simple system, but it can prevent unopened extras from spreading through the entire pantry.
Pantry Label Mistakes to Avoid
Labels should make your pantry easier to use, not create another complicated organizing project.
Labeling Before You Know What You’re Keeping
Declutter first. Label second.
Otherwise, you may spend time creating homes for food and containers that did not need to stay in the pantry in the first place.
Making Every Category Too Specific
A very detailed pantry can look organized on the first day and become frustrating a week later.
If everyone has to stop and think about exactly which tiny category something belongs in every time groceries are put away, the system may be too complicated.
Start broader.
You can always make a category more specific later if you need to.
Choosing Looks Over Readability
A label is only useful if someone can quickly tell what it says. Make sure the lettering is easy to read and place the label where people naturally look for it.
This matters even more in a pantry shared by several people.
Buying Containers Before You Measure
Do not buy an entire set of pantry jars and baskets just because they look good together.
First decide what you are keeping. Then measure your shelf height, width, and depth.
Use containers you already own when they solve the problem. If you still need storage, you will know exactly what size and type you are looking for.
If you are working with limited storage, my guide to organizing a small kitchen has more ideas for using the space you already have.
How I Use Labels in Real Pantries
In my own pantry and in client pantries, the labels that work best are not necessarily the ones that make everything look the most coordinated.
They are the ones that make the system easy to understand.
A useful label is:
- easy to read
- placed where people naturally look
- specific when it needs to be
- broad when the contents change often
- easy for everyone in the household to understand
If a bin always ends up holding crackers, granola bars, popcorn, and whatever other snacks came home that week, Snacks is probably the right label.
If you bake frequently and keep several types of flour in separate containers, individual flour labels probably make more sense.
The best pantry system is not the one with the most labels. It is the one people can keep using after the organizing project is over.
Download Your Free Pantry Labels
You do not need to reorganize your entire pantry before you use these labels.
Start with one shelf or one category.
Print the pages you need, label the containers or bins that would benefit from a clearer home, and adjust the system as you go.
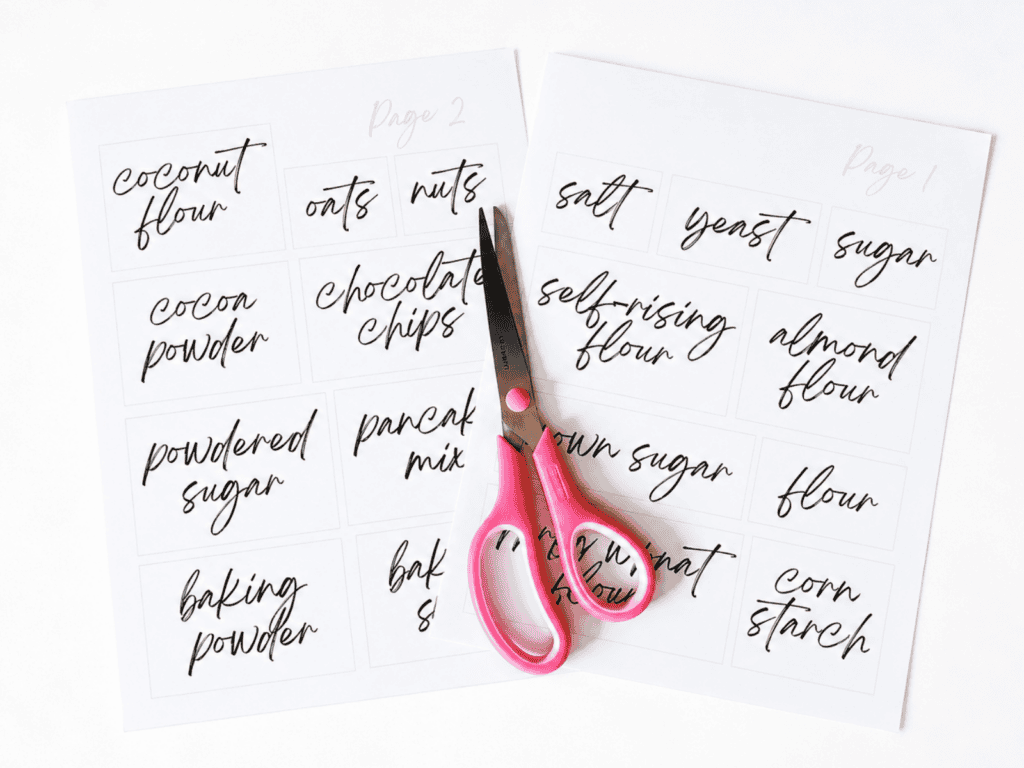
Or use the individual page downloads above if you only need certain categories.
A useful pantry does not have to be perfect. It just needs to make everyday life a little easier.
Need Smaller Pantry Labels?
If these labels are larger than you need, I also have my original set of smaller Minimalist Script pantry labels.
They can be useful on smaller jars, narrow containers, or anywhere you want a more compact rectangular label.
Prefer a Botanical Style?
If you like a little more color, my original Botanical Green Pantry Labels are still available too.