How To Make Labels Like The Home Edit (With Just a Sharpie!)
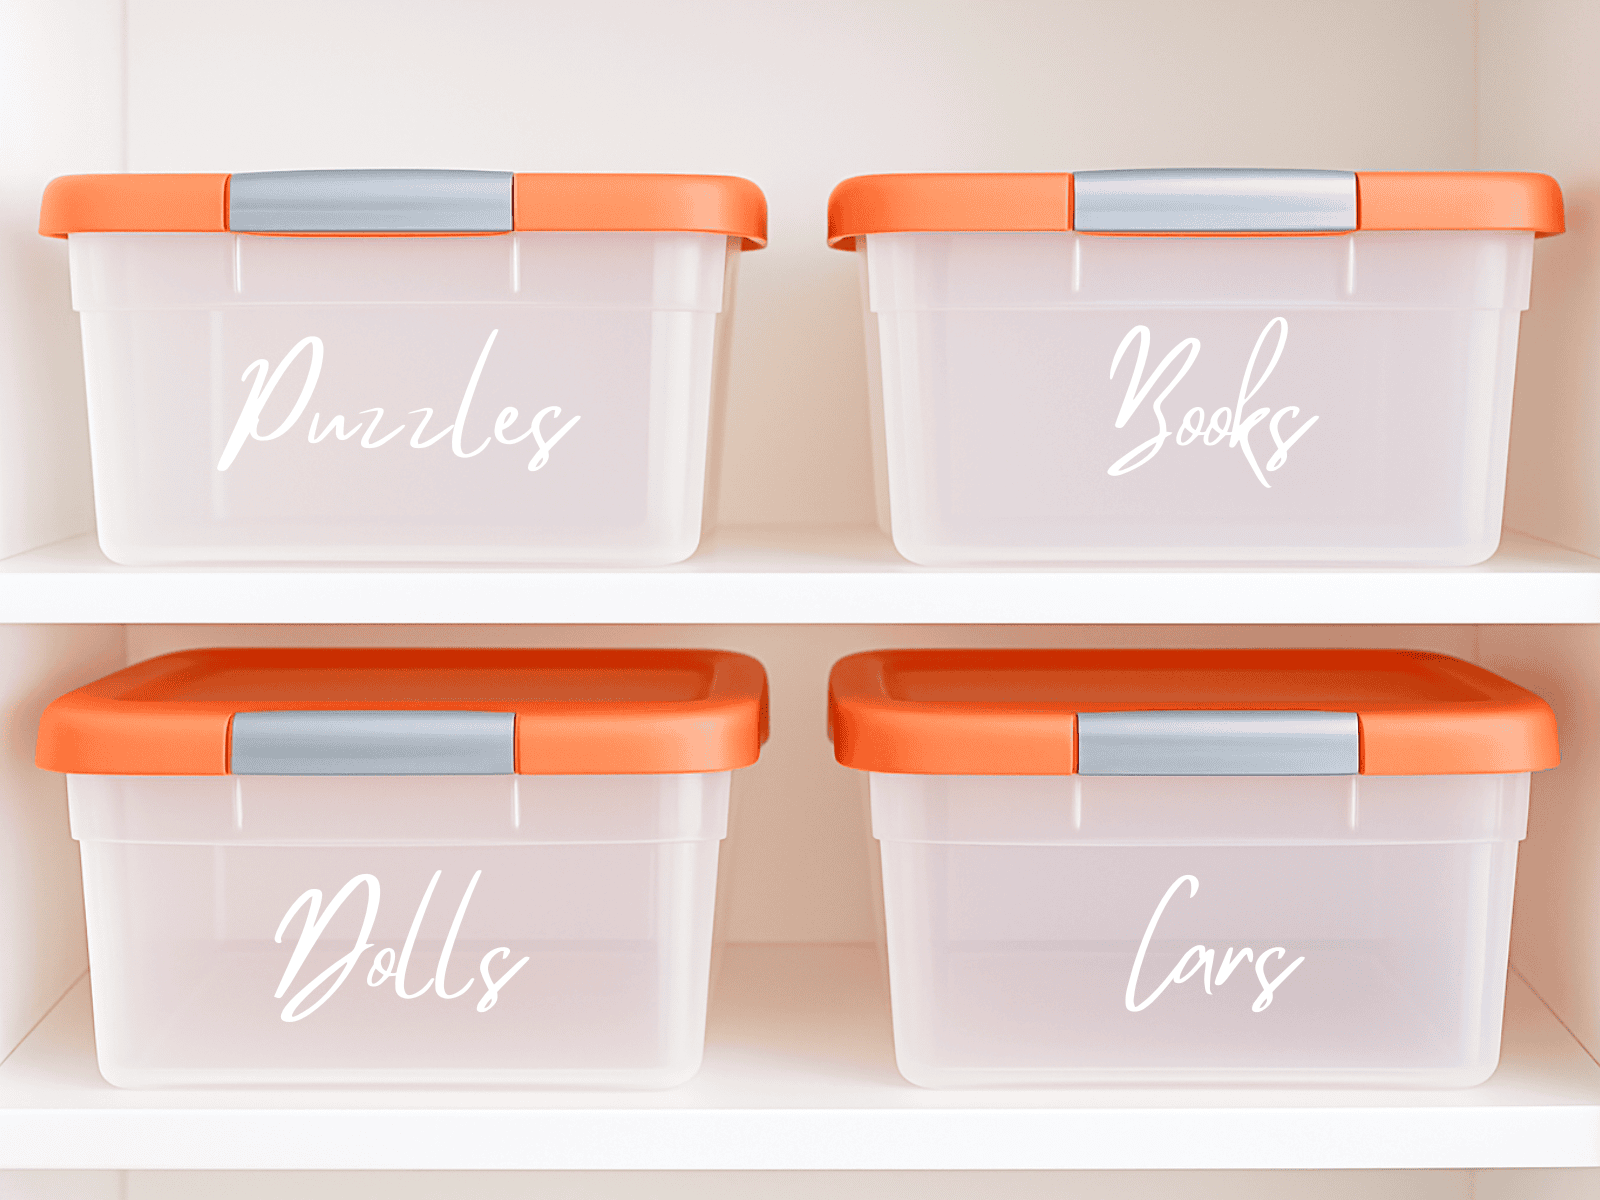
There’s something instantly satisfying about The Home Edit style—those perfectly arranged bins, rainbow-sorted snacks, and of course, their signature clear labels. They somehow look both effortless and ultra-polished at the same time.
You might think you need a Cricut machine or a fancy vinyl cutter to get that look. But I’m here to show you that you don’t. All you need is a Sharpie, some clear bins, a printer, and a clever little tracing trick.
This is the same technique I’ve used for years—long before I ever opened Canva or designed my printable labels (though I love those too—you can grab my free printable pantry labels here or learn how to design custom labels in Canva).
If you’re after that clean, handwritten Home Edit vibe, this post is for you. Let’s do it!
Why I Still Love the Sharpie Method
I’ve created tons of digital labels (and even offer free Canva templates and printables), but sometimes, you want something fast, fun, and low-pressure. This method strikes the perfect balance between DIY and designer.
Here’s why I keep coming back to it:
What You’ll Need
To get started, you only need a few basics:
Optional but helpful:
Step-by-Step: How To Trace Labels Like The Home Edit
1. Choose or Create Your Label Template
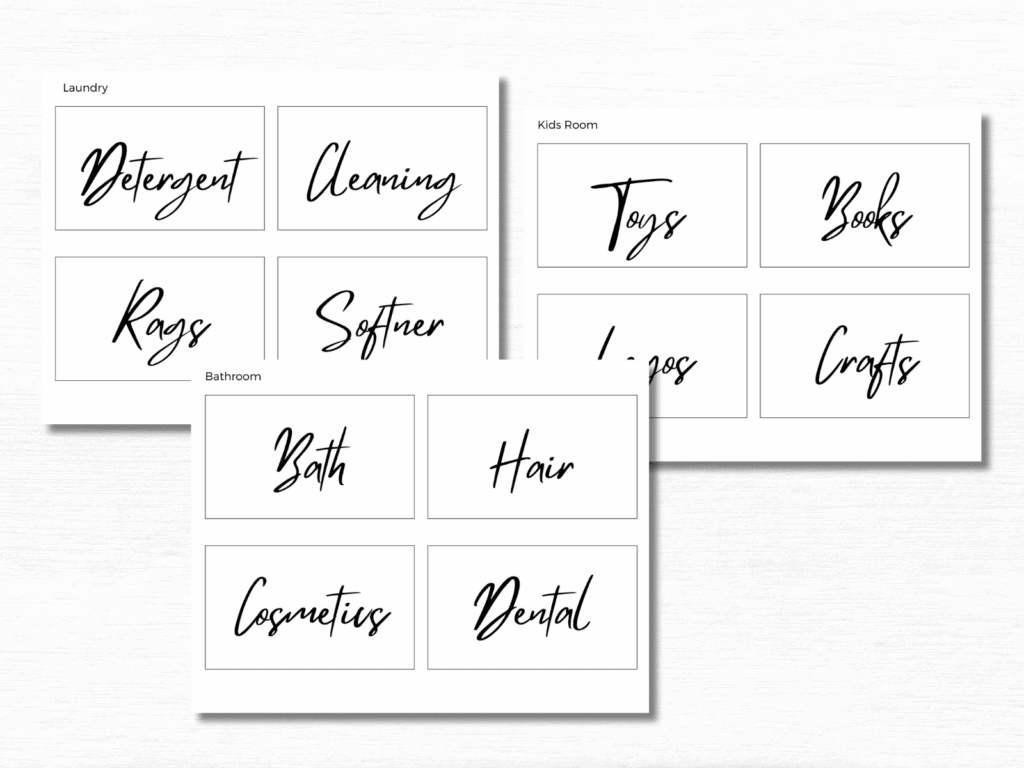
The Home Edit style often features clean, modern script fonts with a playful touch—think Playlist Script, Brusher, Twister, Brittany, Pacifico, Breathing or Mistrully. You can create your own label template in Canva, Word, or Google Docs.
Or save yourself time and download my free editable sheet here:
What Size Should the Labels Be?
When tracing onto bins, a font size between 65 and 85 pt works well. It’s big enough to be legible from a distance but not so large that it overwhelms the bin.
As a general guide:
- Short words (like Snacks, Toys, Flour): 85–100 pt
- Longer words (like Cleaning Supplies): 65–75 pt
- Keep text width between 3–5 inches so it centers well on medium bins.
What Words Should I Use in the Template?
Start with your most-used categories. Here are some go-to words that match the clean, minimal style The Home Edit often uses:
Pantry:
Bathroom:
Kids’ Room:
Laundry:
Miscellaneous:
💡 Pro Tip: Keep each label to 1–2 words max. That keeps it bold, clear, and true to the Home Edit aesthetic.
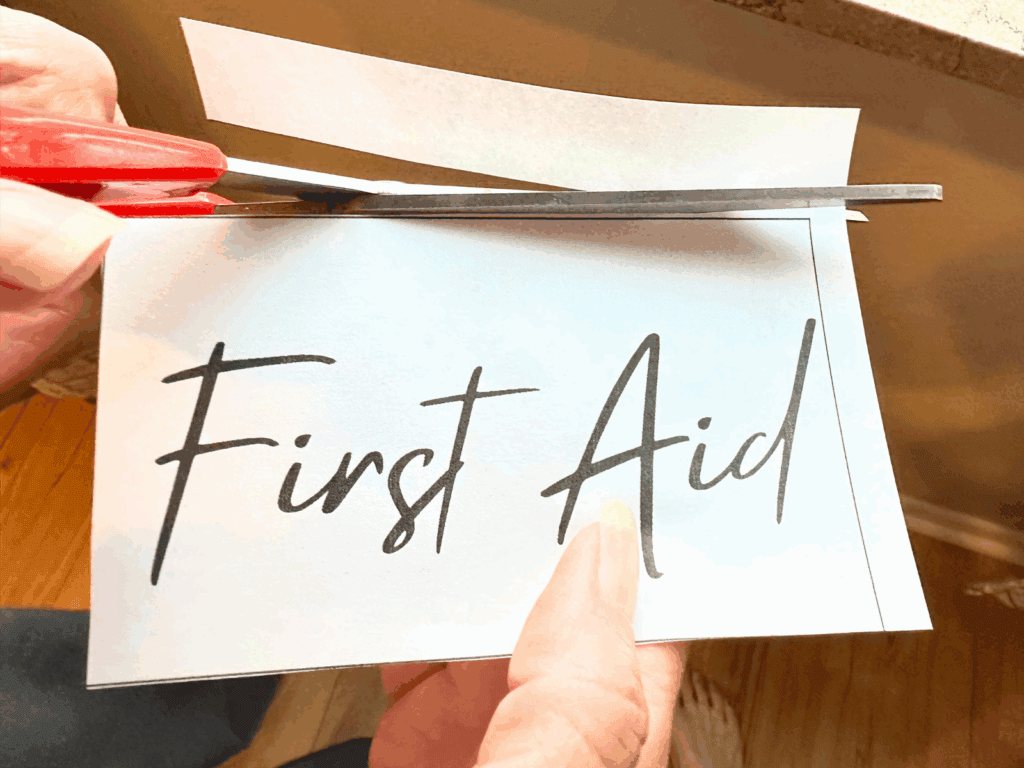
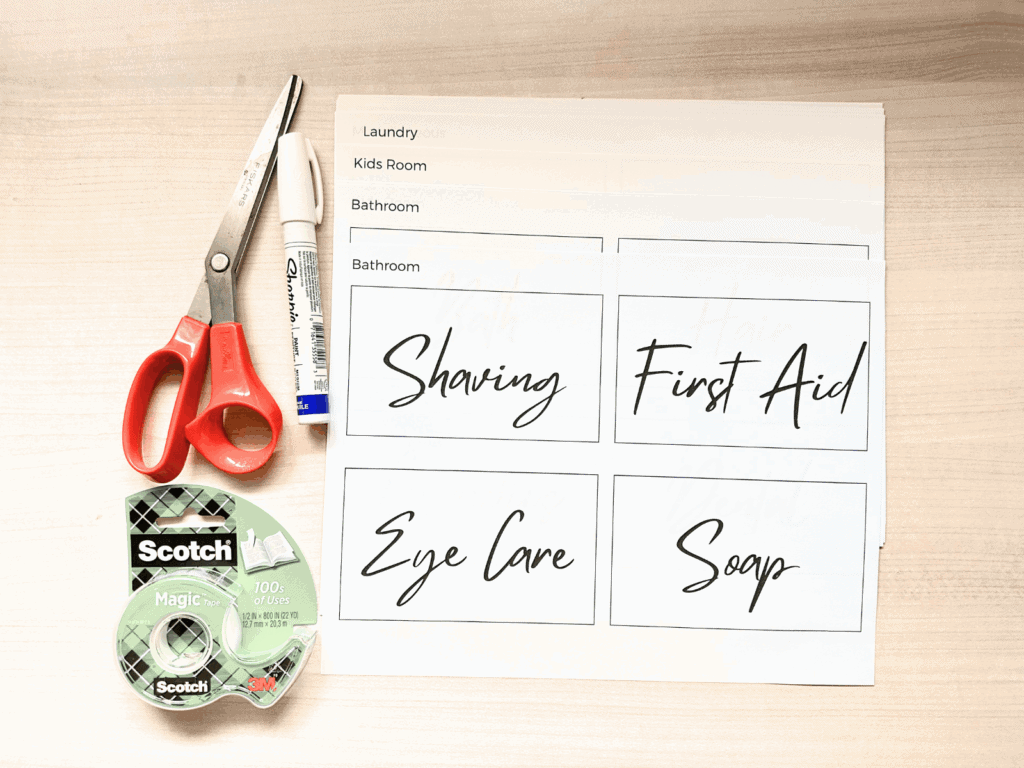
2. Print and Cut Your Words
Once you’ve typed and printed your label names, cut them down so they’ll fit neatly inside each bin or jar.
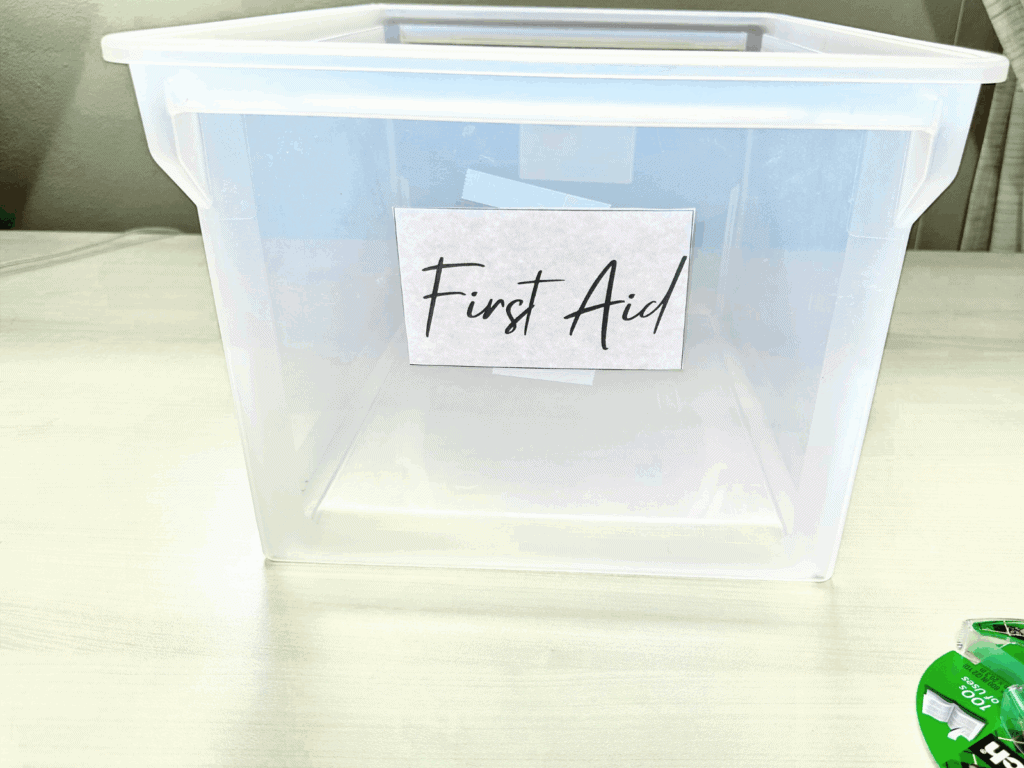
3. Tape the Template Inside the Bin
Flip your container around and tape your printed label inside, facing outward. That way, you’ll be able to see it clearly through the front of the bin.
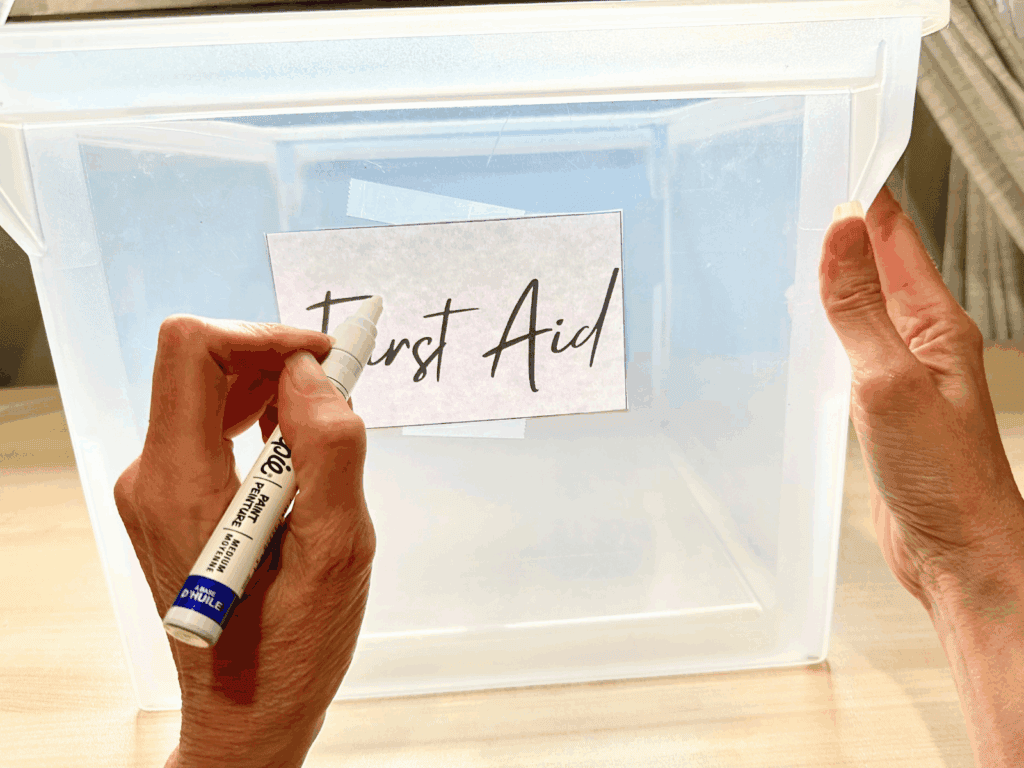
4. Trace With Your Sharpie
Now the fun part!
With your bin facing up, use your oil-based Sharpie or paint pen to trace the letters onto the front.
I recommend Sharpie Oil-Based Paint Markers in white for clear acrylic bins. You’ll get that clean, floating label effect that pops without being overpowering.
Go slow. Breathe. It doesn’t have to be perfect. That handmade touch is part of the charm.
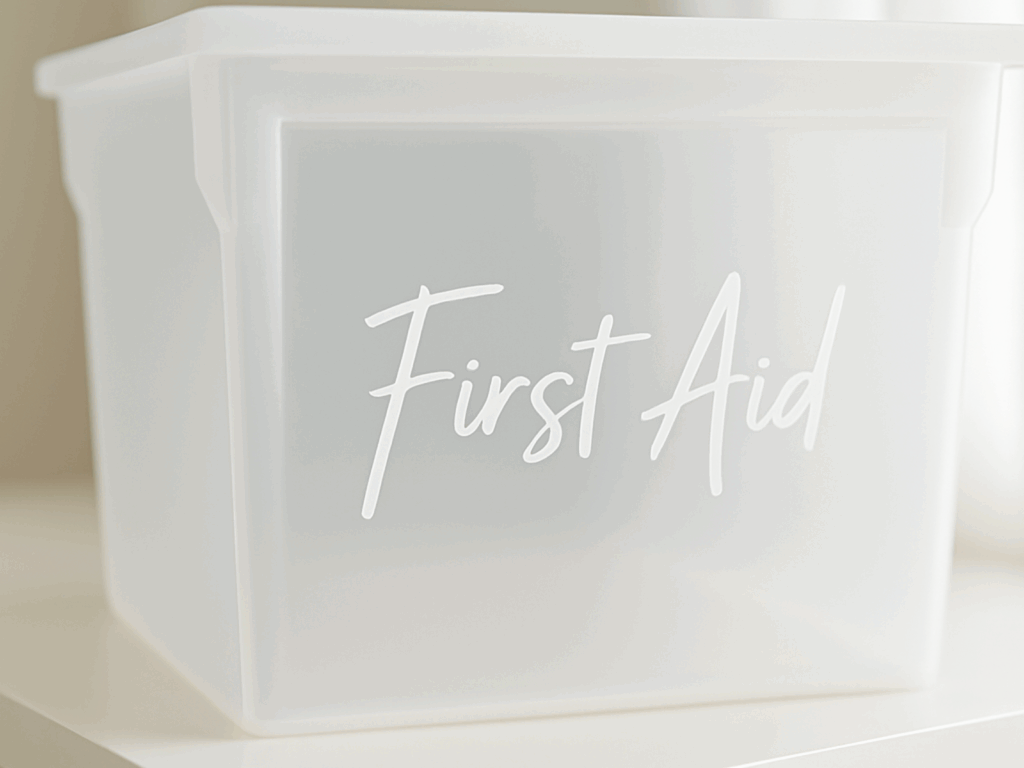
5. Let It Dry + Touch Up if Needed
Once you’ve traced your label, let it dry for a few minutes before moving the bin.
Made a mistake? No worries, dip a cotton swab in rubbing alcohol and gently erase the area you want to fix.