
How to Organize Photos: A Simple Step-By-Step System for Printed Photos
If you’ve been avoiding your photo organization project for years, you’re not alone. Most of us have boxes of old photos tucked away in closets, envelopes from film cameras, school portraits we never framed, and prints scattered throughout our homes.
Every time you find another little stack, you probably think: “I really need to organize these someday.”
Photos carry memories, emotions, and entire seasons of life — which makes them meaningful, but also overwhelming. The good news? Printed photo organization doesn’t have to be stressful. With the right system, you can turn decades of scattered snapshots into a calm, organized collection you love to look through.
Here’s the simple method that makes the process doable.
Why Printed Photo Organization Feels Overwhelming
Printed photos are unique clutter. They build up slowly over decades, often without any system. They bring up nostalgia, joy, regret, guilt, and everything in between. And because they feel irreplaceable, we’re afraid to make the wrong decision.
Once you give yourself permission to go slow and keep only what truly matters, the project becomes easier — and surprisingly enjoyable.
My Photo Organization Wake-Up Moment
When I finally sat down to tackle our printed photos, I thought it would take an afternoon. Five minutes later, I was surrounded by blurry shots, doubles, random scenery, forgotten faces, and twenty versions of the same pose. Some photos made me smile. Others brought back memories I didn’t need to hold onto. It was a lot to emotionally process, and for a moment, I wondered why I ever started.
But that was also when something clicked: organizing photos isn’t about creating perfect albums — it’s about choosing the memories you want to carry forward. Once I shifted from “I have to keep everything” to “I’m curating the story of my life,” the whole project felt lighter and far less overwhelming.
That moment changed everything for me. Instead of trying to sort my entire photo collection perfectly, I realized I just needed a simple place to start. And once I broke the project into small, doable steps, the whole thing felt less overwhelming. If you’re feeling the same way, here’s the method that made it all manageable.
Step 1: Gather All Your Printed Photos in One Place
Start by collecting every printed photo from around your home:
- Envelopes from developed film
- Photo boxes
- Old albums
- Framed photos you’ve replaced
- School and sports pictures
- Negatives
- Loose prints tucked into drawers, closets, or books
Bringing everything into one spot gives you a true starting point and removes the feeling of chasing photos all over the house.
If you have CDs or DVDs with printed photo backups, store them separately in a labeled box so they don’t clutter your main project.
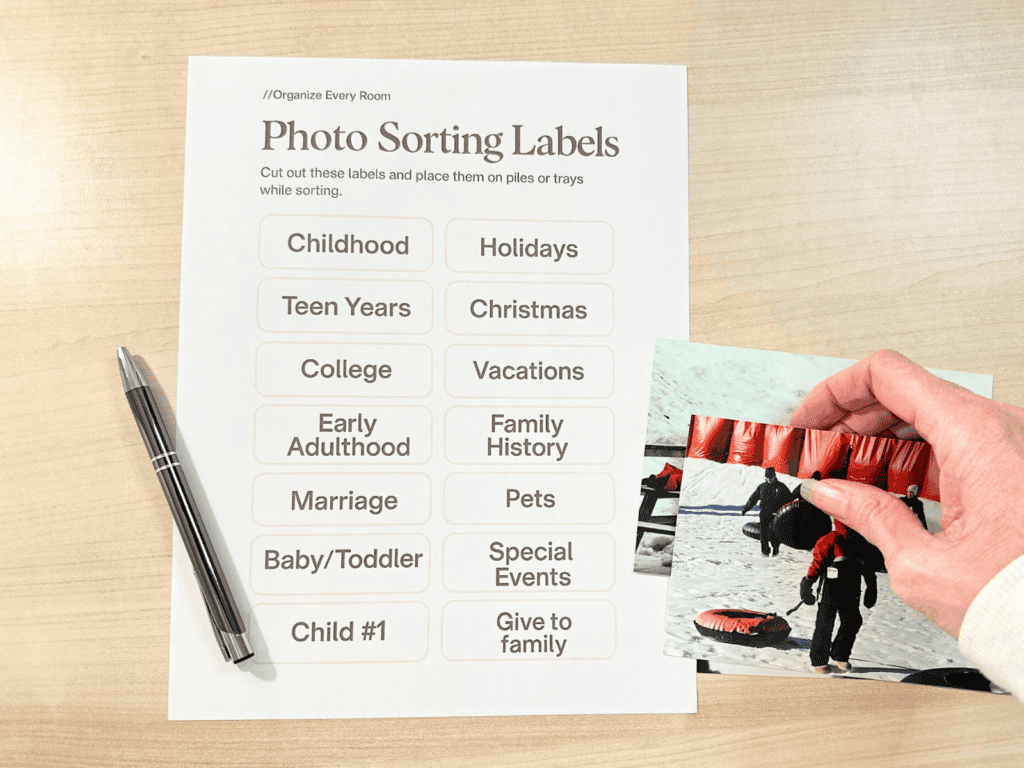
Step 2: Do a Quick First Sort
This is not the time to overthink. Sort quickly into simple, broad categories, such as:
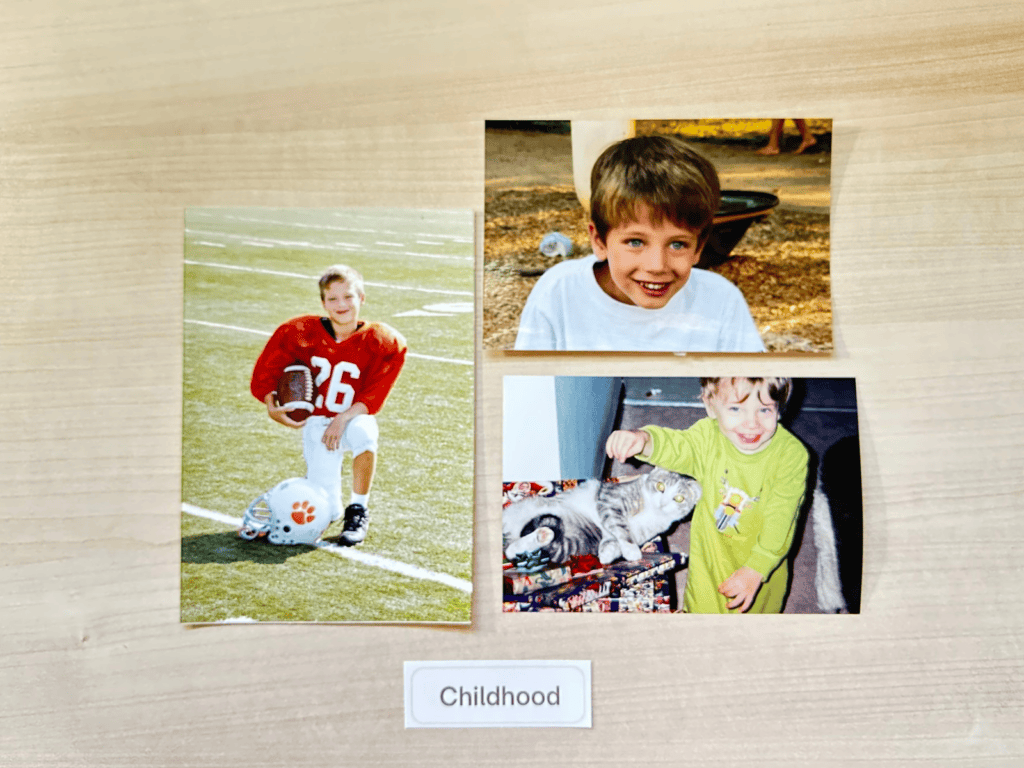
- Childhood
- Teen years
- College
- Early adulthood
- Marriage
- Baby/toddler
- Kids (you can sort by child later)
- Holidays
- Vacations
- Pets
- Family history
- Events
- Everyday life
The goal is momentum, not perfection. You can refine categories later.
Step 3: Declutter Without Guilt
This is where your collection starts to feel lighter and more meaningful. Let go of:
- Blurry photos
- Duplicates
- Pictures of strangers or acquaintances you no longer remember
- Random scenery or objects
- Photos that bring up negative or stressful memories
- Every slightly different version of the same moment
As you sort, ask yourself:
- Does this photo bring me joy or peace?
- Does it tell a meaningful story?
- Will I care about this moment in ten years?
- Does this belong in our family’s story?
If certain photos feel complicated — like old friendships or relationships — place them in a “keep but store separately” box. You don’t have to make them part of albums you enjoy regularly.
Step 4: Choose a Storage System That Fits Your Life
Your printed photo system should be simple and easy to revisit. A few popular options:
Archival Photo Boxes + Dividers
A clean, timeless system. Label dividers by year, decade, family member, or theme.
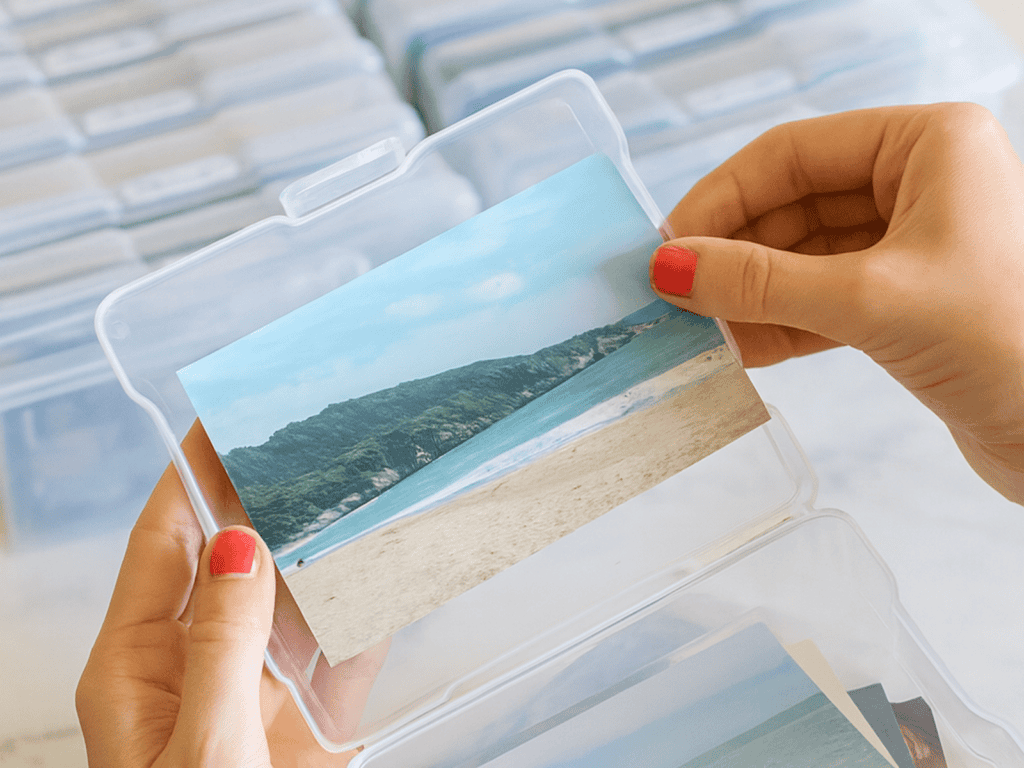
Clear Photo Storage Cases
Great if you like being able to see everything quickly.
Smaller Themed Albums
These are great for:
- Christmas
- Vacations
- Weddings
- Baby years
- School years
- Family history
Themed albums are fun to flip through and easy to display.
Scrapbook-Style Albums for Oversized Photos
Use these for:
- School portraits
- 5×7 or 8×10 prints
- Professional photos
- Mementos that don’t fit standard sleeves
This keeps everything viewable instead of buried in drawers.
Step 5: Build Your Albums (If You Want To)
Albums aren’t required — photo boxes are perfectly fine — but albums can make your memories more accessible and enjoyable. Create whatever feels meaningful, such as:
- Baby or toddler albums
- School year albums
- Holiday albums
- Vacation albums
- Family history albums
- A yearly “Our Life” album
Pick formats you enjoy. There’s no “right” way — only the way that works for you.
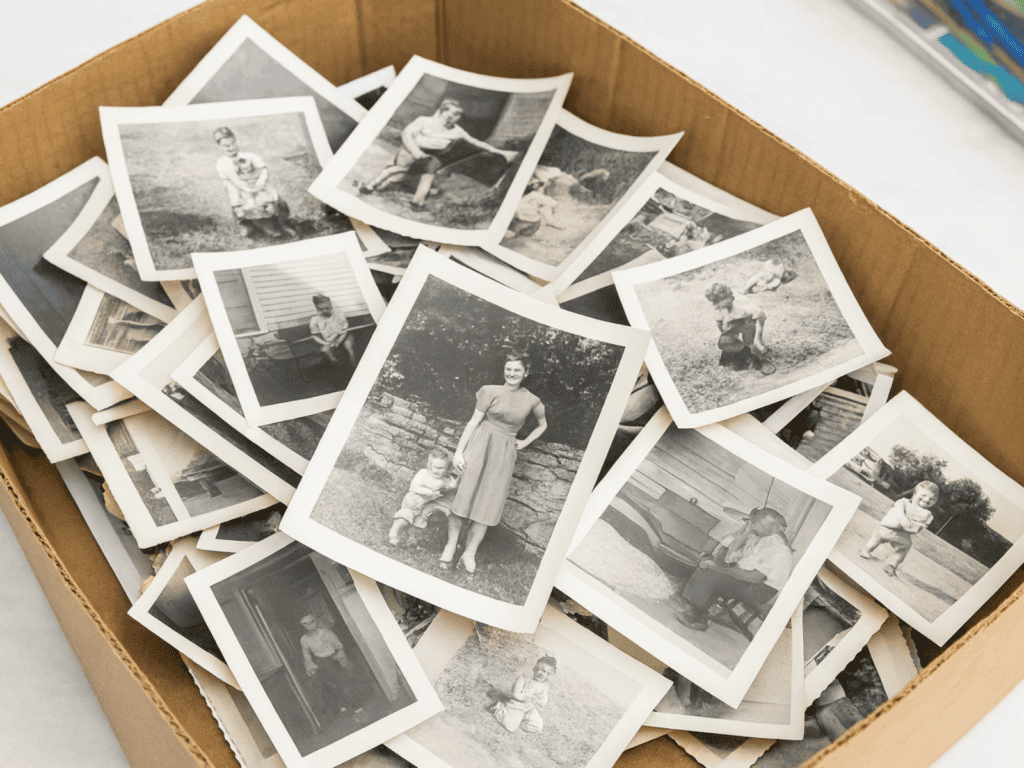
Step 6: Organize and Preserve Old Family Photos
If you’ve inherited older photos, give them special care:
- Sort by family branch or decade
- Label people while older relatives can still help
- Store originals in acid-free archival boxes
- Scan fragile photos to preserve them long-term
- Create a small family-history album or memory box
This helps protect your family legacy and keeps stories from getting lost.
Optional Ideas That Make Your Photo System Even Better
Once your photos are sorted and stored, try one or two of these ideas to make your memories more visible:
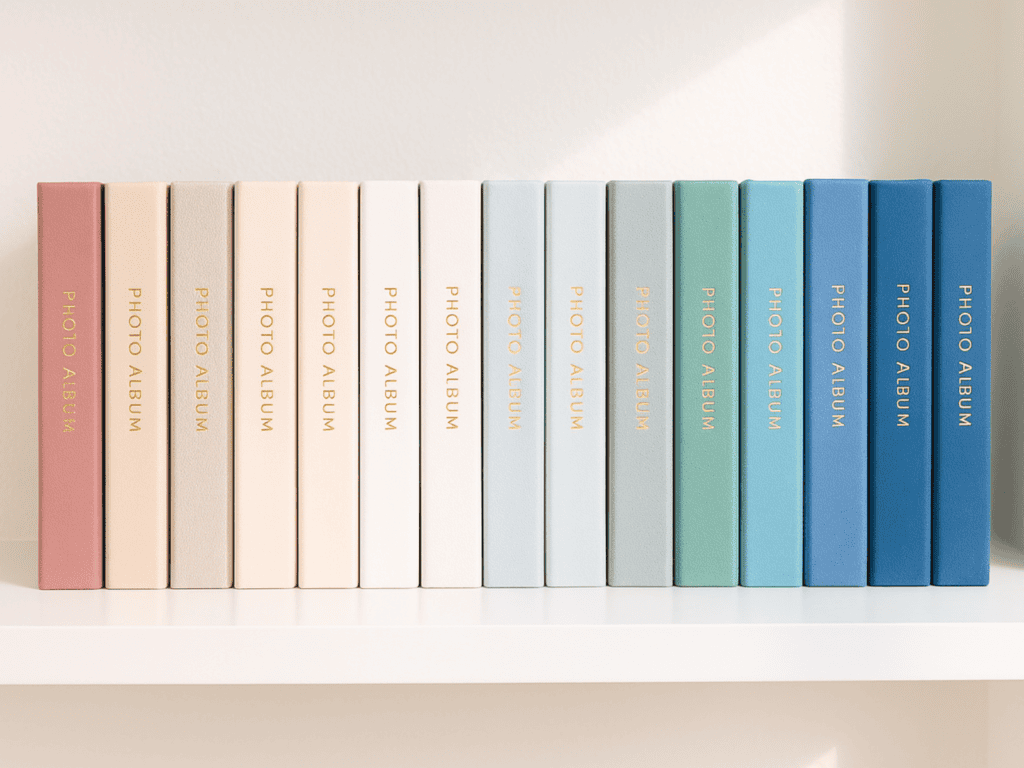
- Display your photo albums on a bookshelf so your family actually reaches for them.
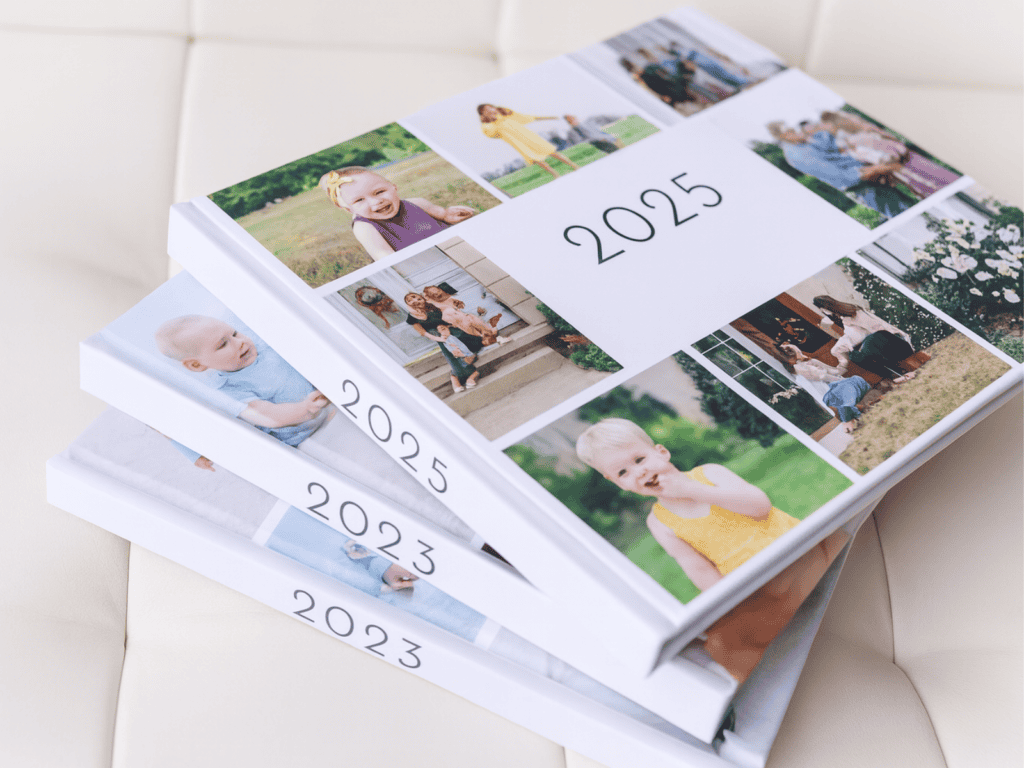
- Create an annual photo book with your favorite moments from each year.
- Make a memory box for each child to collect special photos and keepsakes.
- Keep holiday photos together in a Christmas or seasonal album.
- Design a custom planner cover using a collage of your favorite photos.
- Create a “Best Of” album with one or two standout images from each month.
These small touches help your memories become part of everyday life, not hidden away.
Common Printed Photo Organization Mistakes
Avoid these common pitfalls:
- Organizing before decluttering
- Creating too many categories
- Mixing different storage styles
- Keeping everything out of guilt
- Forgetting to label albums or boxes
- Trying to make it perfect from the start
Simple systems always last longer.
A Minimalist Approach to Memory Keeping
Minimalism in photo organization means choosing depth over volume. Keep the photos that spark joy, tell a story, or capture a moment you cherish — and let the rest go. A smaller, more meaningful collection is easier to enjoy and maintain.
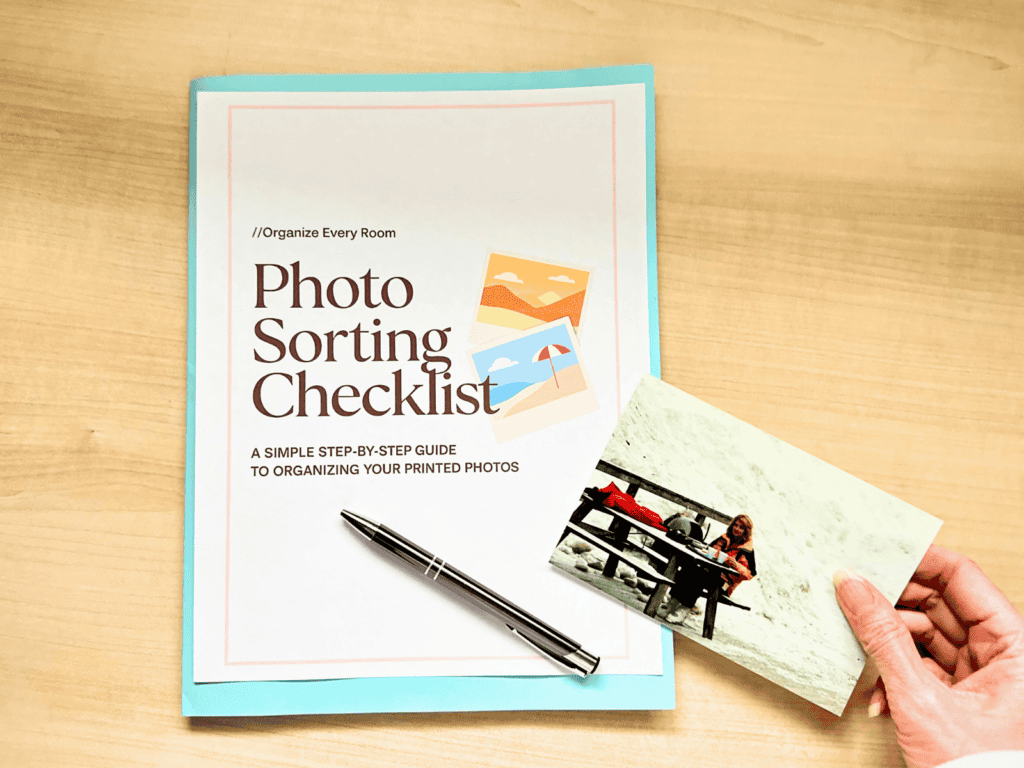
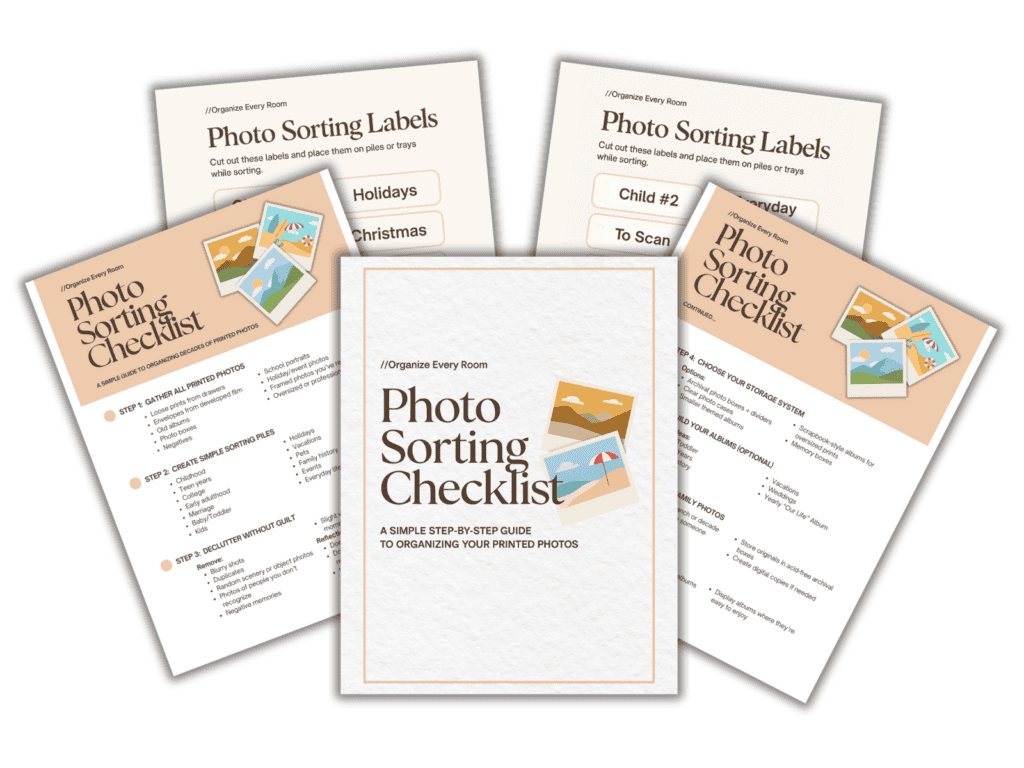
Free Photo Sorting Checklist
To make this project even easier, download my free printable Photo Sorting Checklist. It guides you through the categories, steps, and reminders so you feel calm and confident while you work.
Final Thoughts
You don’t need to organize decades of photos in a weekend. Start small. Celebrate each little bit of progress. And remember — you’re not just organizing pictures. You’re honoring your story and creating space to enjoy it.
You’ve got this.
For a complete system for managing all your important documents and memories, don’t miss our Beginners Guide To Organizing Important Documents at Home and our Digital Decluttering Checklist.