How to Organize Your Pantry So It’s Easy to Use and Keep Organized
If you keep buying food you already have, losing ingredients behind other packages, or struggling to put groceries away, your pantry needs a simpler setup.
I once found 18 expired packets of turkey gravy mix in mine. I kept buying more because I couldn’t find the ones I already had.
That is the problem good pantry organization should solve. You should be able to see what you have, reach what you use, and put things back without rearranging an entire shelf.
To organize your pantry, start by removing food you will not use, grouping what remains, and giving each category a clear home. Keep everyday items within easy reach, separate extra supplies from open packages, and choose storage that makes the shelves easier to use.
You do not need a walk-in pantry or a matching set of containers. These steps work for a pantry closet, a few kitchen cabinets, or a small shelving unit.

1. Start With One Shelf or Food Category
Emptying the entire pantry can help you see everything at once, but it can also leave your kitchen covered in food when you run out of time.
If you have a clear stretch of time and space to sort, work through the whole pantry. Otherwise, start with one shelf or category.
Good starting points include:
- Canned goods.
- Baking ingredients.
- Snack bags and boxes.
- Seasoning packets.
- Breakfast foods.
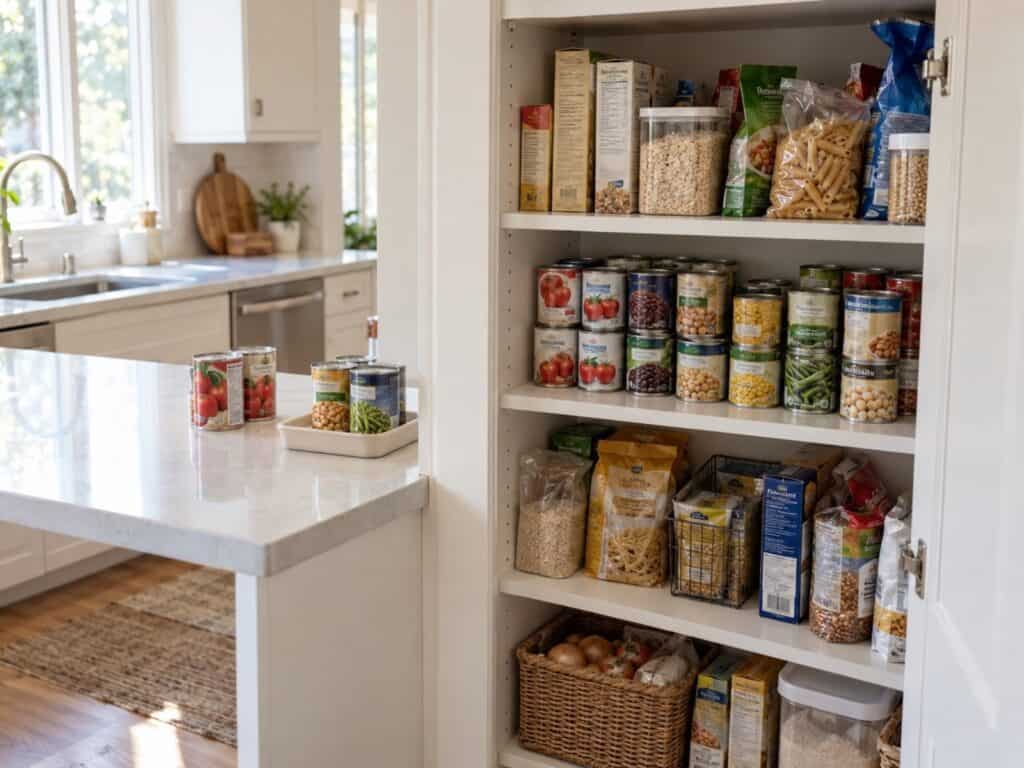
Clear enough counter space to sort the items you remove. Keep the sorting area out of the way of meal preparation.
Finish that section before opening another one. A usable shelf is more helpful than a half-finished pantry spread across the kitchen.
2. Decide What Belongs Back in the Pantry
Before arranging anything, check what you actually want to keep.
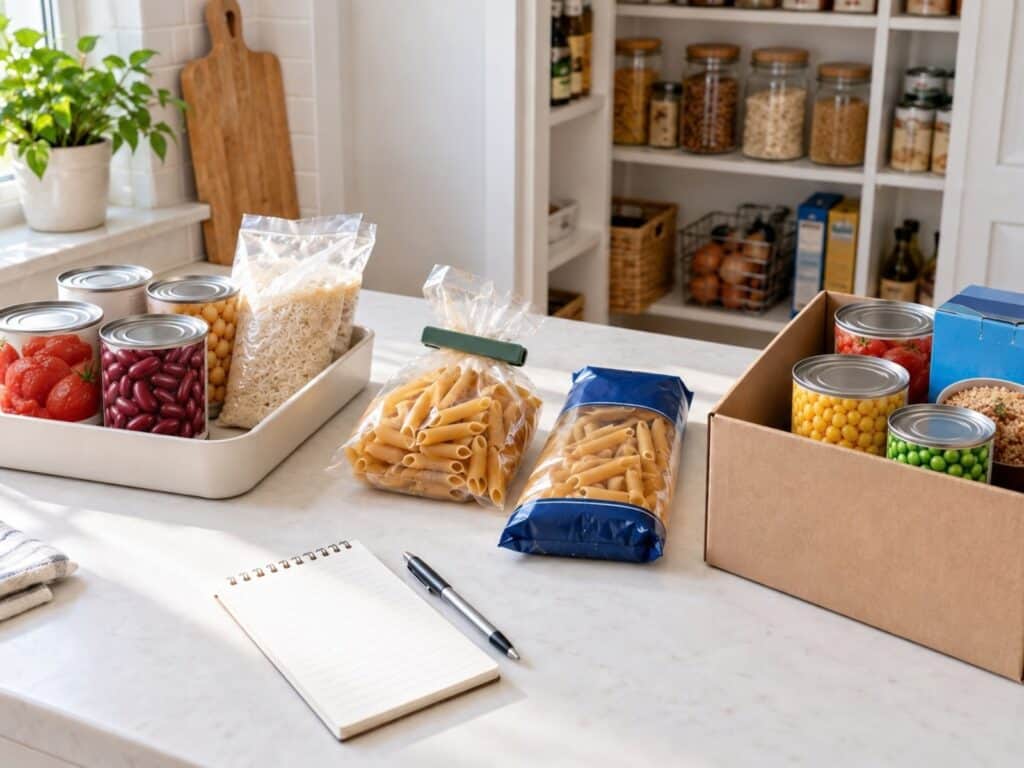
Set aside food your household will not eat, ingredients bought for a recipe you never made, and duplicates you need to use before buying more.
Ask yourself:
- Do we use this?
- Is it stored appropriately and still suitable to use?
- Do we already have an open package?
- Can I plan a meal around it?
- Would an unopened item be better donated?
Check your local food bank’s acceptance guidelines before setting aside donations.
Food dates need a little care. According to the USDA’s food-date guidance, “Best if Used By” describes quality rather than an automatic safety cutoff. Follow the product’s storage instructions and relevant food-safety guidance rather than making every decision from the date alone.
Make a Small Use-First Area
If you find food you want to use soon, put it somewhere visible.
This might be a small basket for an open bag of rice, soup packets, or ingredients left from a recent recipe. A short note inside the pantry door can work too.
Keep this area small enough to check when planning meals. Moving forgotten food into a large, overfilled basket only gives it a new place to disappear.
Once the shelf is empty, wipe away crumbs and spills. Let it dry before returning food.
3. Group Food Around How You Use It
Pantry organization ideas work best when they match your meals and routines.
Start with a few broad categories. You can adjust them as you put food away.
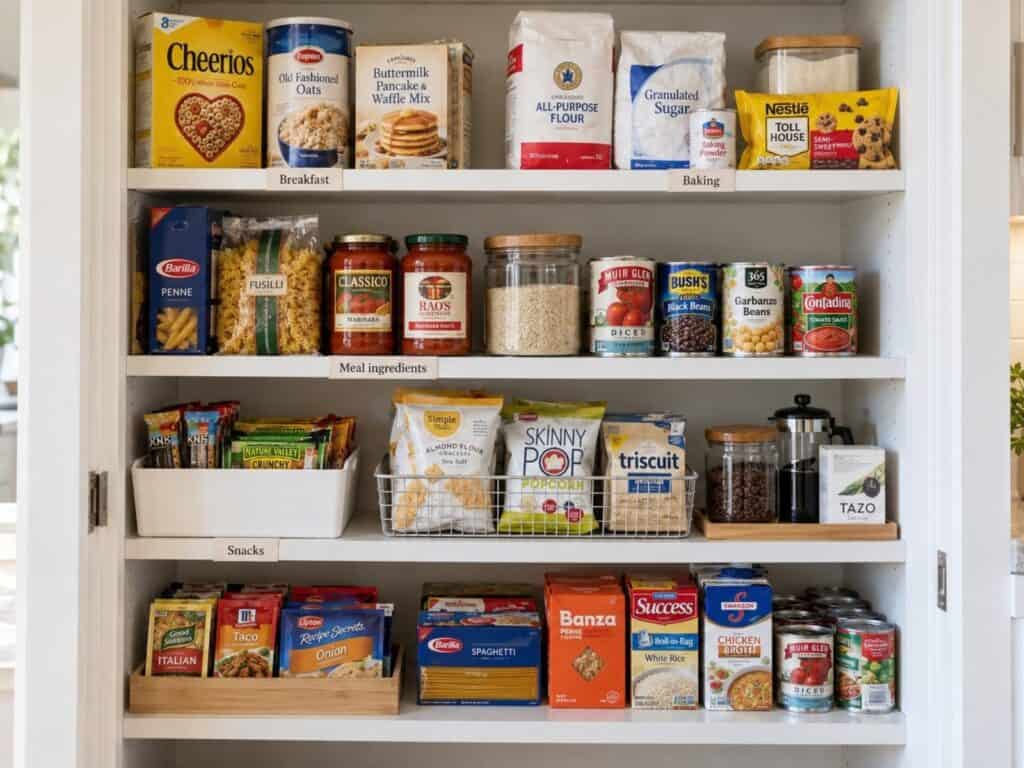
Useful pantry categories include:
- Breakfast: Cereal, oats, pancake mix, and breakfast bars.
- Baking: Flour, sugar, baking powder, chocolate chips, and similar ingredients.
- Meal ingredients: Pasta, rice, beans, canned tomatoes, and sauces.
- Snacks: Crackers, popcorn, bars, and other packaged snacks.
- Drinks: Coffee, tea, and drink mixes.
- Packets: Seasonings, gravy mixes, and soup mixes.
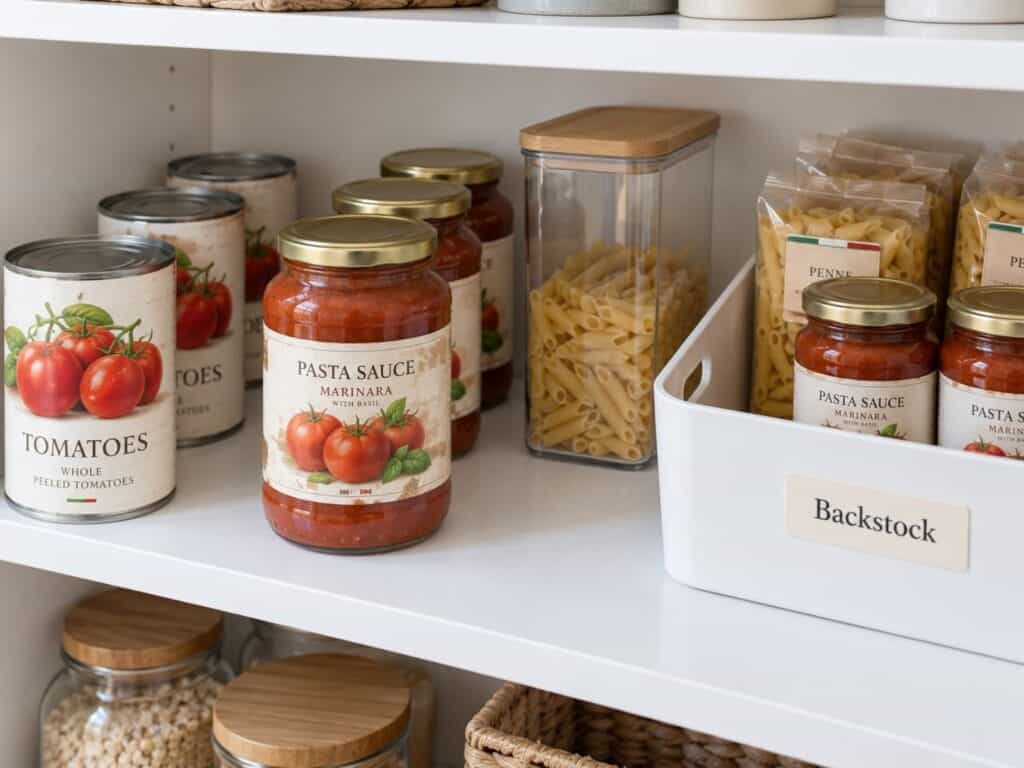
- Backstock: Unopened extras of food you already have in use.
You do not need a separate bin for every category. A clearly defined section of a shelf may be enough.
Think about what you reach for together. Keeping pasta near pasta sauce can make more sense than separating every jar from every box.
If one category becomes difficult to search, divide it. A crowded snack shelf might work better with one bin for bars and another for bags of crackers.
4. Give Each Category a Shelf That Makes Sense
Before buying organizers, decide where the food should go.
Keep frequently used items at a height that is comfortable for the people using them. Put heavier items lower down, and reserve harder-to-reach space for lightweight things you use less often.
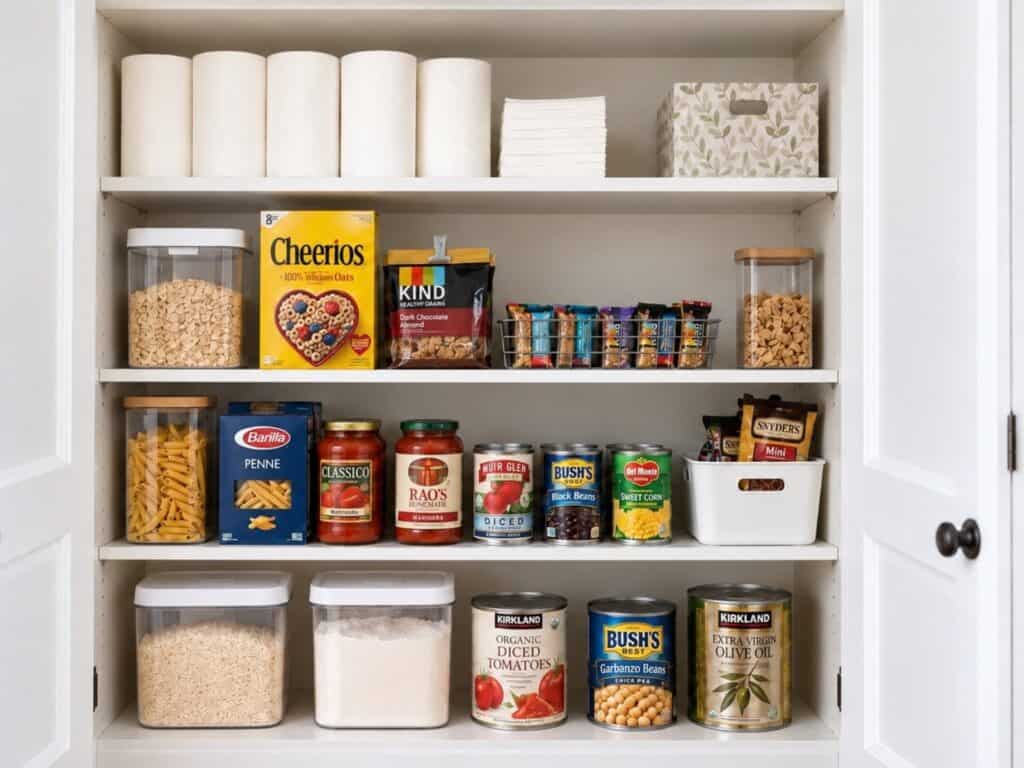
A starting layout might look like this:
- Upper shelves: Lightweight extras, paper goods, and occasional-use supplies.
- Easy-to-reach shelves: Breakfast foods, meal ingredients, and everyday snacks.
- Lower shelves: Heavier containers and bulk packages, where you can reach them comfortably.
- A separate shelf or bin: Backstock.
Your layout may be different. If you bake every week, baking supplies deserve convenient space. If you rarely bake, they do not need the most accessible shelf.
Leave enough clearance to lift an item out without tipping it sideways. A container that technically fits but is awkward to remove can make the system harder to maintain.
Keep Open Packages and Extras Separate
Choose one place for unopened duplicates.
When the cereal container is empty, check backstock before adding cereal to your shopping list. When a sauce jar is used up, move the replacement into its everyday spot.
This makes it easier to notice what you already own.
Give backstock a limit, such as one shelf or one bin. If groceries regularly overflow that space, reconsider how much you are buying at once.
5. Choose Organizers for the Problem You Actually Have
Measure shelf width, depth, and height before shopping. Also check the door opening and any hinges that could block a bin.
Try containers you already own before buying a complete matching set.
Different storage tools solve different problems.
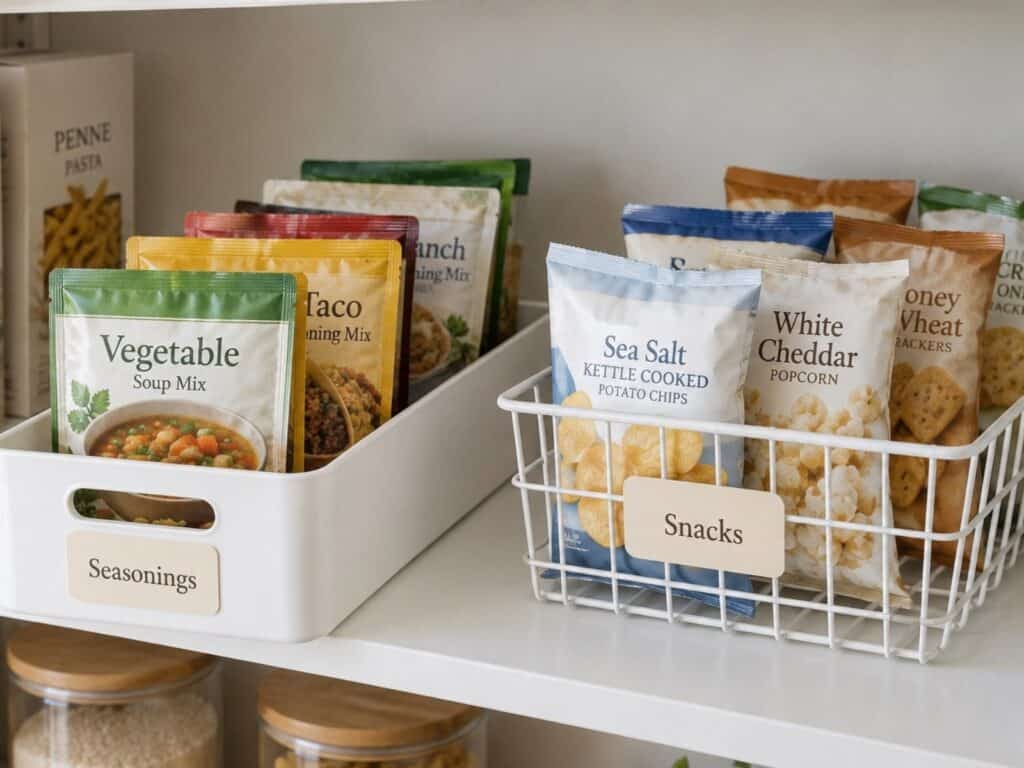
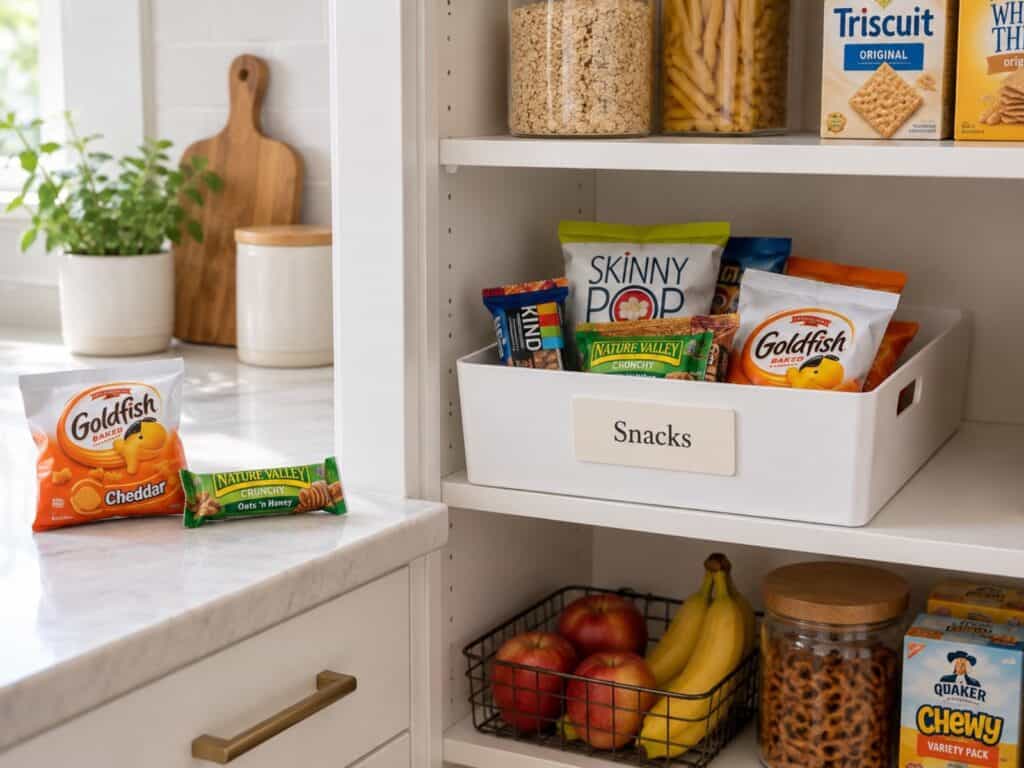
Use Open Bins for Small Packages
Packets and small snack bags tend to fall over or slide behind larger items.
An open bin keeps them together and lets you bring the whole category forward. Choose one you can lift or slide comfortably without disturbing everything beside it.
Keep labels facing the same direction where possible. If you have to empty the bin to find something, it may be too full or need a narrower category.
Use Shelf Risers for Short Items
A riser can help you see cans or small jars that would otherwise hide behind the front row.
Check that the upper items fit below the shelf above and remain easy to reach. Choose a sturdy riser suited to the weight you plan to place on it.
Risers are useful when they improve visibility. They are less helpful if they create a crowded stack you have to dismantle.
Use a Turntable Where Reaching Is Awkward
A turntable can bring small jars or bottles forward in a corner or deep section.
Measure first, then check that it turns freely with the items on it. Keep tall containers from catching on the shelf above.
You do not need one on every shelf. Use it where turning the contents is easier than reaching around them.
Use Airtight Containers Selectively
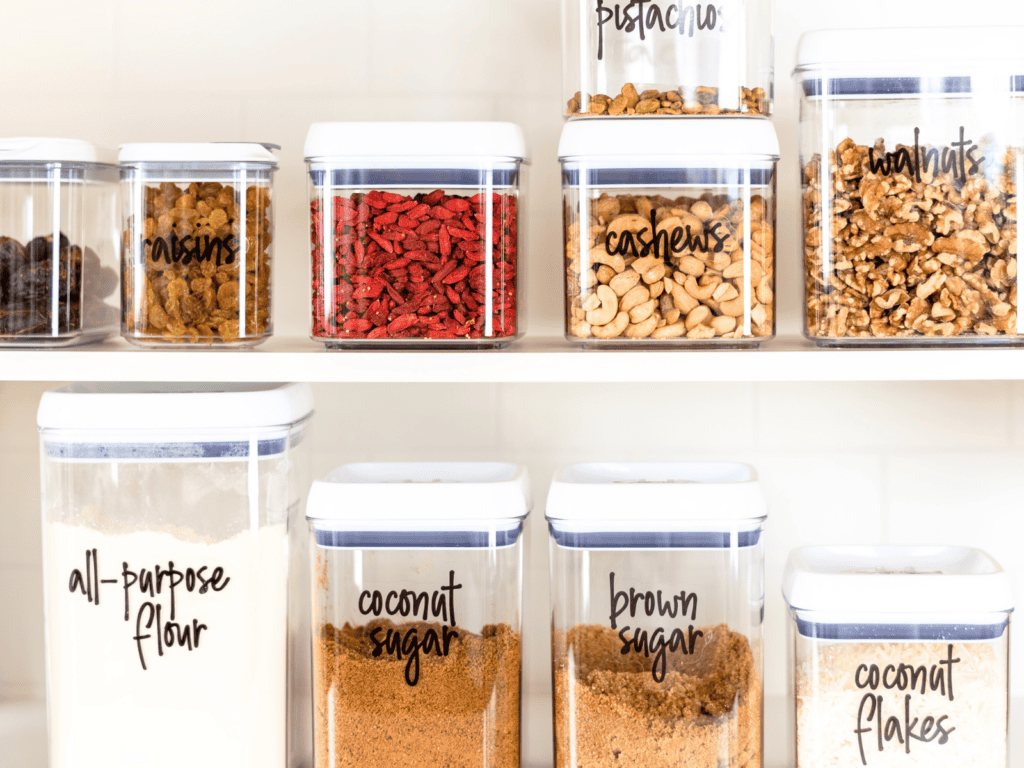
Transferring dry goods into food-safe airtight containers can make sense for ingredients you use regularly, especially if their original bags are awkward to close.
But you do not have to transfer every purchase.
Before choosing a container, check that it holds your usual package size. Otherwise, you may end up storing both a filled container and a half-empty bag.
Keep relevant dates, cooking directions, ingredient information, and lot details with the food. You can attach the packaging information or keep it with the container.
Empty, clean, and thoroughly dry containers between batches rather than repeatedly pouring new food on top of old food.
6. Label the Places Where Food Belongs
Labels help other people follow the system without asking where every item goes.
Start with shelf sections and bins. Broad labels such as “Breakfast,” “Snacks,” and “Backstock” often work better than a label for every individual package.
Place labels where you can see them when opening the pantry. If you normally look down into a container, a label on top may be useful too.
Test the layout with removable labels before making it permanent. If you keep moving a category, it is easier to change a temporary label than redesign the system.
My free printable pantry labels include ready-made labels and an editable Canva option for categories specific to your pantry.
If you want to create a different style, my guide to making custom labels in Canva walks you through the process.
7. Make Restocking Part of the System
A pantry can look organized immediately after sorting and become crowded again after the next grocery trip.
The difference is how you put new food away.
Before shopping:
- Check the everyday shelves and backstock.
- Look at the use-first area.
- Plan a few meals around food you already have.
- Add what you need to one grocery list.
When putting groceries away, move older suitable items forward and place newer ones behind them. Put duplicates in the backstock area instead of squeezing them into the everyday section.
Remove empty packaging as you go. Return anything that has drifted into the wrong category.
A brief check before shopping is usually more useful than waiting until you cannot find anything and need to reorganize the whole pantry.
If keeping track of groceries is the difficult part, my practical organization lists include ideas for shopping, meal planning, and food you want to use first.
How to Organize a Pantry With Deep Shelves
Deep shelves offer storage space, but the back can become a hiding place. The goal is to bring food forward or make the rear section visible.
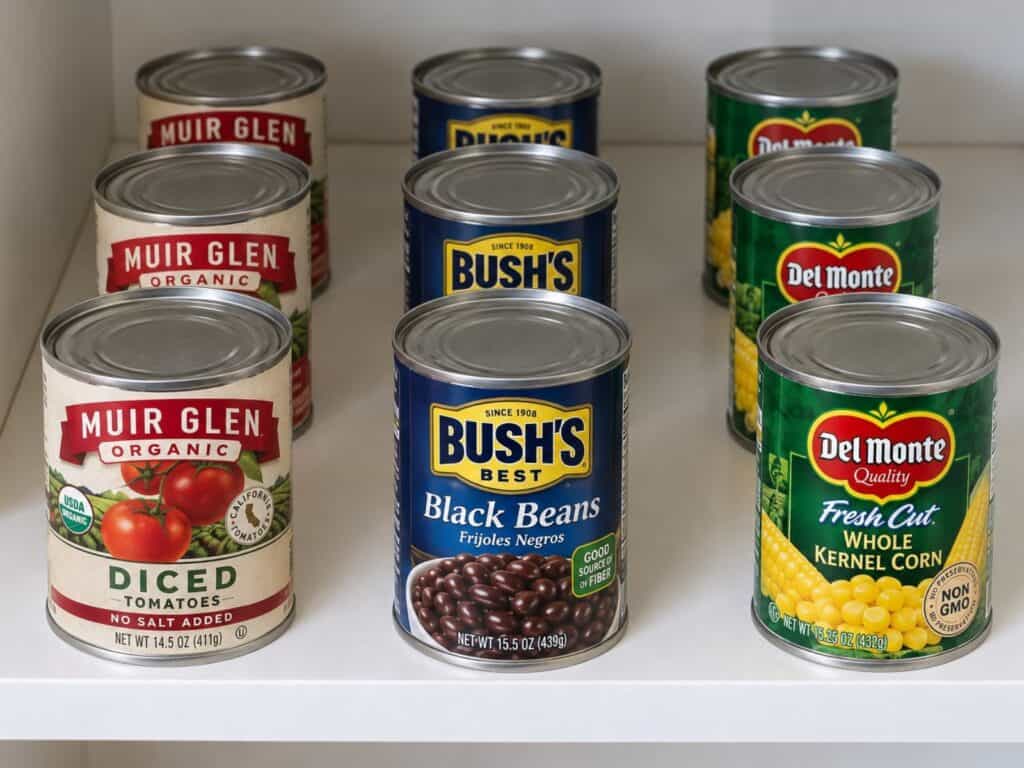
Keep the Same Item in a Front-to-Back Row
For duplicates, put the same type of food behind the item at the front. A row of canned tomatoes is easier to understand than tomatoes in front of soup, beans, and fruit. Move the older suitable items forward when restocking.
Use Pull-Forward Bins for Smaller Items
Choose bins that fit through the opening and can be pulled out without moving neighboring containers.
Packets, baking ingredients, and snack bags are good candidates. Keep the category simple enough that bringing the bin forward reveals what you need.
Make the Backstock Visible
If extra supplies belong at the back, label the section and keep a clear route to it.
Avoid placing unrelated everyday foods in front. You should not have to unload half a shelf to check whether you own another bag of flour.
You do not need to fill every inch of shelf depth. Leaving room to reach and move things can make more of the pantry usable.
Small Pantry Organization Ideas That Do Not Require a Remodel
A small pantry needs careful choices about what deserves space.
Start with the food you regularly use. If rarely used appliances or unrelated household supplies take up the easiest shelves, consider whether they have another suitable home.
Then look for a specific improvement.
Adjust Shelves to Fit Your Food
If shelving is adjustable, reduce unnecessary gaps above short containers and allow more height where you store taller packages.
Test with the actual food before changing every shelf. Leave enough room to remove items comfortably.
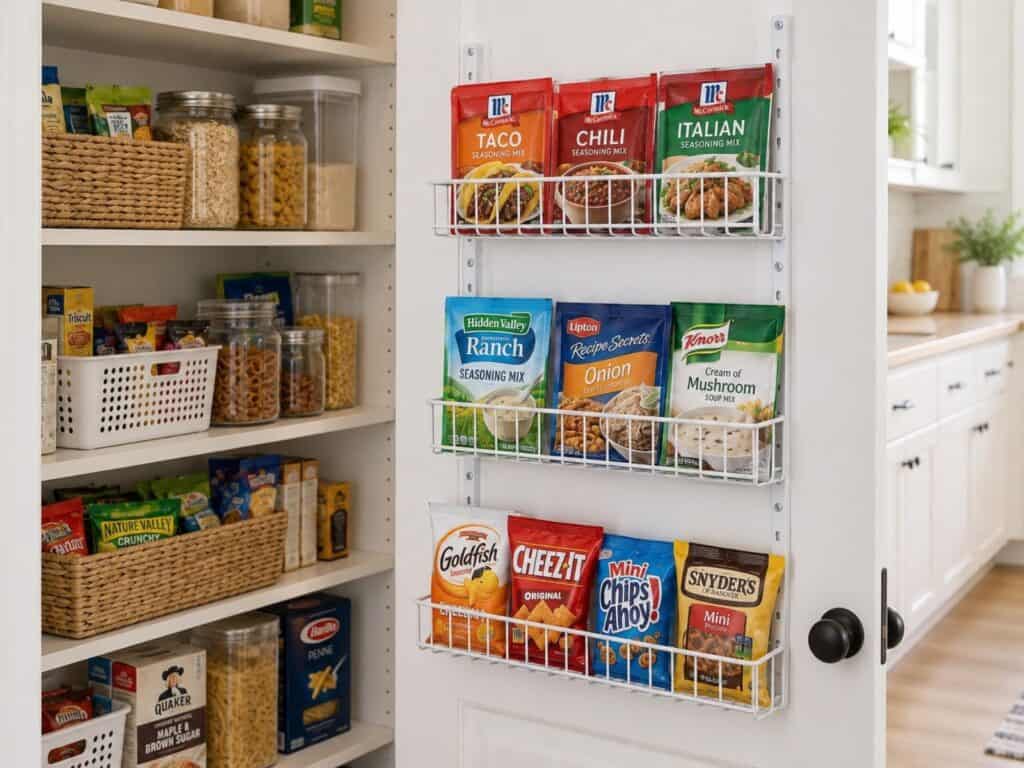
Use Shallow Door Storage for Lightweight Packages
A suitable door organizer may help with seasoning packets or small packaged snacks.
Check its capacity, mounting instructions, and clearance before using it. Make sure the door closes and the organizer does not hit shelves or food inside.
Avoid Oversized Bins
A large bin can use up valuable shelf space while making the contents harder to sort.
Choose a size that fits the category and your normal shopping habits. Two manageable bins may work better than one deep basket holding everything.
Treat a Food Cabinet Like a Pantry
If you do not have a separate pantry, give food consistent homes in your kitchen cabinets.
Keep everyday ingredients within easy reach and group the same categories together. The system matters more than the size of the space.
What to Change When Your Pantry Gets Messy Again
A recurring problem often points to a part of the setup that needs adjusting.
You Keep Buying Duplicates
Check whether extras are visible and whether you look at backstock before shopping.
Bring hidden supplies together. Avoid spreading the same food across several cabinets unless there is a clear reason.
Food Keeps Landing in the Wrong Place
The category may be unclear, too crowded, or awkward to reach.
Try a broader label or move the bin closer to where the food naturally gets put away. A system that depends on everyone following several extra steps is harder to maintain.
Packages Do Not Fit After Shopping
The container may be too small for the amount you normally buy.
Choose storage based on your usual groceries, including the larger package sizes you actually purchase. If the pantry is consistently overfilled, buying fewer extras may help more than adding another organizer.
Ingredients Still Disappear
Check for mixed rows, overly deep bins, or packages stacked on top of one another.
Improve visibility first. More containers will not help if you still cannot see what is inside them.
Start With the Pantry Shelf That Frustrates You Most
You do not need to reorganize everything today.
Choose the shelf where food gets lost or groceries are hardest to put away. Remove what does not belong, group what remains, and give each group a clear place.
Use that setup for a week. Notice what is easy to find and what still gets pushed aside, then adjust it.
Once the layout works, add pantry labels to make the categories easier to follow.
An organized pantry does not have to look like a showroom. It needs to help you find dinner ingredients, see what is running low, and put the groceries away without creating another pile.