Kitchen Countertop Organization: What to Keep Out and What to Put Away

You’re ready to make lunch, but first you have to move the mail, slide the toaster over, and find somewhere for a bag that apparently lives beside the sink now. The kitchen has counters. You just can’t use them.
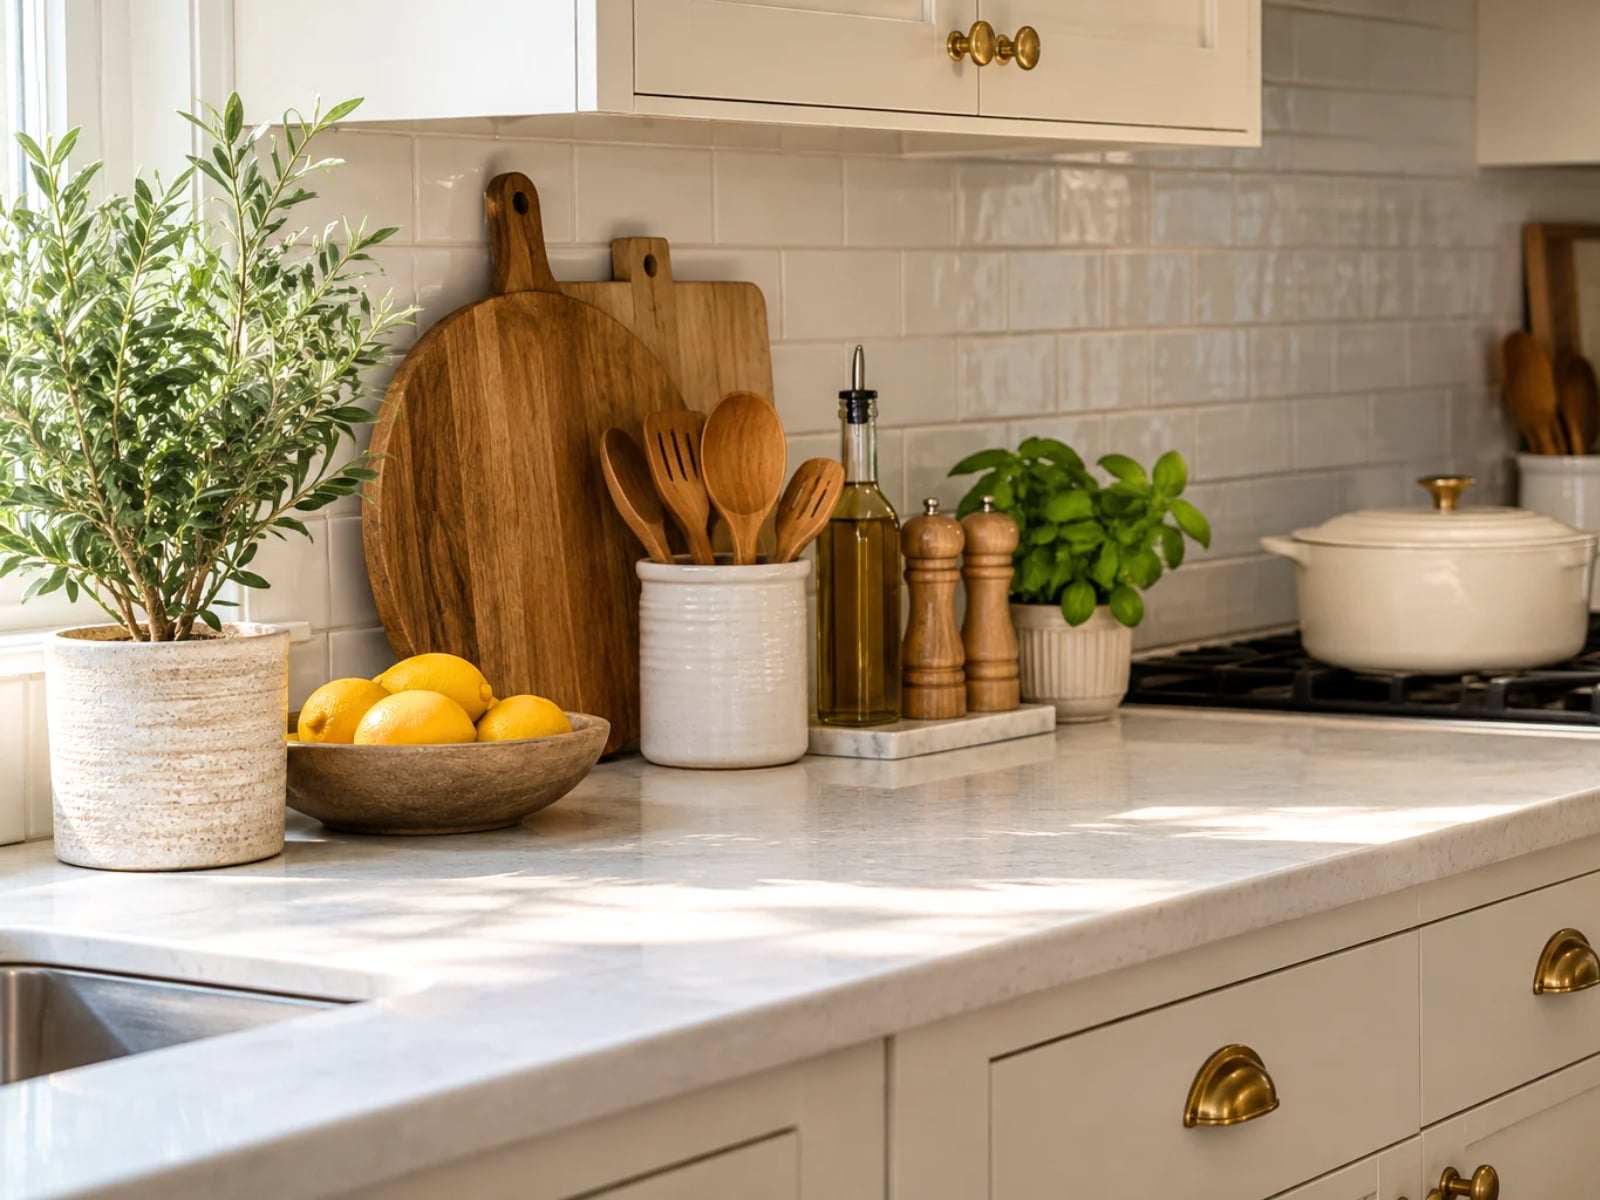
Kitchen countertop organization starts with deciding which things make your day easier and which things are borrowing space you need for something else.
Keep frequently used items and appliances that are difficult to move within easy reach. Put occasional items in accessible storage, give incoming clutter a specific destination, and leave one useful stretch of counter available for preparing food.
That doesn’t mean everything has to disappear. A working kitchen may need a coffee maker, a drying rack, or a heavy mixer out all the time. Here’s how to decide what stays, where the rest can go, and how to keep the arrangement working.
Make Room for the Food You Actually Prepare
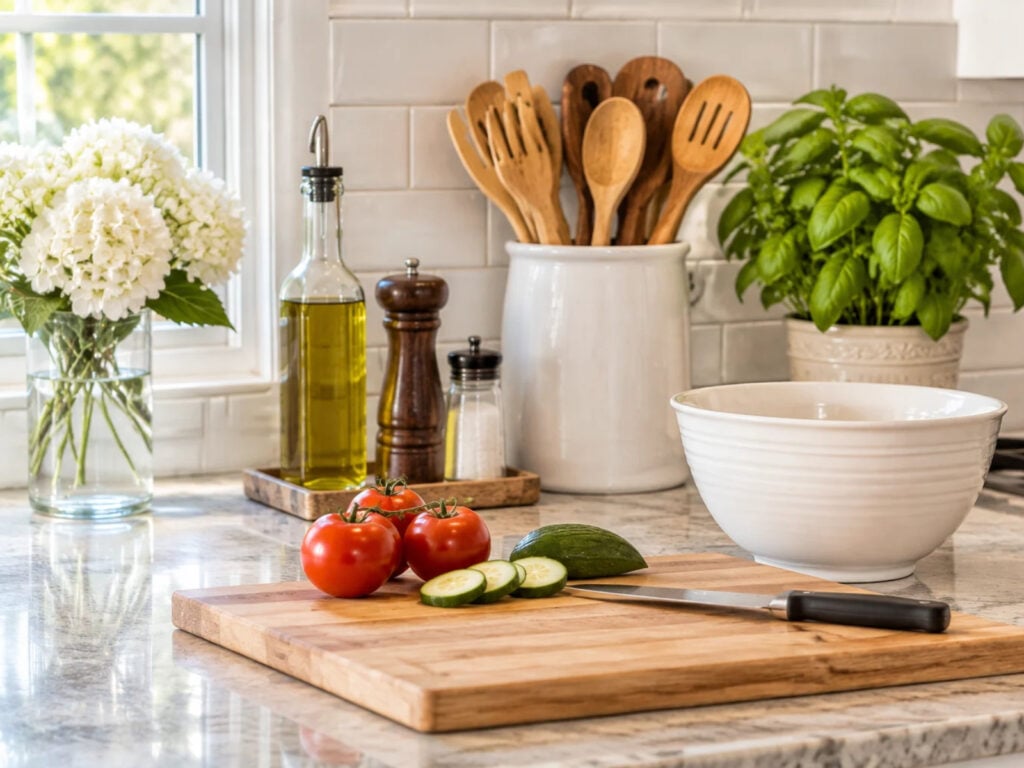
Before arranging appliances, put your usual cutting board on the counter where you prefer to work. Add a plate or mixing bowl beside it. Can you use both comfortably without shifting a pile of things?
This gives you a more useful starting point than deciding how many appliances a kitchen is “allowed” to have.
If you mostly assemble sandwiches or portion takeout, you may need room for containers and a plate. If you cook from scratch, you may need a board, ingredients, and a bowl. Choose a surface you can comfortably reach, including from a seated position if that’s how you work.
Clear that area first, handling one item at a time. Return things that already have homes, remove obvious rubbish, and set aside anything you no longer use. You don’t need to empty every counter to improve one.
Keep this stretch available between tasks. A narrow gap between several appliances may look clear, but it won’t help much if your cutting board doesn’t fit.
Decide Which Appliances Are Worth Leaving Out
How often you use something matters. So does the effort involved in getting it out and putting it back.
A coffee maker used every morning is an obvious candidate. A stand mixer used on weekends may also deserve a permanent spot if lifting it from a cabinet is difficult. Meanwhile, a lightweight gadget you use daily might fit easily in the drawer directly below its working area.
For each appliance, ask: Does leaving this here save more effort than moving around it creates?
| If this describes the appliance | Try this arrangement |
|---|---|
| You use it often, and moving it adds work. | Give it a regular counter spot that leaves your prep area usable. |
| You use it occasionally and can lift it comfortably. | Try the front of a nearby cabinet or a suitable pantry shelf, with its attachments together. |
| You use it regularly, but it is heavy or awkward to lift. | Prioritize a counter spot or suitable storage at a comfortable height. Avoid an overhead shelf or deep cupboard that makes retrieval harder. |
| You rarely use it and wouldn’t miss it. | Consider passing it along instead of creating another storage problem. |
Test a proposed storage spot before committing. Can you remove the appliance without unloading the shelf? Can you put it back just as easily? If either answer is no, the counter will probably become its home again.
Keep supporting supplies nearby without spreading them across the worktop. Your coffee maker can stay out while mugs, filters, and coffee occupy the cabinet beside it.
Allow Space for an Appliance to Operate Safely
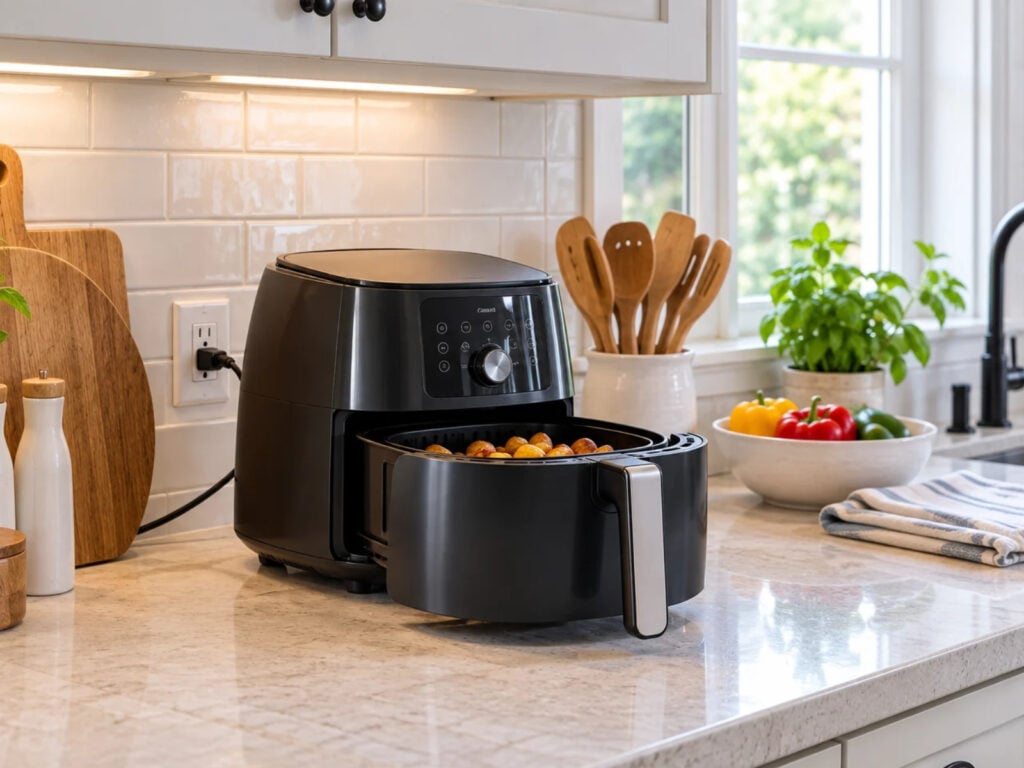
An appliance’s storage footprint isn’t necessarily the space it needs while running. Check your model’s instructions for the required surface, ventilation, and clearance from walls and cabinets. Also allow room to open lids, remove baskets, or fill reservoirs.
Don’t assume an appliance garage is safe for operating whatever fits inside it. For example, Breville’s Smart Oven Pro instructions prohibit use in a small appliance enclosure and require surrounding clearance. Follow your own appliance’s manual, and let hot appliances cool before moving or storing them.
Choose locations that let you plug cooking appliances directly into wall outlets. The Electrical Safety Foundation recommends avoiding extension cords for appliances; adding a power strip does not increase a circuit’s capacity. Keep cords clear of water, hot surfaces, and counter edges. If the only workable arrangement requires stretching a cord across the kitchen, reconsider the location.
Keep Everyday Supplies Close Without Displaying All of Them
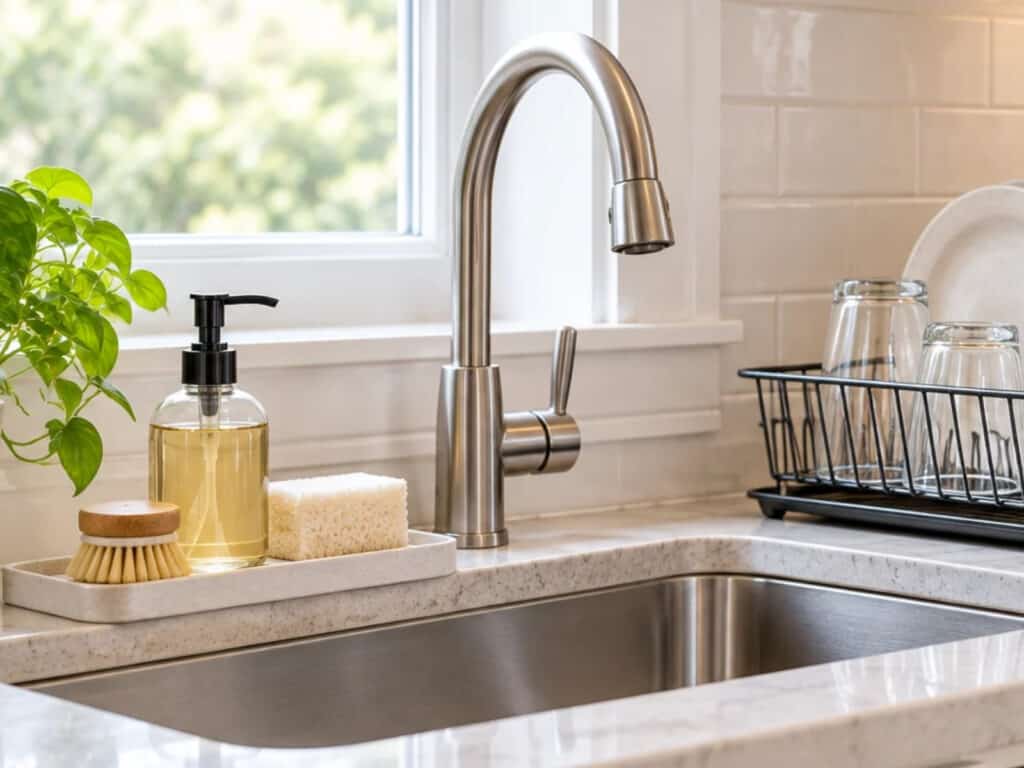
The things you reach for repeatedly deserve convenient homes. They don’t necessarily all need countertop homes.
Cooking utensils: A crock makes sense when you lack a convenient drawer or find it easier to reach into an open holder. Fill it with the tools you actually grab. If removing one spatula brings three more along, reduce the contents. When a nearby drawer works better, these kitchen drawer organization ideas can help you make room.
Dishwashing supplies: Keep the working bottle of soap and your brush or sponge near the sink. Store refill bottles in a suitable cabinet, separate from food. If you hand-wash dishes every day, a drying rack may be a practical permanent fixture. If you use it occasionally, put it away once it and the dishes are dry, provided you have an easy storage spot.
Food and seasonings: A counter bowl can be useful for whole produce suited to room-temperature storage. Cut fruit belongs in the refrigerator, following food-safety guidance. Store cooking oils and dried seasonings in closed containers away from heat and light; a convenient cabinet is usually a better choice than a display beside the stove. Kansas State University Extension’s storage guide explains those conditions.
Decor: Keep something you enjoy if there’s comfortable room for it. If you move it every time you prepare food, try a nearby shelf or another room. Your favorite vase doesn’t have to supervise every sandwich.
Give the Clutter That Keeps Returning a Better Place to Land
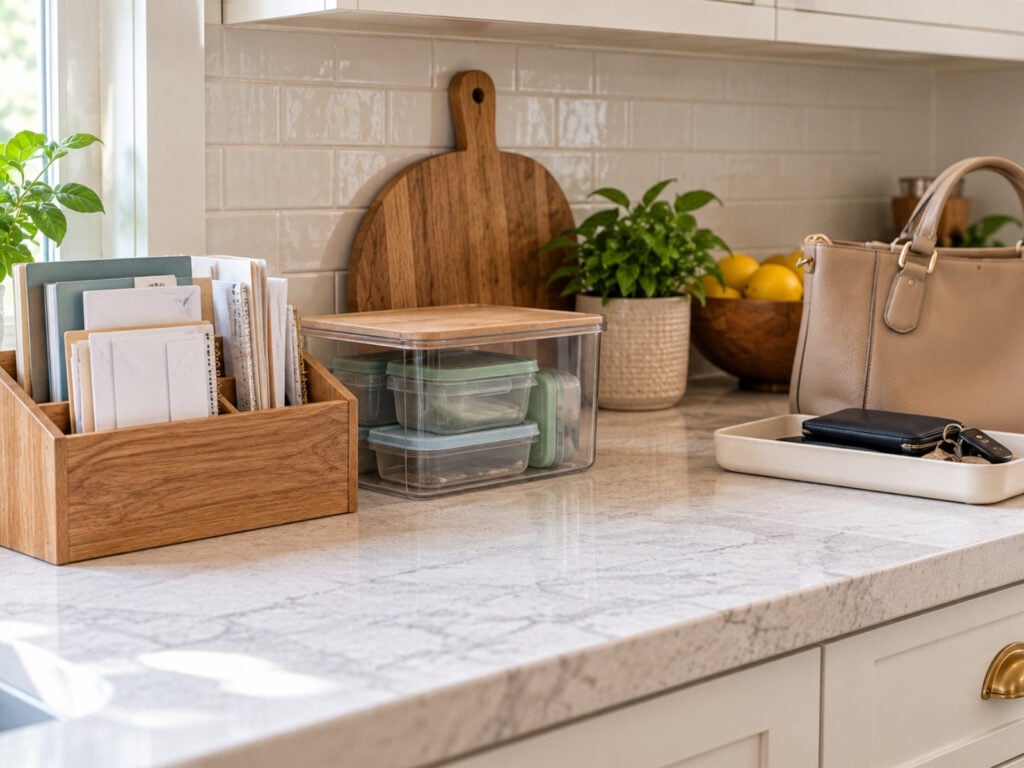
Pay attention to what repeatedly arrives on the counter. A pile of mail needs a different solution from clean lunch containers or a bag you carry to work.
The new location needs to be convenient at the moment you put the item down.
Mail and Paperwork
Use an existing folder or letter holder for papers that need action. Put it near the door you use or beside the place where you handle bills. Recycle obvious junk as it comes in, and check the folder when you already review your calendar or paperwork.
If the kitchen is genuinely the only practical location, use one small holder at the end of the counter, outside the food-prep area. Give it a specific job: papers requiring action. When it fills, deal with the contents before adding another holder.
A tray can contain mail. It cannot answer it.
Keys, Bags, and Things You Need Tomorrow
Try a small dish for keys on an existing entry table and an available hook or closet spot for your everyday bag. Choose the route you actually take through the house. A beautifully organized front entrance won’t help if you always come through the garage.
Keep empty reusable shopping bags nested inside one bag near your exit. Give an emptied, dry lunch bag a shelf or hook near lunch supplies. These items need places they can return to between uses, even when they’ll be needed again tomorrow.
Supplements and Other Visual Reminders
If bottles stay out because you’re worried you’ll forget them, replace the reminder before changing the storage.
Try a phone reminder or a note where you make breakfast, with the bottles grouped in a small bin in an appropriate cupboard. Follow each label’s storage directions. The FDA advises keeping medicines and dietary supplements out of children’s sight and reach, rather than leaving bottles on the counter as reminders.
Keep the labels with the products. The aim is to make the routine easier without creating a storage or safety problem.
When Cabinets Are Full, Make One Specific Space
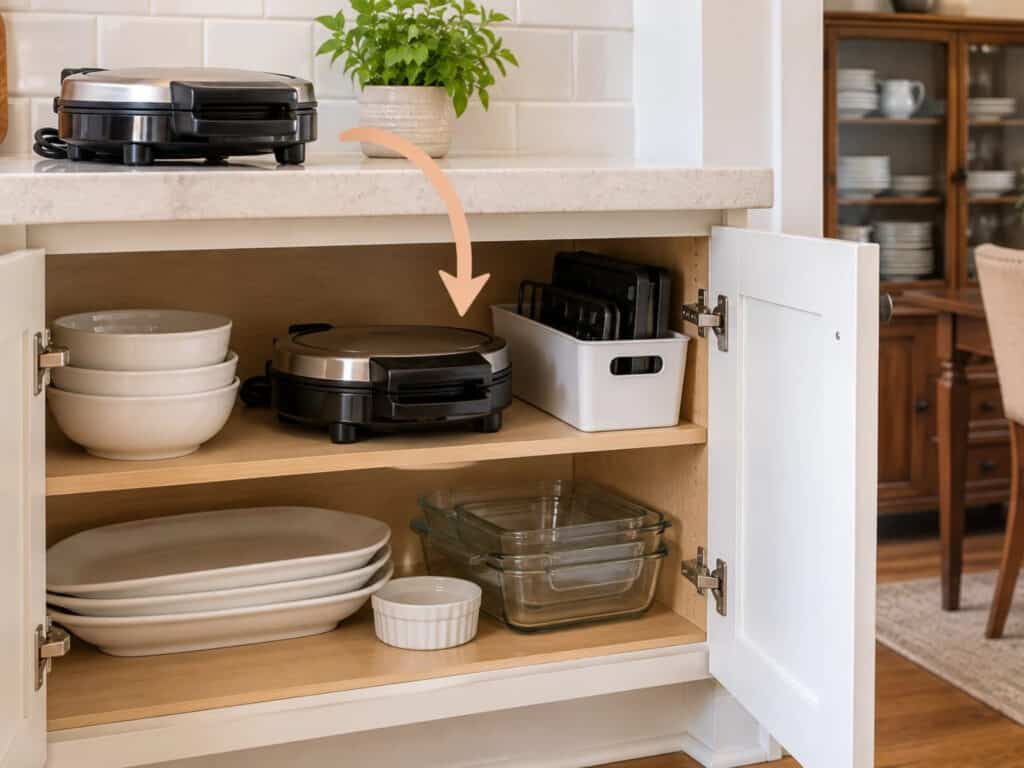
“Put it in a cabinet” isn’t useful advice when opening the cabinet already requires negotiations.
Start with one counter item you want to relocate, then choose its proposed destination. Look only at that shelf or drawer. What is occupying the space, and does it need to be there?
For example, a waffle maker used once a month could take the front of a lower cabinet currently holding serving dishes used twice a year. If you have a dining-room cupboard with room for those dishes, the swap gives the appliance an accessible home without making daily meals harder.
Before moving things elsewhere, remove items you no longer want. If you’re finding unused tools and duplicates, the kitchen decluttering list can help you work through them.
Sometimes the contents are useful but poorly arranged. Adjusting an existing shelf or separating a tangled stack may create the space you need. My kitchen cabinet organization guide covers those changes in more detail.
For groceries that keep spilling onto the counter, choose one accessible shelf for open packages and a separate spot for unopened extras. You can do this with the original packaging. See how to organize your pantry for a fuller food-storage setup.
If there truly isn’t enough enclosed storage, try an existing nearby shelf for lightweight supplies or a small cart for storage, provided it won’t block walking space or doors. Check furniture load limits before adding heavy items. A storage cart isn’t automatically a suitable surface for running an appliance.
And if there’s nowhere else for essentials to go, some will need to stay on the counter. Group them along one section so the remaining work area stays usable. For broader options, these ideas for organizing a small kitchen look beyond the countertops.
Use Organizers Only When They Improve the Setup
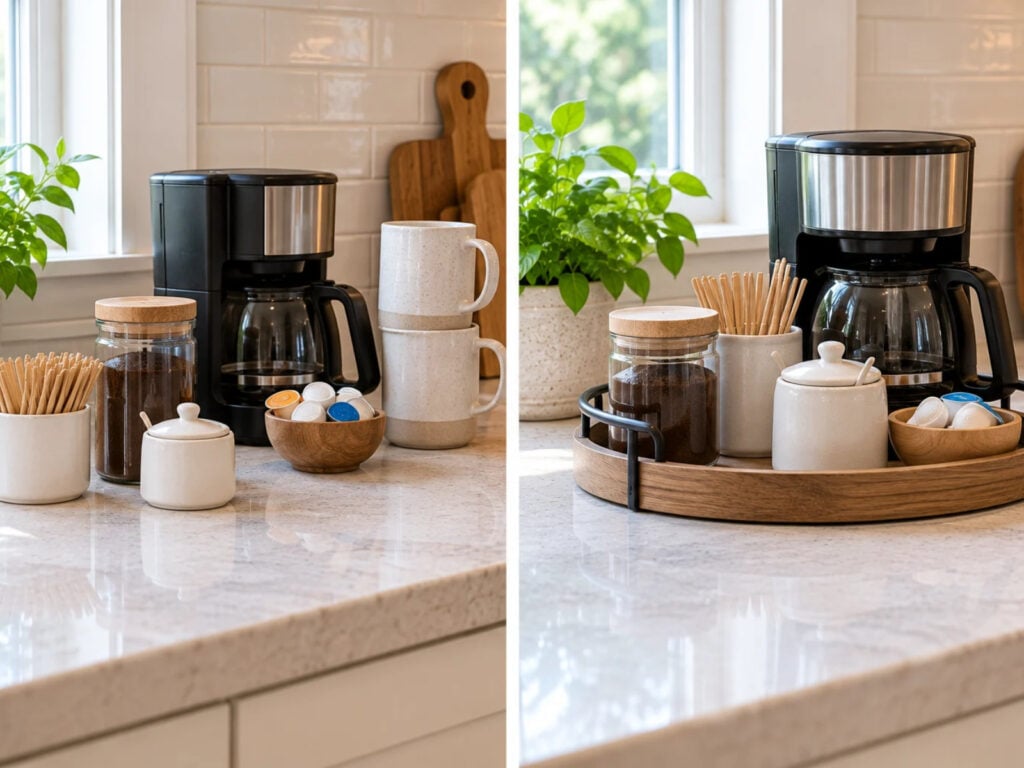
A tray can make several small objects easier to move together. It can also turn a few small objects into one surprisingly large obstacle.
Before buying anything, try the arrangement with what you own:
- For a tray: Use a small washable plate under a soap bottle or an unused serving tray for coffee supplies. Check whether it actually makes wiping the counter easier.
- For a utensil holder: Try a sturdy container that won’t tip when you remove a tool. Leave space to grab handles comfortably.
- For a riser or tiered organizer: Measure the footprint and height, then check whether you can reach both levels. Stacking supplies upward won’t help if the lower shelf is awkward to use.
Skip an organizer if its rim or base takes up space you need, it blocks an outlet, or you have to move the whole thing to reach one item. Don’t add a larger container simply because the current one is overflowing. Check what’s inside first.
Three Kitchens Can Make Different Choices
These hypothetical setups show how the same decisions can lead to different arrangements.
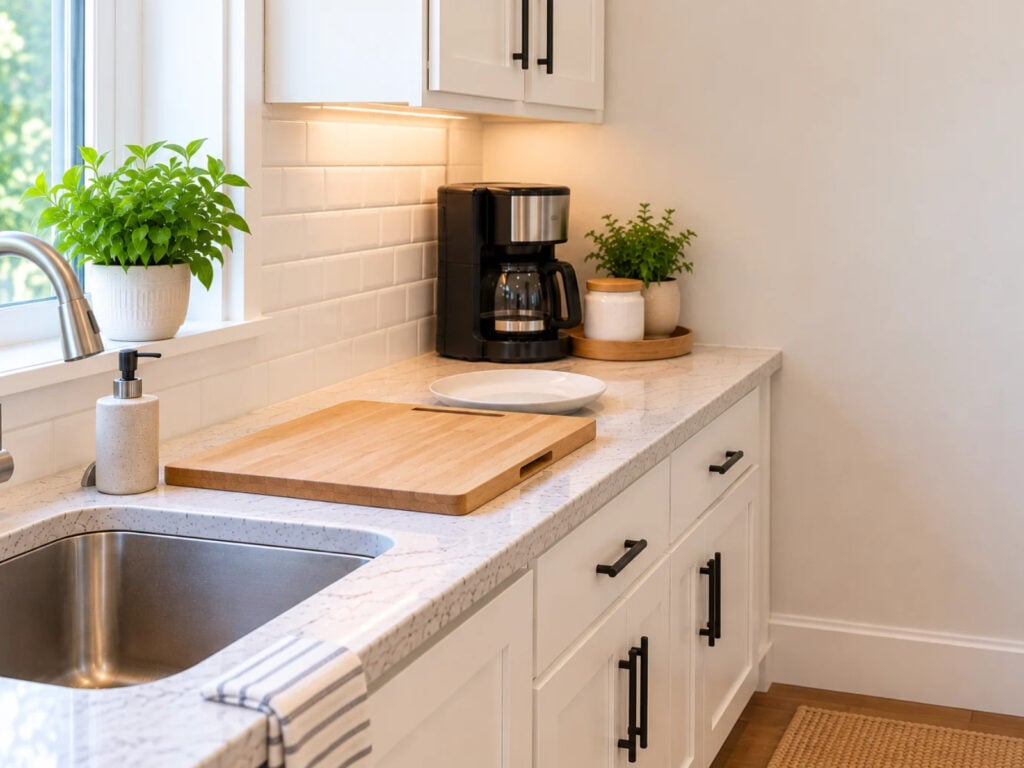
A small apartment kitchen: The coffee maker stays because it’s used every morning. A lightweight blender goes at the front of a reachable cabinet, and mugs stay on the shelf above. Mail moves to a folder in a living-room drawer. The main counter now has room for a board and plate, without adding a cart to a narrow walkway.
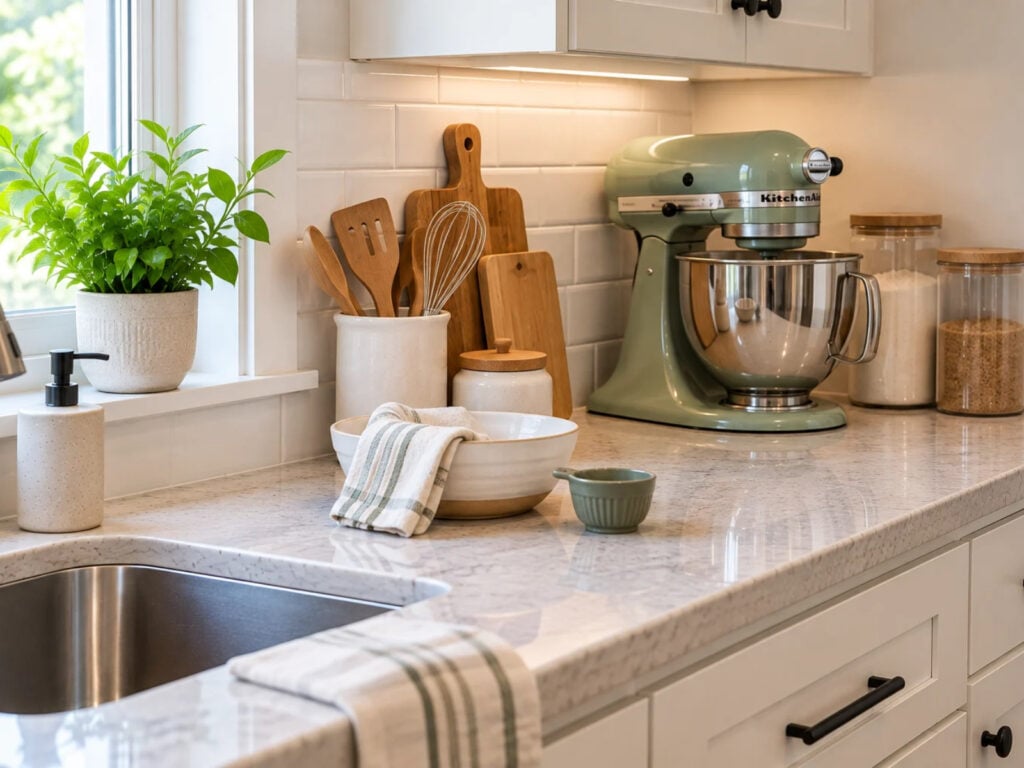
A kitchen where lifting is difficult: A regularly used heavy mixer keeps its counter spot. Baking pans and attachments move into nearby accessible storage, while decorative canisters move elsewhere. The mixer can stay useful without needing to be lifted in and out for every baking session.
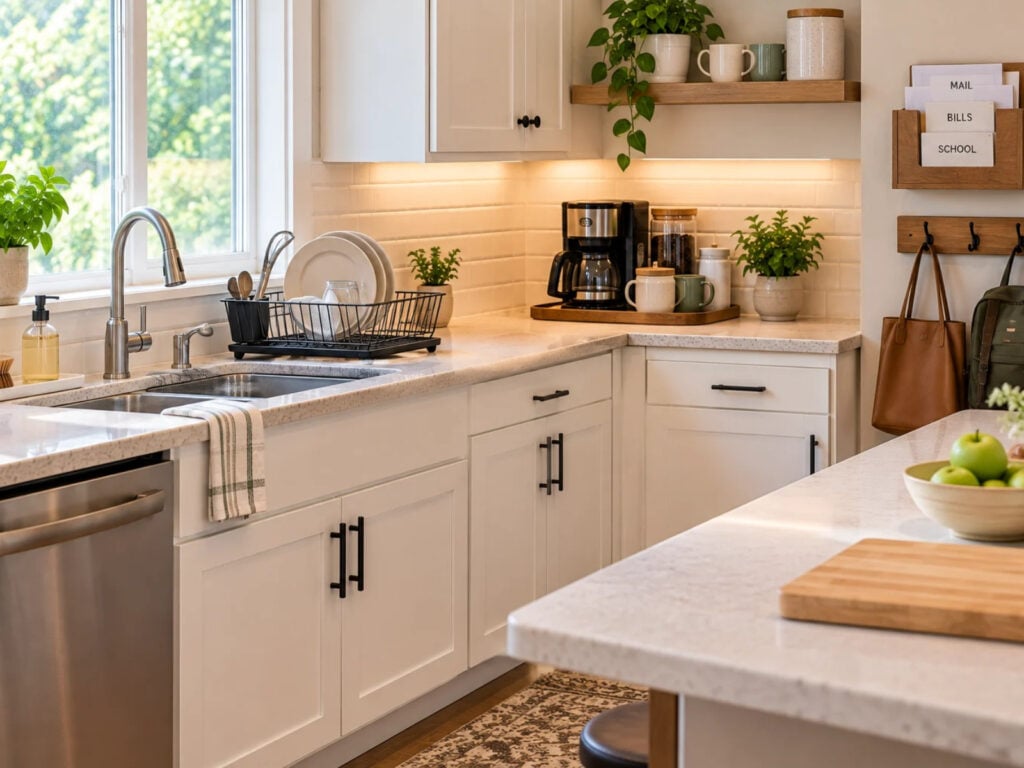
A busy shared kitchen: The drying rack stays because people wash dishes throughout the day. A corner holds the shared coffee setup, while the prep stretch remains open. Everyone knows which folder holds mail and which hook holds bags, so putting things away doesn’t require guessing.
Reset the Counter for Its Next Job
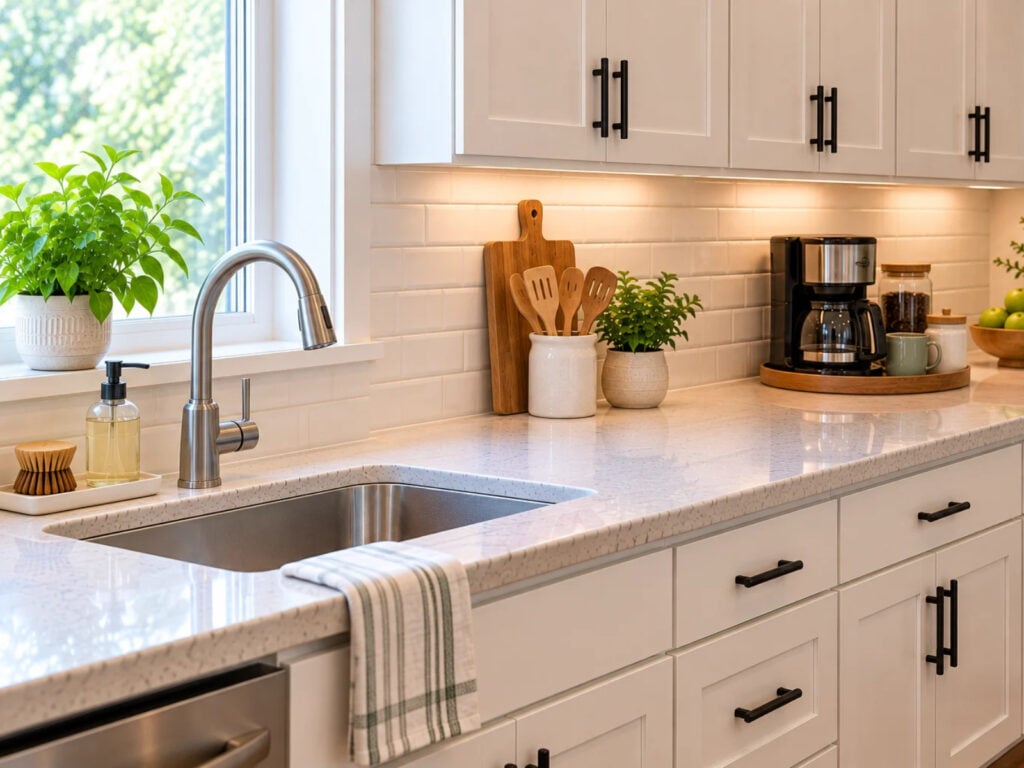
Choose a moment you already use the kitchen, such as after the evening dishes or while putting breakfast away. Make the counter ready for the next person who needs it:
- Put food away appropriately and move used dishes to the dishwasher or washing area.
- Return loose items to their chosen places.
- Clear and wipe the working area, using a method suitable for your countertop.
You don’t need to rearrange every appliance or deep-clean the room during this reset.
If the same object is still on the counter tomorrow, ask why. Is its shelf blocked? Is the storage spot too far away? Does someone else in the household know where it goes? Fix that one obstacle before adding another chore.
Start today by making room for your cutting board and a plate, then give the item blocking that space a realistic home. Leave the rest of the kitchen for another session.
For a manageable next step each day, join my free 14-Day Declutter Challenge. It gives you one small task at a time to help you keep making progress.