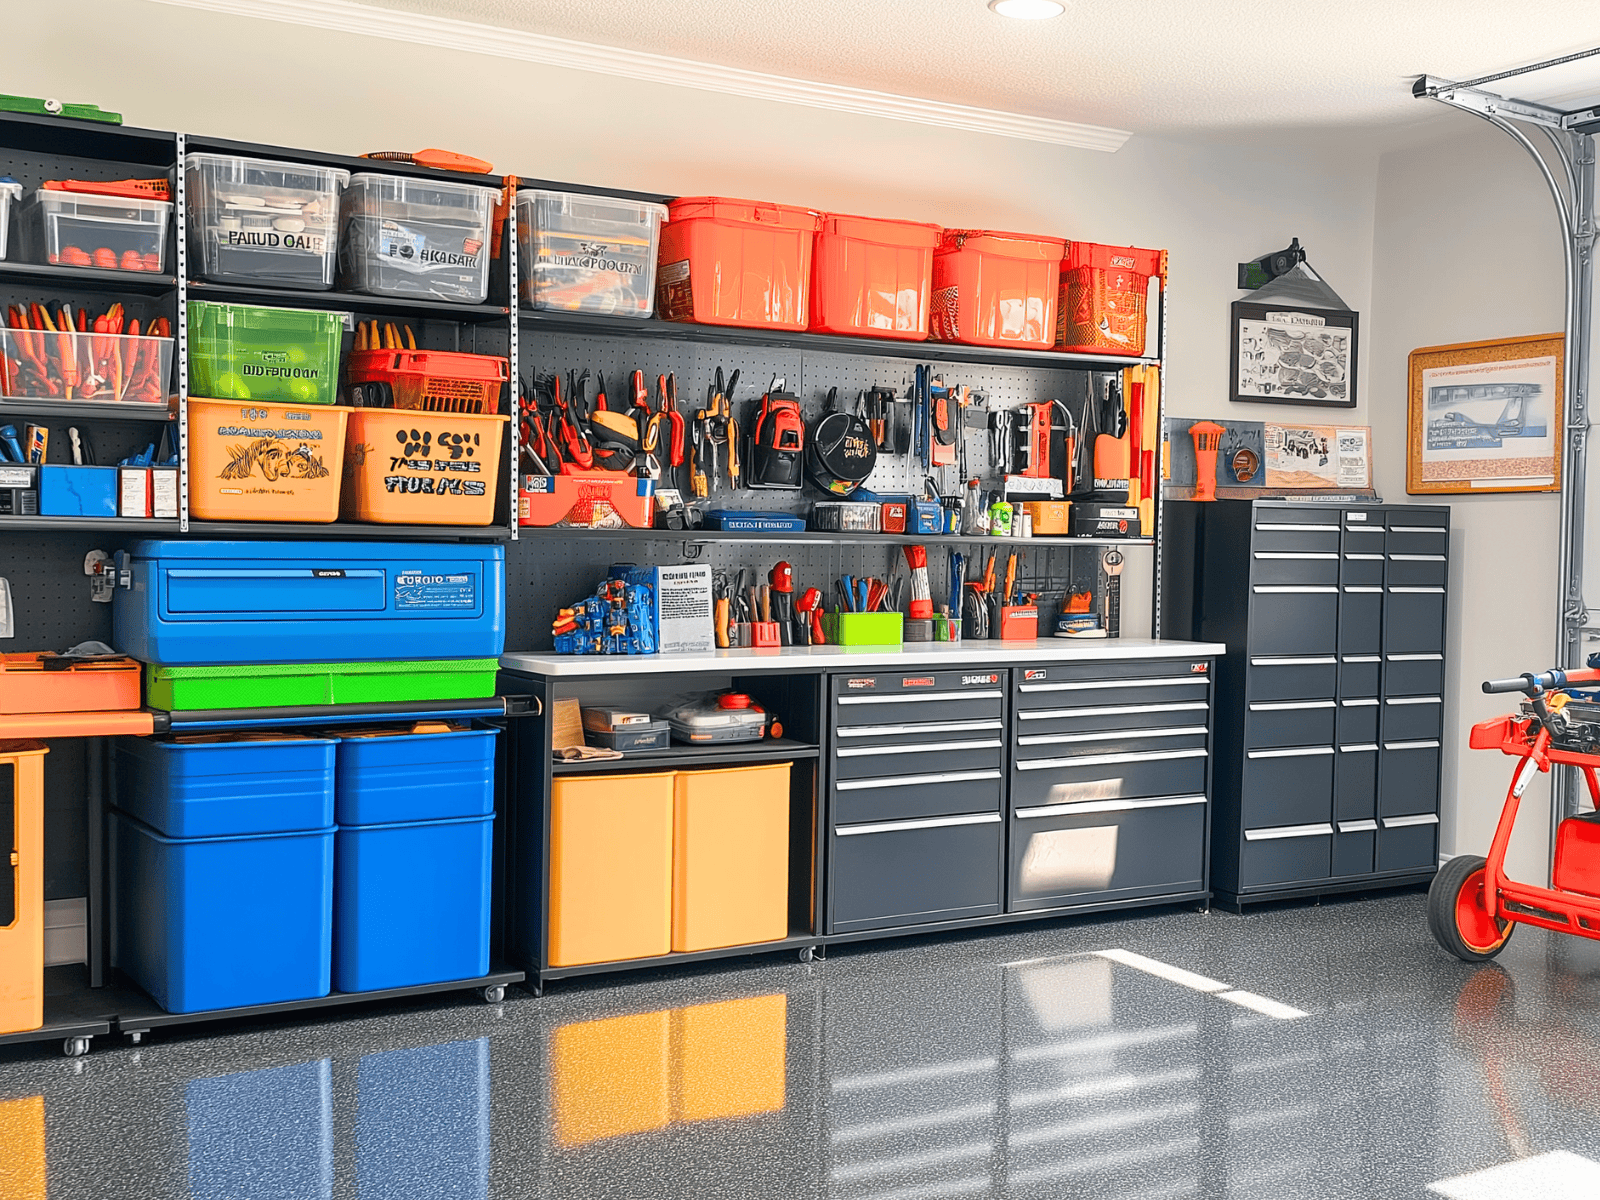
How to Create a Clutter-Free Garage: 7 Organization Tips
Picture this: You pull into your driveway but can’t park in your garage. Why? Because it’s packed with boxes, old sports equipment, and items you haven’t used in years. Sound familiar? You’re not alone. For many homeowners, including me, the garage becomes a catch-all space for household overflow, creating stress and frustration every time you walk through it.
If you’re reading this, chances are your garage has become more of a household junk drawer than a space for your car. Maybe just thinking about tackling that mountain of clutter makes your stomach turn.
Here’s the good news: You don’t have to live with garage chaos forever. As a home organization expert, I’ve helped families reclaim their garage space, and I will show you exactly how to do it – no fancy systems are required, just practical steps anyone can follow.
Ready to finally park your car in the garage? Let’s get started.
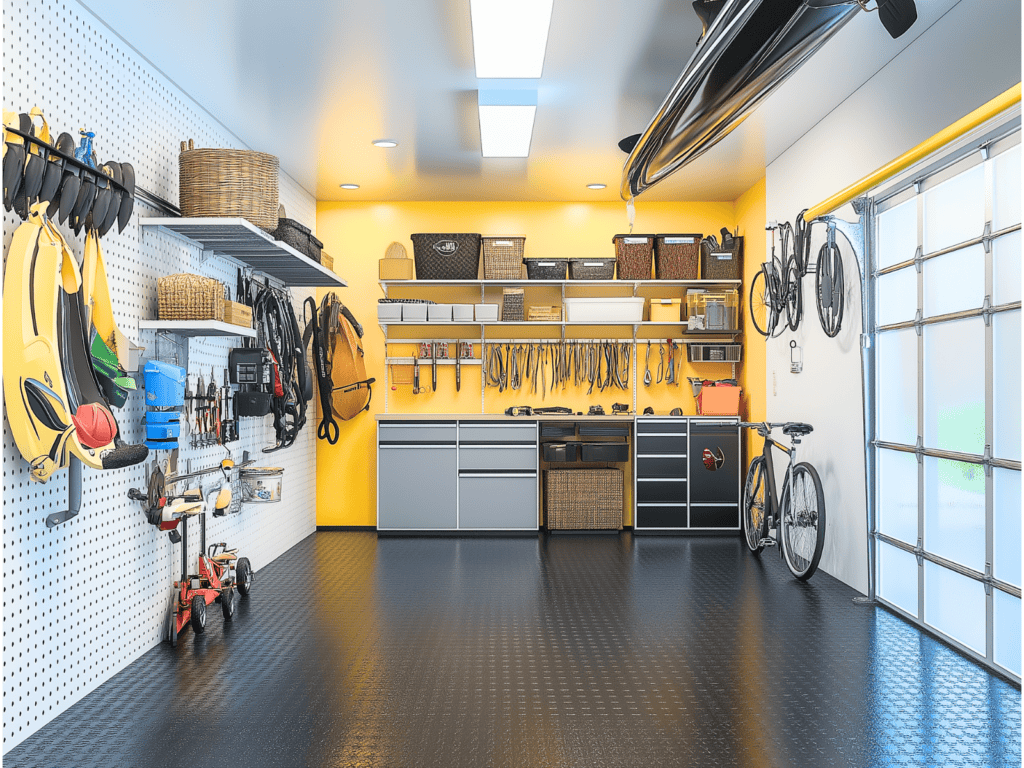
1. Assess Your Current Garage Situation
Before you start hauling everything onto your driveway, let’s take a smart approach. Think of this as creating a battle plan – and your first mission is to understand exactly what you’re dealing with.
Take Inventory (The Not-So-Fun Scavenger Hunt)
Grab a notebook and pen. We’re going on a garage safari. Walk through your garage and list everything you find, grouping items into these basic categories:
- Automotive (fluids, tools, car care products)
- Lawn & Garden (mower, tools, fertilizers)
- Sports & Recreation (bikes, balls, camping gear)
- Tools & Home Repair
- Holiday Decorations
- Household Overflow (extra supplies, paper products)
- Mystery Items (we all have them!)
As you make your list, put a star next to anything you haven’t used in the past year. These are your prime candidates for removal. And those dusty boxes you haven’t opened since moving in? They’re probably ready for a new home.
Pro Tip: Take photos of your garage from different angles. They’ll help you spot problem areas you might miss while walking through, and they’ll make for great “before” pictures when you’re done.
Measure Your Space (Know Your Battlefield)
Now it’s time to understand your available space. Don’t skip this step – it’s crucial for planning storage solutions that fit.
Grab a tape measure and note:
- Total length and width of your garage
- Ceiling height
- Door dimensions (including the garage door when open)
- Distance between wall studs (typically 16 or 24 inches)
- Location of: Electrical outlets, light switches, windows, water heater, and any permanent fixtures
Got a smartphone? There are free apps that can help you create a basic floor plan. Or simply sketch it on graph paper – nothing fancy is needed.
Pro Tip: Mark which walls receive direct sunlight. Avoid storing temperature-sensitive items like paint or chemicals in these areas.
Look up, too. That ceiling space above your garage door? It’s prime real estate for seasonal items. Make note of any overhead beams or existing fixtures that could support storage systems.
Now you’ve got a clear picture of what you’re working with – the stuff that needs organizing and the space you have to work with. This might seem like overkill, but trust me: knowing exactly what you have and where it could go will make the next steps much easier.
Ready to start making decisions about what stays and what goes? That’s our next step.

2. The Great Purge: Decluttering Your Garage
Alright, it’s time for the moment of truth. Pick a day with good weather, recruit some helping hands, and let’s turn your garage inside out.
Sort Items Into Categories
Start by creating four distinct zones on your driveway or in your yard:
Zone 1: Keep
- Items you’ve used in the last year
- Well-maintained tools and equipment
- Properly stored seasonal items
- Emergency supplies
Zone 2: Donate/Sell
- That treadmill you swore you’d use
- Extra tools in good condition
- Sports equipment your kids have outgrown
- Working items you’ve upgraded from
Zone 3: Trash/Recycle
- Broken items beyond repair
- Old paint and expired chemicals (check local disposal rules)
- Rusty tools
- Items with missing parts
Zone 4: Relocate
- Books and papers (they’ll deteriorate in the garage)
- Family photos (moisture is their enemy)
- Food items (hello, pantry moths!)
- Anything that belongs in your house
Making the Tough Decisions
Not sure where something belongs? Run it through this quick decision-making checklist:
1. The One-Year Test
Have you used it in the last 12 months? No? Be honest about whether you’ll use it in the next 12.
2. The Condition Check
- Is it broken? → Trash
- Working but outdated? → Donate
- Dirty but fixable? → Clean and keep
- Like new? → Sell if unused
3. The Money Question Ask yourself:
- Would it cost less to rebuy than to store?
- Is it worth paying for storage space?
- Could you rent it when needed instead?
4. Seasonal Items Reality Check
Holiday decorations and seasonal gear get a special pass, but with limits:
- Keep only what you display each year
- Store only what fits in clearly labeled bins
- Limit yourself to one bin per holiday
Pro Tip: Take photos of sentimental items you’re struggling to part with. Often, it’s the memory you want to keep, not the item itself.
Remember: Every item you remove is one less thing to organize later. Be ruthless – your future self will thank you.
Quick Guide for Specific Items:
- Paint: Keep one small touch-up container per room
- Tools: Keep basics plus those you use for regular projects
- Sports gear: If it doesn’t fit or hasn’t been used in a season, say goodbye
- Garden supplies: Check expiration dates and consolidate half-empty bags
The goal isn’t to empty your garage completely—it’s to make room for what truly belongs there—like your car, remember?
Next up: We’ll tackle organizing everything you’ve decided to keep.

3. Design Your Ideal Garage Layout
Now that you’ve purged the clutter let’s turn your garage into a space that works as hard as you do. The secret to an organized garage is smart zoning and using every inch of available space.
Zoning Your Garage: A Place for Everything
Think of your garage like a small studio apartment – every zone needs a specific purpose. Here’s how to map it out:
Zone 1: Easy-Access Items (Near the Door to House)
- Everyday tools
- Recycling bins
- Pet supplies
- Frequently used sports equipment
Zone 2: Parking Space
- Leave at least 2 feet of clearance around your vehicle
- Mark the parking spot with floor tape
- Consider installing a parking guide (a tennis ball on a string works great!)
Zone 3: Workshop Area (If Needed)
- Position near natural light if possible
- Keep away from parking areas to avoid dust on vehicles
- Install good lighting
- Consider placing anti-fatigue mats for comfort
Zone 4: Seasonal Storage (Hardest to Reach Areas)
- Holiday decorations
- Camping gear
- Winter/summer equipment
- Rarely used items
Safety First:
- Keep chemicals away from heat sources
- Store fire extinguisher near garage door
- Maintain clear paths to electrical panels
- Install proper ventilation in work areas
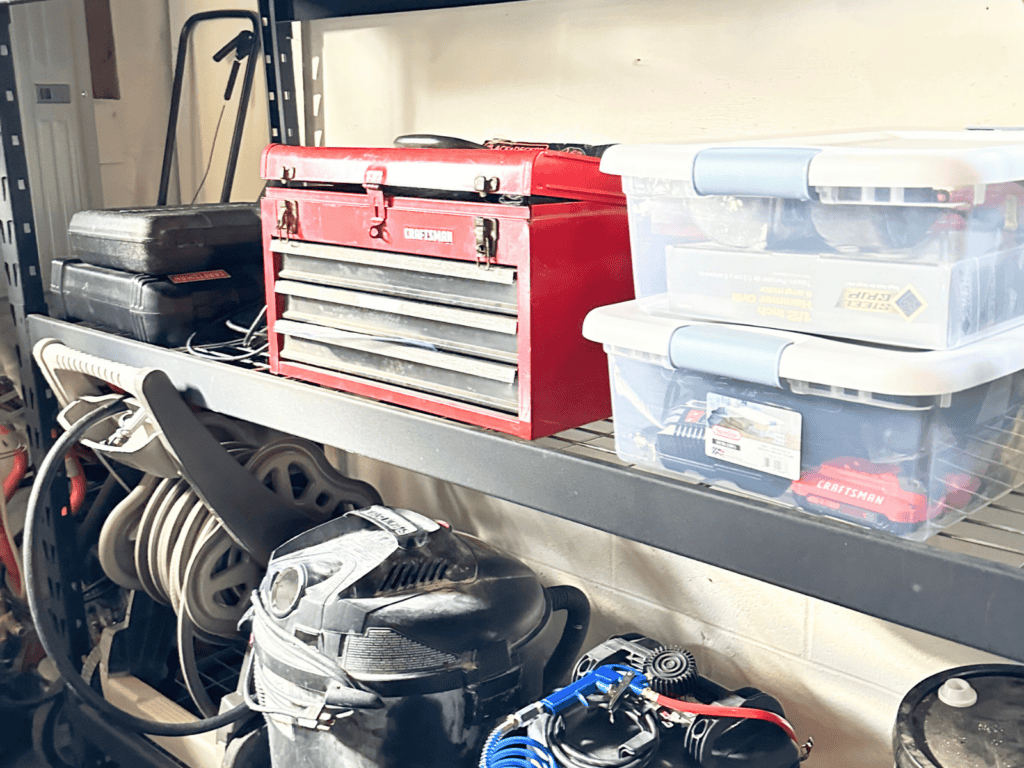
Going Vertical: Your Walls Are Gold
Stop thinking about floor space and start looking up. Your walls are prime storage real estate.
Wall Storage Options:
Pegboards
- Perfect for tools
- Easy to reconfigure
- Add hooks, shelves, and bins as needed
- Pro tip: Paint a shadow outline behind each tool
Slatwall Panels
- More durable than pegboard
- Holds heavier items
- Looks cleaner
- Pricier but worth it for heavy use
Track-Based Systems
- Most versatile option
- Easy to adjust
- Supports heavy loads
- Can mix and match accessories
Simple Hook Solutions
- Bike hooks
- Tool hangers
- Sports equipment racks
- Ladder hooks
The Ceiling: Your Secret Storage Weapon
Don’t forget that space above your head!
Overhead Storage Solutions:
- Ceiling-mounted racks for seasonal items
- Pulley systems for kayaks or canoes
- Sliding storage platforms
Important Weight Considerations:
- Check your ceiling joists before installing
- Maximum load: typically 100-300 lbs per storage unit
- Leave at least 2 feet clearance below
- Don’t store heavy items above parking areas
Floor Storage: Making the Most of Ground-Level
Some things belong on the ground – but let’s be smart about it.
Cabinet Systems:
- Choose rust-resistant materials
- Opt for adjustable shelving
- Consider lockable options for chemicals
- Look for cabinets with adjustable feet for uneven floors
Mobile Solutions:
- Tool carts for workshop areas
- Rolling storage bins
- Portable workbenches
- Wheeled trash/recycling bins
Pro Tips for Floor Storage:
- Keep items 6 inches off the floor (prevents moisture damage)
- Use heavy-duty casters on mobile units
- Consider durability for your climate
- Install bumpers to protect walls
Quick Layout Do’s and Don’ts
Do:
- Map your layout on paper first
- Consider traffic flow
- Plan for future needs
- Label everything
Don’t:
- Block electrical panels
- Overload storage systems
- Ignore ventilation needs
- Create narrow pathways
Remember: The best garage layout is one you can easily maintain. Start with these basics and adjust as you learn what works best for your family’s needs.
Ready to start installing your storage solutions? That’s coming up next.

4. Organizing by Category
Let’s break down how to organize each major category of garage items. Trust me – when everything has a home, you’ll never waste time hunting for that wrench or bike pump again.
Tools and Workshop Items
Nothing says “functional garage” like a well-organized tool collection. Here’s how to wrangle those tools into submission:
Hand Tools
- Group similar tools together (screwdrivers, wrenches, hammers)
- Use magnetic strips for metal tools
- Store small items in clear, labeled containers
- Keep frequently used tools at eye level
Power Tools
- Store batteries on the charging station
- Keep manuals in a waterproof folder
- Use original cases or hanging brackets
- Label cords and accessories
Workshop Station Setup
- Install good task lighting
- Create a pegboard or magnetic wall for tools
- Add a sturdy workbench with storage below
- Keep a basic tool kit easily accessible
Pro Tip: Create a “grab and go” tool kit with basics (hammer, screwdrivers, pliers) for quick household fixes.
Sporting Equipment
Sports gear can take over your garage faster than kids outgrow their shoes. Here’s how to tame it:
Seasonal Sports
- Use vertical ball racks
- Store off-season gear up high
- Keep current season’s equipment easily accessible
- Group by sport type
Bikes and Large Equipment
- Install wall-mounted bike hooks
- Use pulley systems for kayaks/canoes
- Store helmets on dedicated hooks nearby
- Keep pump and repair tools close
Protective Gear
- Use mesh bags for small items
- Install hooks for bags at kids’ height
- Keep gear near related equipment
- Allow air circulation to prevent odors
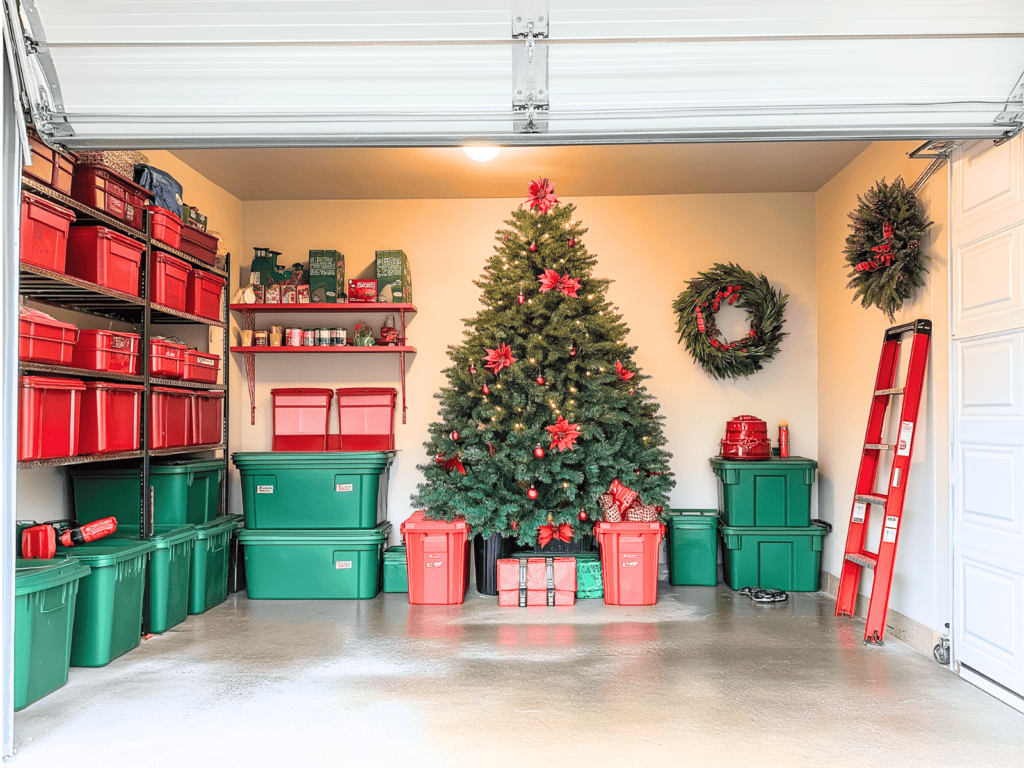
Seasonal Items
Don’t let holiday decorations and seasonal supplies eat up prime real estate.
Holiday Storage
- One bin per holiday
- Clear bins with color-coded labels
- Store up high in ceiling racks
- Keep inventory list on bins
- Purge broken items yearly
Garden Equipment
- Hang long-handled tools
- Store soil and fertilizer in sealed containers
- Keep frequently used items accessible
- Group watering supplies together
Seasonal Supplies
- Rotate summer/winter items seasonally
- Store pool supplies together
- Keep ice melt near garage door in winter
- Stack empty pots in off-season
Automotive Supplies
Keep your car care items organized, and you’ll actually use them!
Car Care Products
- Store liquids in spill-proof containers
- Keep cleaning supplies together
- Use shelf liner under chemicals
- Group items by use (washing, maintenance, detailing)
Maintenance Tools
- Create a basic car care kit
- Store jack and stands together
- Keep a tire pressure gauge accessible
- Organize by maintenance task
Emergency Kit Must-Haves
- Jumper cables
- Basic tool kit
- Flashlight with fresh batteries
- First aid supplies
- Emergency blanket
- Keep kit near driver’s side
Quick Tips for Every Category:
- Label everything clearly
- Store items where you use them
- Keep safety items easily accessible
- Check stored items twice yearly
- Create “zones” for each category
Remember: The key isn’t just organizing – it’s organizing in a way that makes sense for how you use these items. If you’re constantly rearranging to reach something, rethink its location.
Next up: How to maintain this beautiful organization system you’ve created.
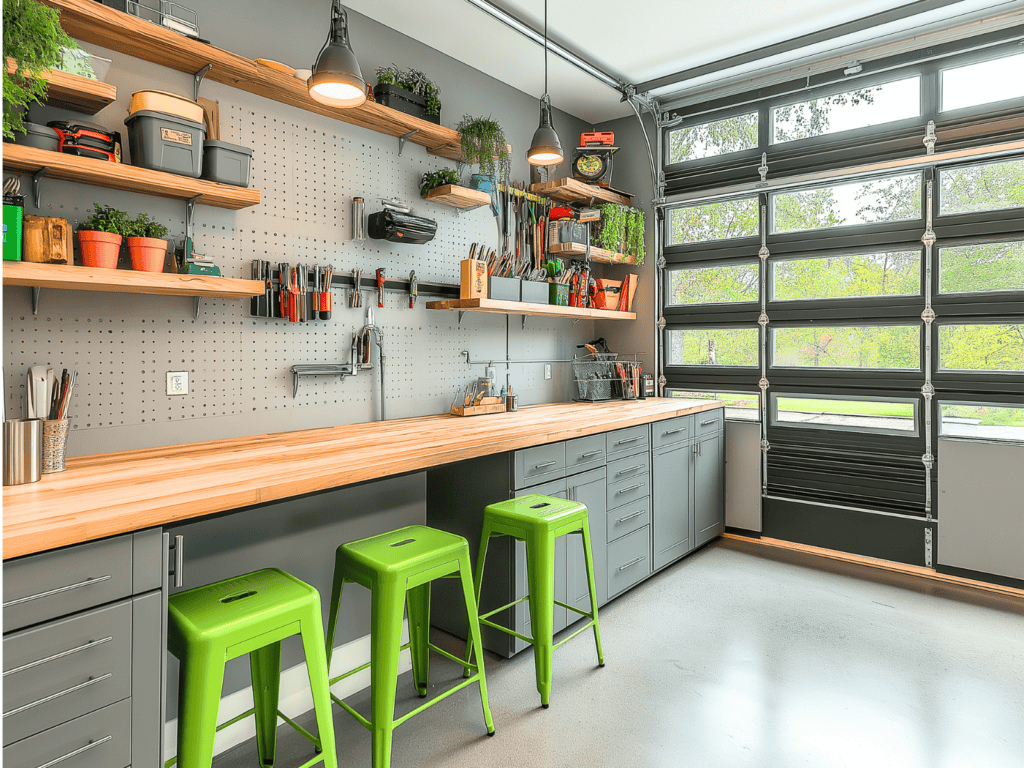
5. Implementation Strategy
Let’s face it – transforming your garage isn’t an overnight project. But with smart planning and a realistic budget, you can tackle it without overwhelming yourself (or your wallet).
Budget Planning: Getting the Most Bang for Your Buck
Essential Storage Solutions: The Basics ($200-500)
- Heavy-duty hooks and brackets ($30-50)
- Basic pegboard system ($50-100)
- Storage bins and labels ($50-75)
- Simple shelving unit ($70-150)
- Basic workbench ($100-200)
Optional Upgrades: Nice to Have ($500-2000)
- Slatwall panels ($200-400)
- Professional cabinet system ($500-1500)
- Ceiling storage racks ($150-300)
- Track-based systems ($200-500)
Money-Saving Tips:
- Check Facebook Marketplace for used cabinets
- Hit end-of-season sales for storage systems
- Use milk crates instead of fancy bins
- Repurpose old kitchen cabinets
- Build simple wooden shelves yourself
Installation Process: Getting It Done Right
DIY or Pro? Here’s How to Decide:
DIY-Friendly Projects:
- Installing pegboards
- Mounting basic shelves
- Setting up freestanding cabinets
- Installing hooks and brackets
Call a Pro For:
- Major electrical work
- Full cabinet system installation
- Ceiling storage systems
- Anything involving structural changes
Required Tools for DIY:
- Stud finder
- Level
- Power drill/driver
- Basic hand tools
- Measuring tape
- Safety gear (goggles, gloves)
Safety First:
- Always use wall anchors
- Check weight limits
- Work with a partner for heavy items
- Keep ladder on level ground
- Wear closed-toe shoes
Organization Timeline: Your Weekend Warrior Guide
Weekend 1: The Prep Phase Friday Evening (2-3 hours):
- Take “before” photos
- Measure space
- Create zones with tape
- Make shopping list
Saturday (6-8 hours):
- Empty garage
- Sort items
- Purge unwanted stuff
- Clean thoroughly
Sunday (4-6 hours):
- Donate/dispose of unwanted items
- Plan storage layout
- Purchase basic supplies
Weekend 2: The Installation Phase Saturday (6-8 hours):
- Install wall storage systems
- Set up workbench
- Mount heavy-duty hooks
- Install basic shelving
Sunday (4-6 hours):
- Organize remaining items
- Label storage areas
- Create maintenance checklist
- Take “after” photos
Priority Task Order:
- Safety items (fire extinguisher, first aid)
- Frequently used items
- Seasonal storage
- Nice-to-have upgrades
Pro Tips for Success:
- Start with one wall at a time
- Take breaks every 2 hours
- Keep water and snacks handy
- Have a backup indoor space for items during organization
- Check the weather forecast before starting
Remember: This is a marathon, not a sprint. If you need to spread the work over more weekends, that’s perfectly fine. The goal is to do it right, not to do it fast.
Up next: How to maintain your beautifully organized garage long-term.

6. Maintenance Plan
Congratulations! Your garage is organized. Now comes the real challenge—keeping it that way. Don’t worry; I’ve got some simple strategies to help you maintain your hard-earned organization without spending hours each week.
Regular Organization Checks: Stay on Top of Things
Monthly Quick Checks (15-20 minutes)
- Return misplaced items to proper homes
- Check for any broken storage systems
- Sweep floors and clear cobwebs
- Wipe down frequently used tools
- Empty trash and recycling
Seasonal Deep Dives (2-3 hours) Spring:
- Bring out garden tools and summer gear
- Check for winter damage or leaks
- Clean windows and lighting fixtures
- Inspect weather stripping
Summer:
- Check the garage door function
- Clean fans and vents
- Organize kids’ outdoor equipment
- Touch-up floor markings
Fall:
- Winterize garden equipment
- Bring out snow removal tools
- Check heating equipment
- Clean gutters and drainage
Winter:
- Salt/sand storage check
- Inspect holiday decoration storage
- Check emergency supplies
- Test garage door function in cold
Quick Inventory Updates
- Keep a basic list on your phone
- Note when supplies run low
- Track tool borrowing
- Update emergency kit contents
Organization Rules: Making It Stick
The “One In, One Out” Rule
- Buy new tool = retire or donate an old one
- New sports gear = evaluate old equipment
- New storage bin = declutter old container
- New garden tool = assess the current collection
Simple Cleaning Schedule Weekly:
- Quick sweep
- Wipe down workbench
- Empty trash
- Clear entrance area
Monthly:
- Vacuum/mop floors
- Dust storage areas
- Clean windows
- Check for pest issues
Make It Routine:
- 5-minute daily reset
- Weekly 15-minute family cleanup
- Monthly zone check by each family member
- Seasonal family reorganization party (yes, with pizza!)
Pro Tips for Long-Term Success:
- Take photos of organized areas as reference
- Set calendar reminders for maintenance tasks
- Create a “homeless items” bin for quick cleanup
- Keep basic cleaning supplies in the garage
- Address problems when they’re small
Remember: Perfect is the enemy of good. Your garage doesn’t need to look like a magazine cover – it just needs to function well for your family.
The 5-Minute Rule: If something takes less than 5 minutes to put away properly, do it now. This simple rule prevents most garage chaos before it starts.
Up next: How to troubleshoot common organization challenges that might pop up along the way.
7. Troubleshooting Common Challenges
Even the best-laid plans can run into problems. Here’s how to tackle the most common garage organization challenges.
Space Limitations: When Your Garage Feels Too Small
Smart Solutions for Small Garages
- Use corner spaces for L-shaped shelving
- Install folding workbenches
- Create “zones” that serve multiple purposes
- Think diagonal parking for more space
Clever Multi-Purpose Ideas
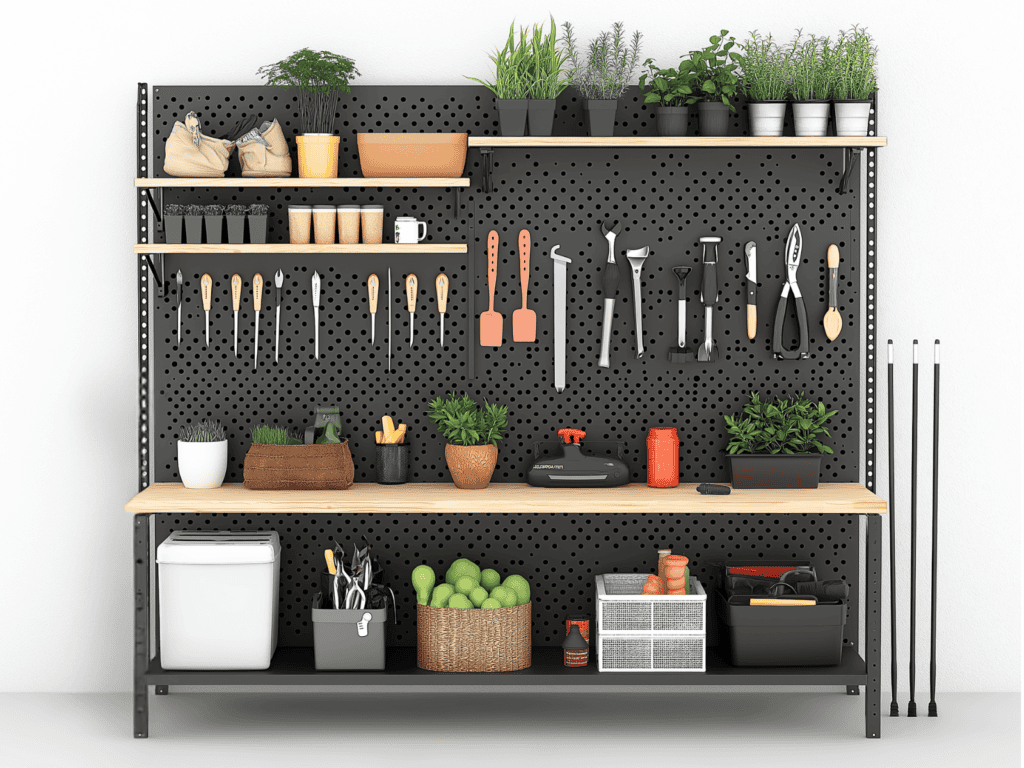
- Workbench doubles as a potting station
- The Pegboard wall serves as tool storage and gift-wrapping station
- Mobile shelving units create flexible space
- Fold-down tables for projects
Space-Saving Tricks That Work
- Store ladder horizontally on wall hooks
- Use magnetic strips for metal tools
- Install retractable extension cords
- Create “nesting” storage zones
Weather Woes: Protecting Your Stuff
Moisture Control
- Install a dehumidifier in humid climates
- Use moisture-absorbing products in storage bins
- Keep items off the floor with pallets
- Consider weatherstripping upgrades
Temperature Solutions
- Store temperature-sensitive items indoors
- Use insulated cabinets for paint and chemicals
- Add ventilation fans for the summer heat
- Position storage away from sunny walls
Pest Prevention
- Seal gaps around doors and windows
- Store pet food in metal containers
- Use cedar blocks in storage areas
- Keep cardboard boxes to a minimum
- Regular pest inspections
Family Compliance: Getting Everyone On Board
Simple Systems That Work
- Color-code storage by family member
- Create “drop zones” for quick cleanup
- Use picture labels for young kids
- Keep frequently used items easily accessible
Visual Guides That Help
- Take photos of properly organized areas
- Create simple checklists
- Use floor tape to mark parking spots
- Post “reset” instructions
Making It Stick
- Assign specific zones to family members
- Weekly 10-minute family cleanup
- Reward system for maintaining organization
- Regular family check-ins
Conclusion: Your Path to a Clutter-Free Garage
The hardest part of organizing your garage isn’t sorting, building storage systems, or even maintaining them—it’s taking that first step. Maybe you’ve been parking in your driveway for years, thinking “someday” you’ll tackle the garage chaos. Well, today is that day.
Remember: You don’t have to transform your garage overnight. Start with one corner, one category, or even one shelf. Each item you put in its proper place is a small victory toward your ultimate goal: a functional garage that serves your family’s needs.
So grab those work gloves and pick a starting point. That cluttered garage won’t organize itself, but now you have the roadmap to make it happen. Your future self will thank you whenever you pull into your clean, organized garage.
Ready to get started?

Resources: Everything You Need to Get Started
This post contains affiliate links. For more information, see my disclosures here.
Essential Shopping List
Basic Storage (Start Here)
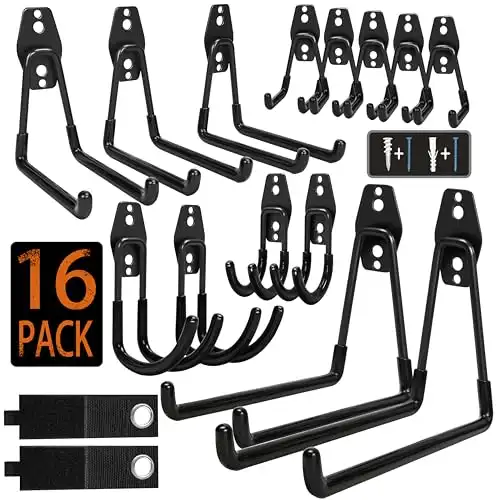
Heavy-duty utility hooks (6-8)
These steel hooks can support up to 88 pounds and are perfect for hanging bikes, ladders, and yard tools. Look for hooks with rubber-coated tips to prevent item damage.
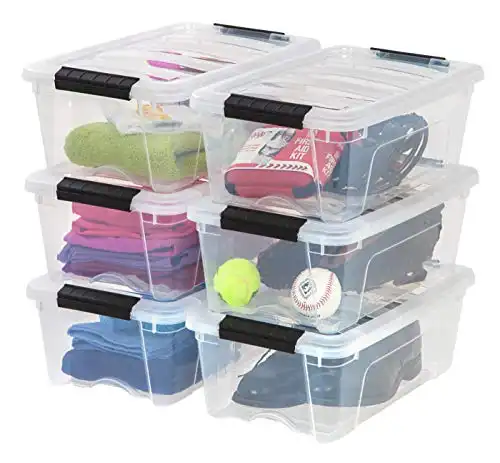
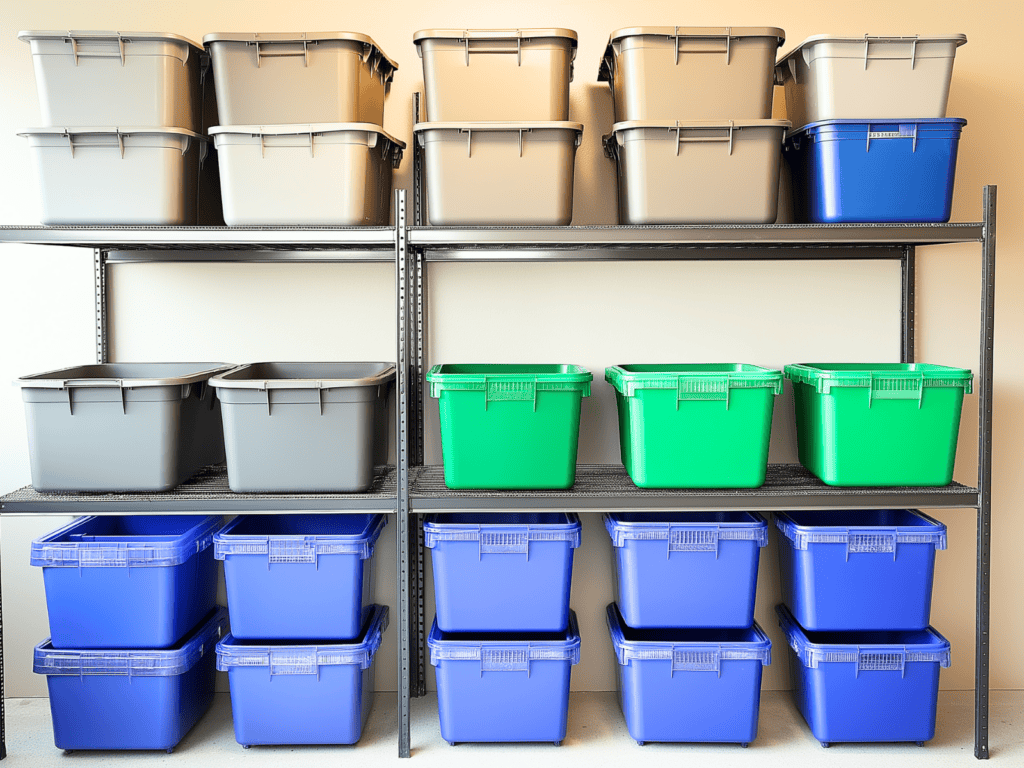
Clear storage bins with lids (4-6)
Clear stackable storage bins are perfect for sorting and storing your ‘keep’ items. Look for bins with secure latches and handles that stack efficiently—you’ll want to see what’s inside without unstacking everything.
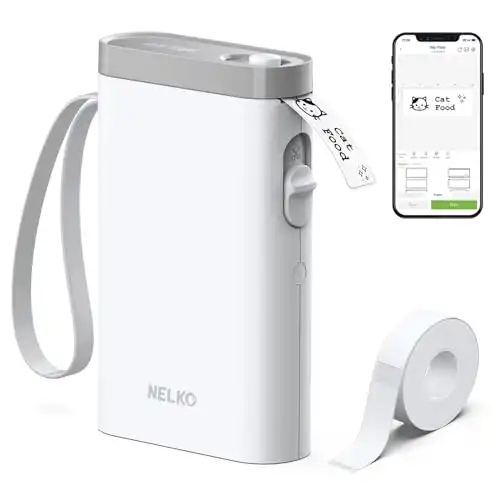
Label maker or weatherproof labels
This wireless printer connects to your phone and offers customizable templates for creating clear, professional-looking labels for bins, shelves, and zones.
Basic pegboard kit with hooks
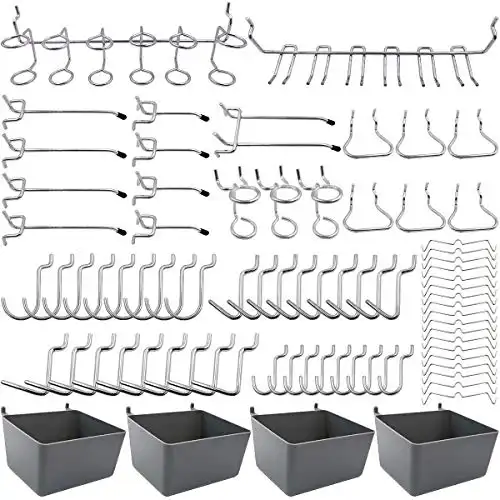
Start with a pegboard hook set with various hook sizes, bins, and locks. An 80-piece assortment gives you enough variety to handle everything from heavy power tools to small hand tools, while the locking feature prevents hooks from popping off when removing items.
48″ wire shelving unit
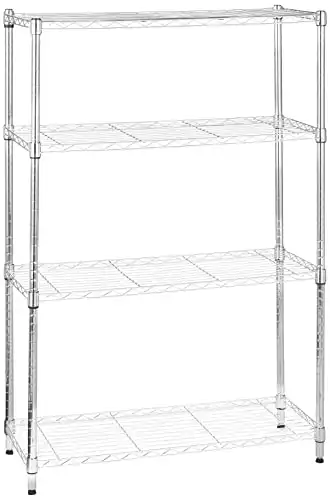
This adjustable 4-shelf system supports up to 350 pounds per shelf, which is perfect for storing heavy bins and equipment. At 36 inches wide and 54 inches tall, it maximizes storage while keeping items accessible. The chrome finish resists rust, and tool-free assembly means you’ll have it up in minutes.
Tool organizer rack
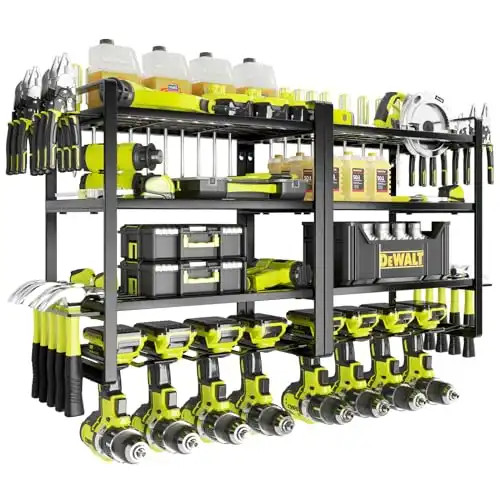
Mount a dedicated power tool organizer near your workbench to keep drills, impacts, and batteries at arm’s reach. A quality wall-mounted rack should hold at least 8 tools with separate spots for chargers and smaller hand tools like screwdrivers and pliers. This prevents expensive power tools from getting damaged and keeps batteries charged and ready.
All-purpose storage containers (various sizes)
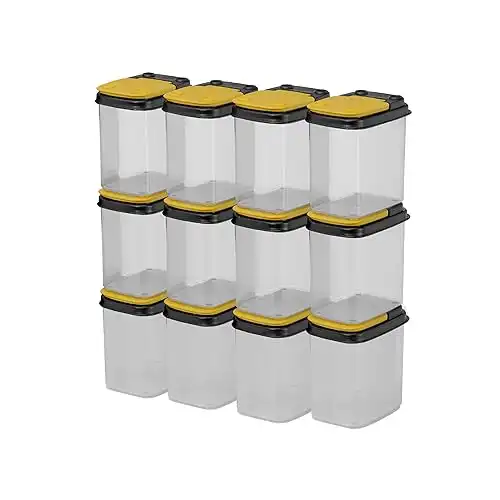
Use stackable parts organizers for all those small parts that seem to disappear when you need them most. These bright yellow containers are perfect for sorting screws, nails, bolts, and other small hardware. The see-through design lets you quickly spot what you need, and the secure lids prevent spills when accessing higher shelves.”
Must-Have Tools
- Stud finder
- Level (24″ minimum)
- Power drill and bits
- Measuring tape
- Safety glasses
- Work gloves
- Basic tool set if you don’t have one
Worth-the-Upgrade Items
- Wall-mounted track system
- Professional-grade cabinets
- Overhead storage racks
- Mobile workbench
- Bike storage solutions
- Heavy-duty floor mats
Digital Helpers
Useful Apps
- MagicPlan (room measurements and layout)
- Sortly (inventory management)
- SketchUp (3D garage planning)
- Any.do (task management)
- Photo Measures (store dimensions)
Online Planning Tools
Measurement Tools
- Laser measuring devices
- Digital angle finder
- SmartRule digital measuring tool
Pro Tip: Before buying anything, take photos and measurements of your garage to keep on your phone. You’ll be surprised how often you reference them while shopping.
Remember: Start with the basics and add upgrades as needed. It’s better to start organizing with simple solutions than to wait until you can afford everything on your wish list.

