Simple Ways to Organize Kids’ School Papers
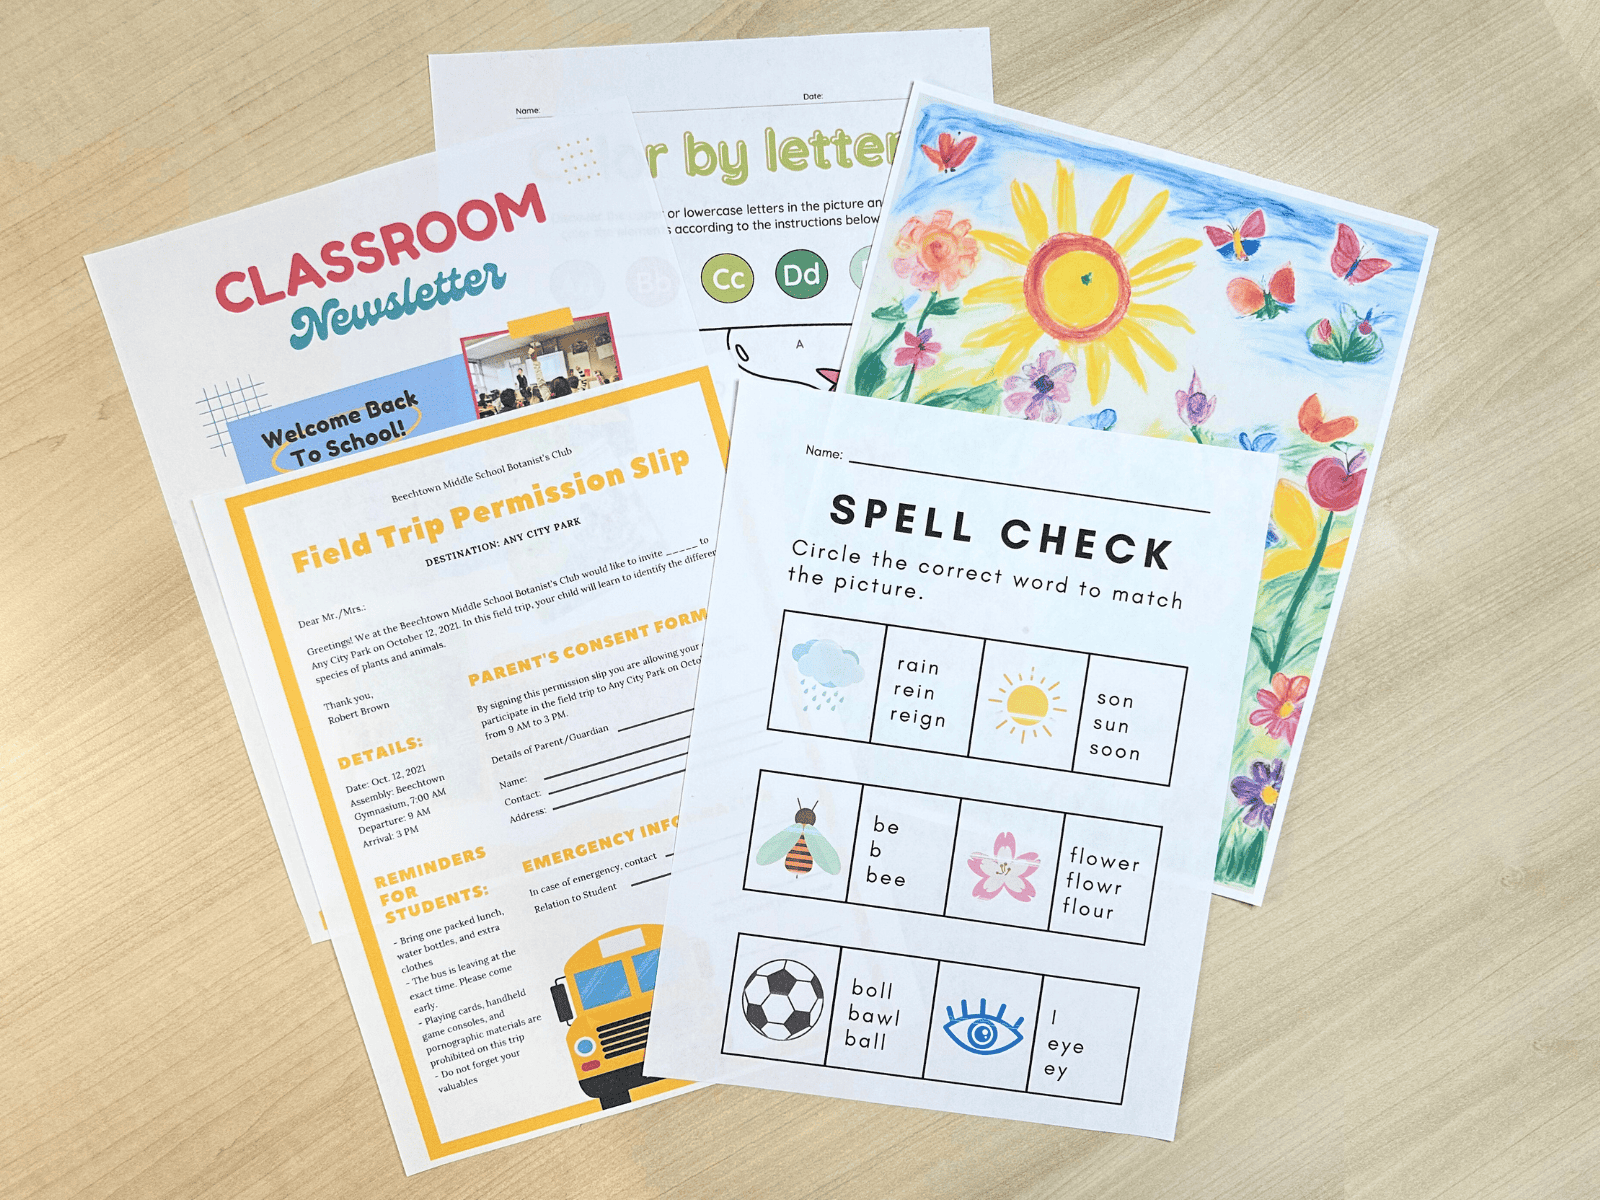
As a parent, you’re likely familiar with the avalanche of school papers that floods your home daily. The volume can be overwhelming, from artwork to worksheets, permission slips to projects. Organizing kids’ school papers is a challenge many parents face, but it’s important to tackle.
Let’s explore why this task can be so tricky yet so crucial. Then, I’ll share my tried-and-true methods for taming the paper chaos and creating a system that works for your family.
The overwhelming volume of school papers
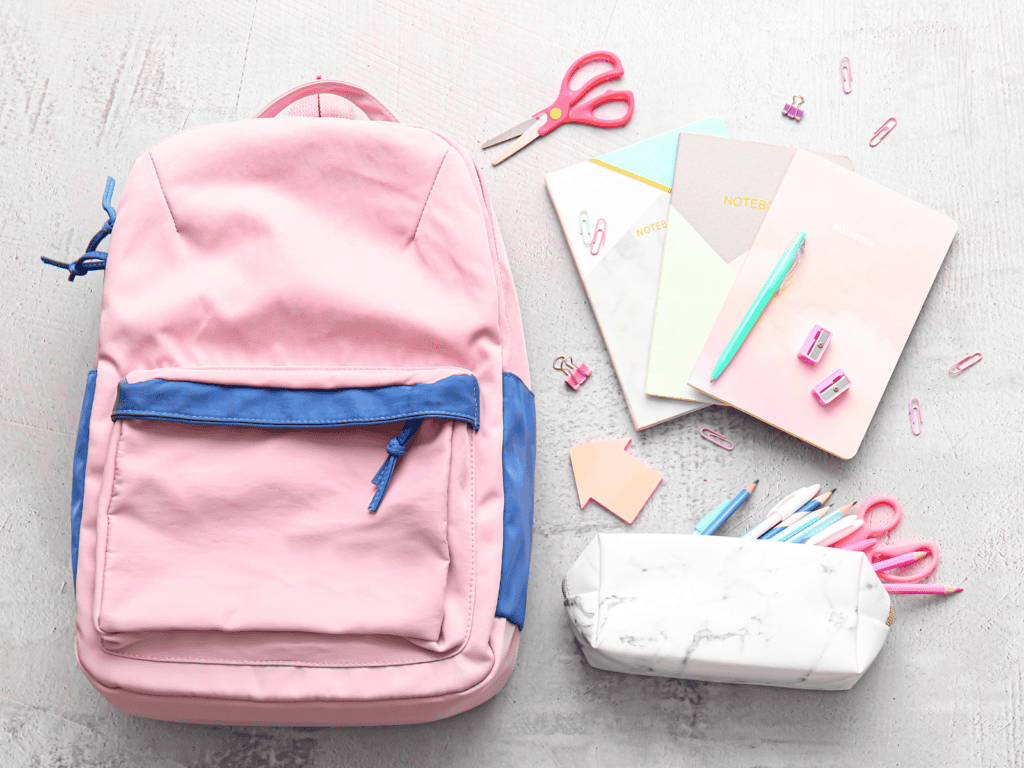
Kids bring home an astonishing amount of paper from school. Think about it: each day might include completed worksheets, art projects, notes from teachers, and homework assignments. Multiply this by five days a week, four weeks a month, and nine months a year. The result? A mountain of paper that can quickly take over your living space.
This constant influx isn’t just a one-grade phenomenon. As your child progresses through school, the types and quantity of papers often increase. By middle school, you deal with more complex projects and longer reports. High school brings even more paperwork, including college prep materials.
This post contains affiliate links. For more information, see my disclosures here.
Setting Up an Effective Organization System
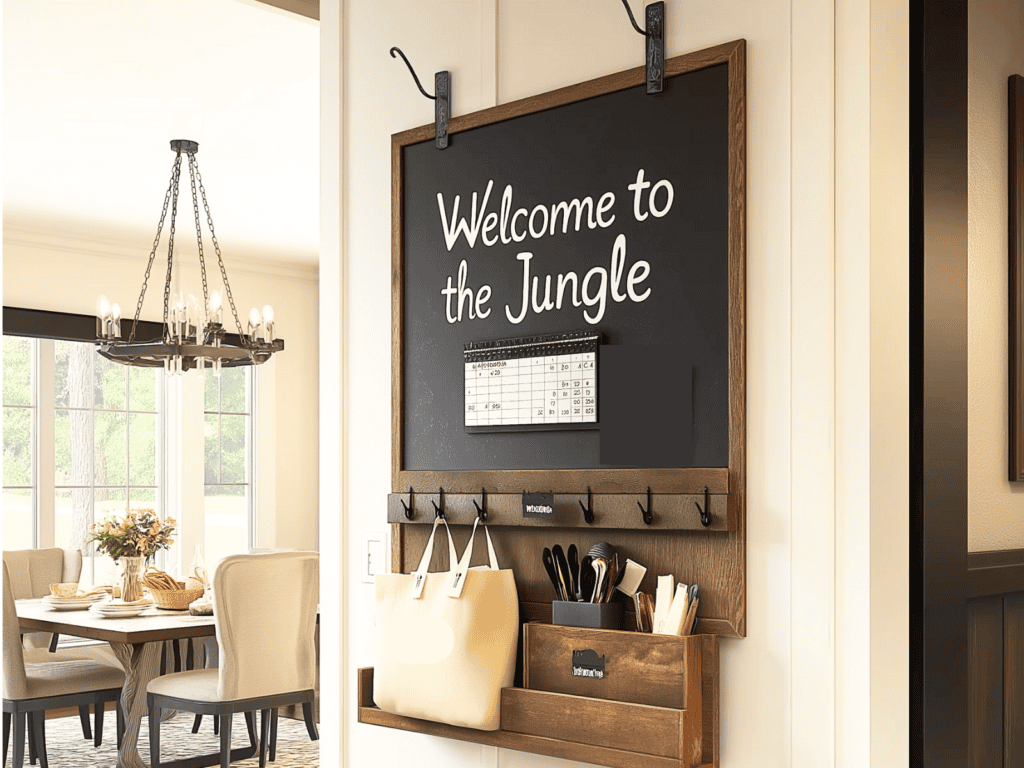
Let’s face it, taming the paper monster isn’t easy, but with the right setup, it’s totally doable! Here’s how to create a system that works for your family.
Choosing the right location for your organization station
Pick an easily accessible spot near the front door or in the kitchen. The key is to make it a place where you’ll actually use it. No hidden corners allowed!
Essential supplies for paper management
Keep it simple:
Consider investing in organizational products to support your system:
- File cabinets: Great for long-term storage of important documents
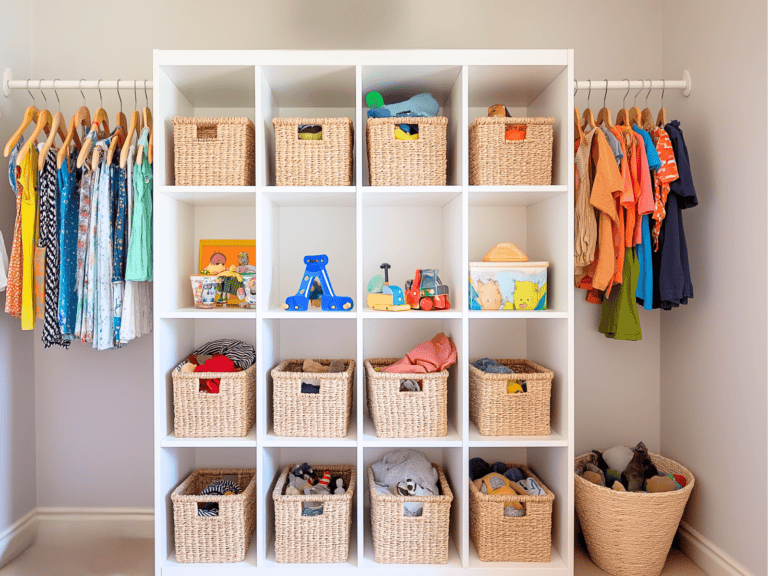
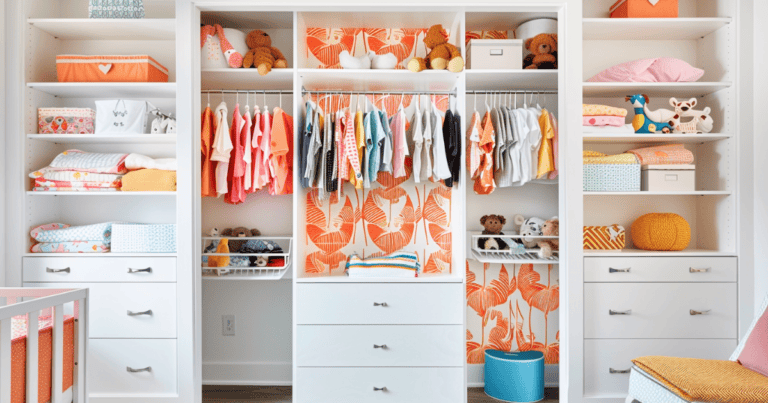
- Storage bins: Useful for keeping art supplies or larger projects organized
- Hanging file folders: Perfect for creating an easy-to-use filing system
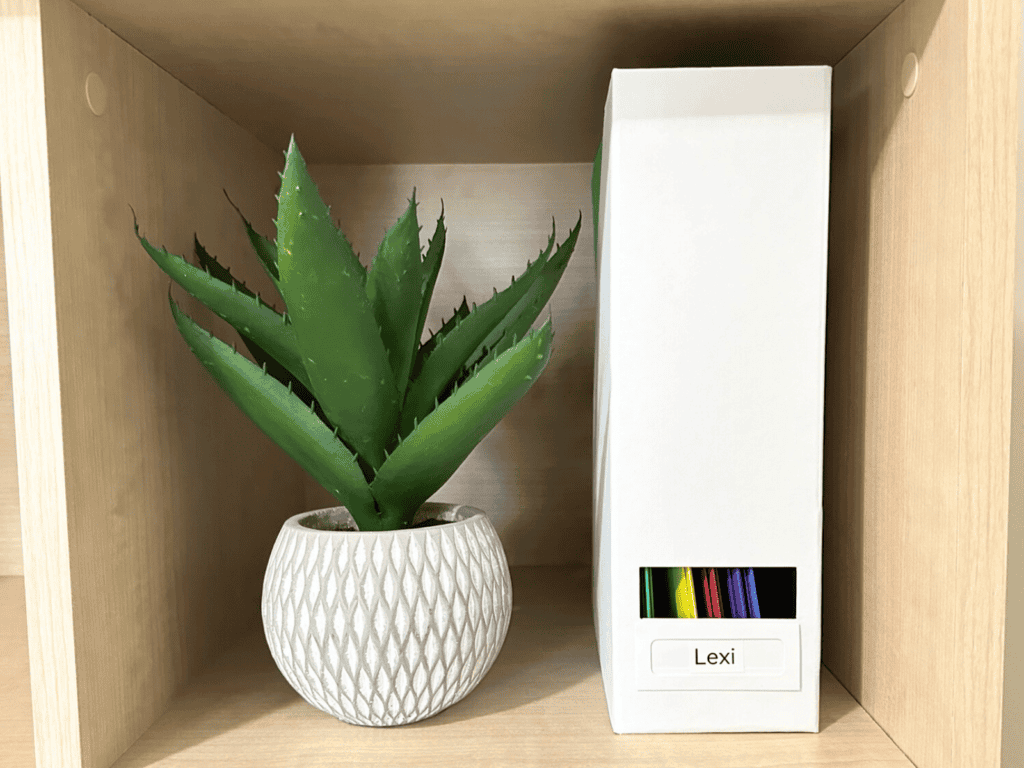
- Magazine holders: Ideal for storing current homework or reading materials
Choose products that fit your space and your family’s needs. Remember, the goal is to make organization easier, not to create more clutter with unnecessary items.
Labeling Your Organization System
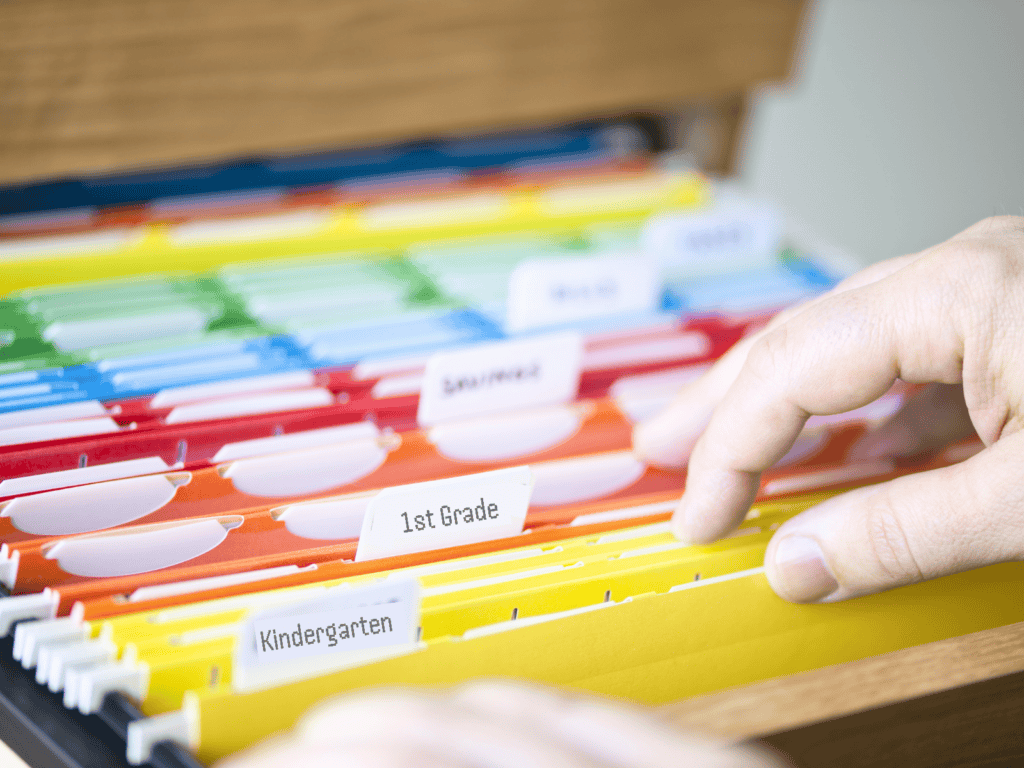
Clear labeling is key to maintaining your organization system. Here are some resources to help you create effective labels.
Avery Label Templates
Check out Avery’s wide range of professionally designed, printable label templates. They also offer designs for folders, storage bins, and more.
Free Printable Labels
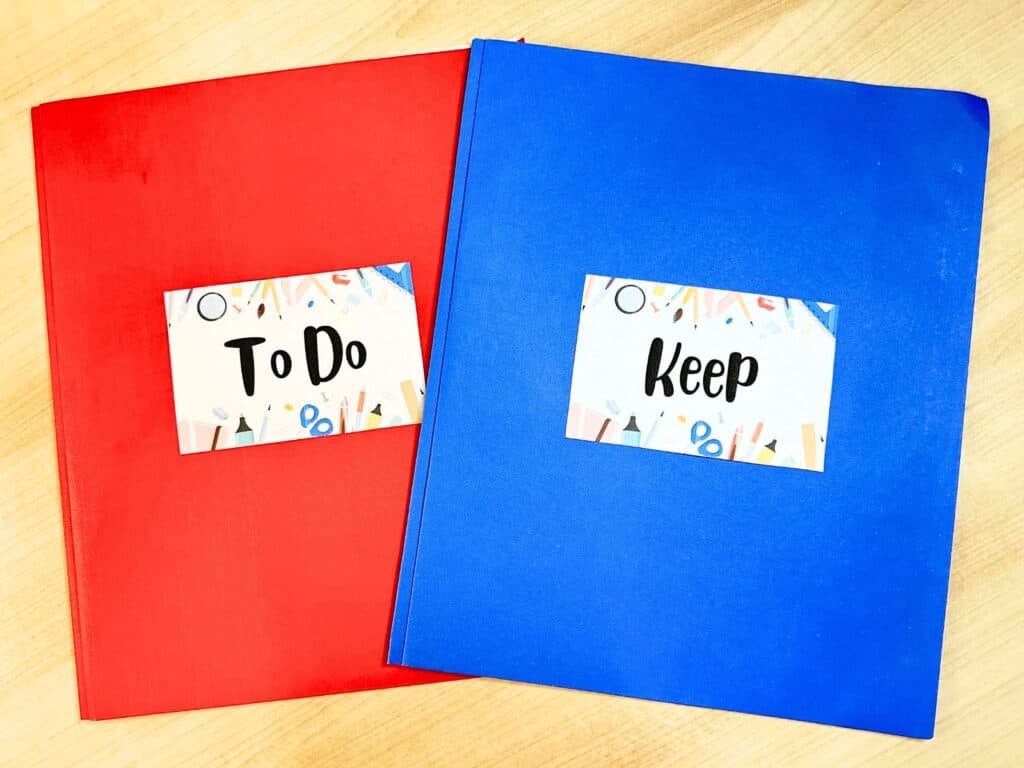
If you prefer a more personalized touch, I’ve created a set of free printable labels designed specifically for organizing school papers. These include labels for subjects, grade levels, and common categories like “To Do” and “To Keep.”
Using these labels will make your system look more organized and help your family quickly identify where items belong. Remember to choose fonts that are easy to read and colors that contrast well with your folders or storage containers.
Printing Tip
When printing your labels, use sturdy label paper that can withstand frequent handling. For long-term storage, consider using waterproof labels to protect against moisture damage.
Creating designated spaces for different types of papers
Set up physical spaces for each stage of paper management:
Sorting and Categorizing School Papers
Time to roll up your sleeves and dive in!
Implementing a daily paper review routine
Make it a habit:
Establishing clear categories
Keep it simple with three main categories:
Teaching kids to participate in the sorting process
Turn it into a fun family activity:
Remember, the goal is progress, not perfection. You’ve got this!
Implementing Storage Solutions
Now that you’ve established a sorting system and involved your kids in the process, it’s time to set up storage solutions that will keep your organized papers easily accessible. Let’s start with short-term storage for papers you’ll need in the coming months.
Short-Term Storage Solutions (0-3 months)
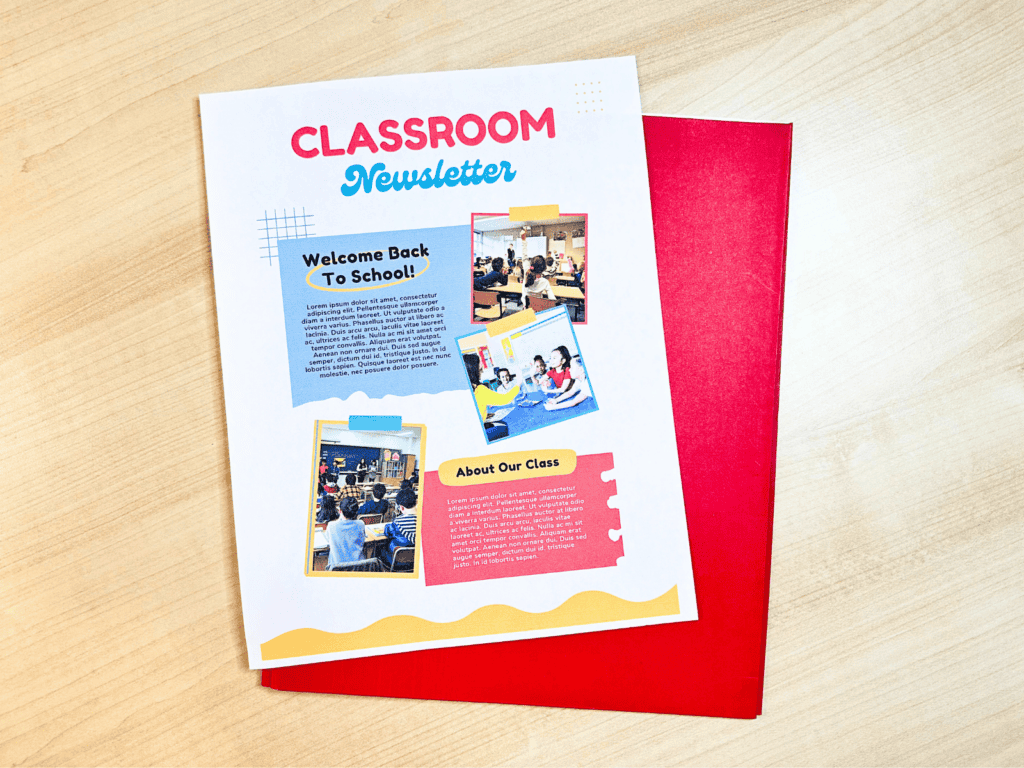
These solutions are designed for papers and items you’ll need regular access to within the next three months. They keep current schoolwork and time-sensitive documents organized and easily accessible.
Recommended Storage Methods:
Organization Tips:
What to Include:
When to Review and Rotate:
Mid-Term Storage Solutions (3-12 months)
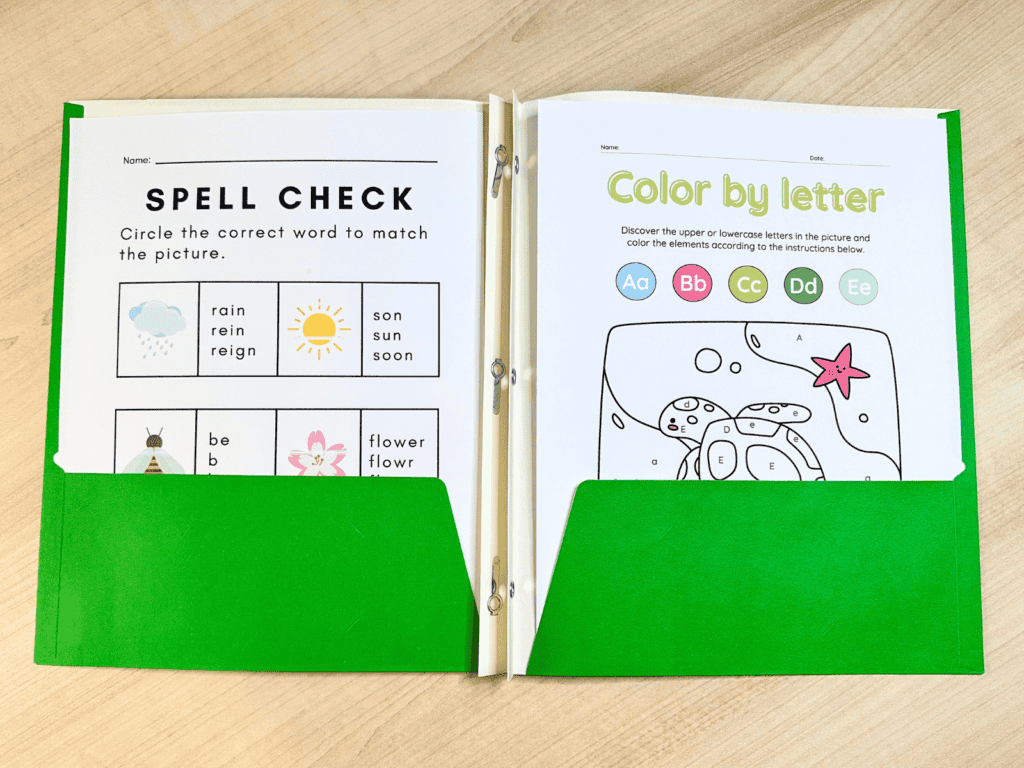
This system bridges the gap between current schoolwork and long-term keepsakes. It’s for items you might need to reference within the year but don’t require daily access.
Recommended Storage Methods:
Organization Tips:
What to Include:
When to Review and Rotate:
Long-Term Storage and Archiving (1+ years)
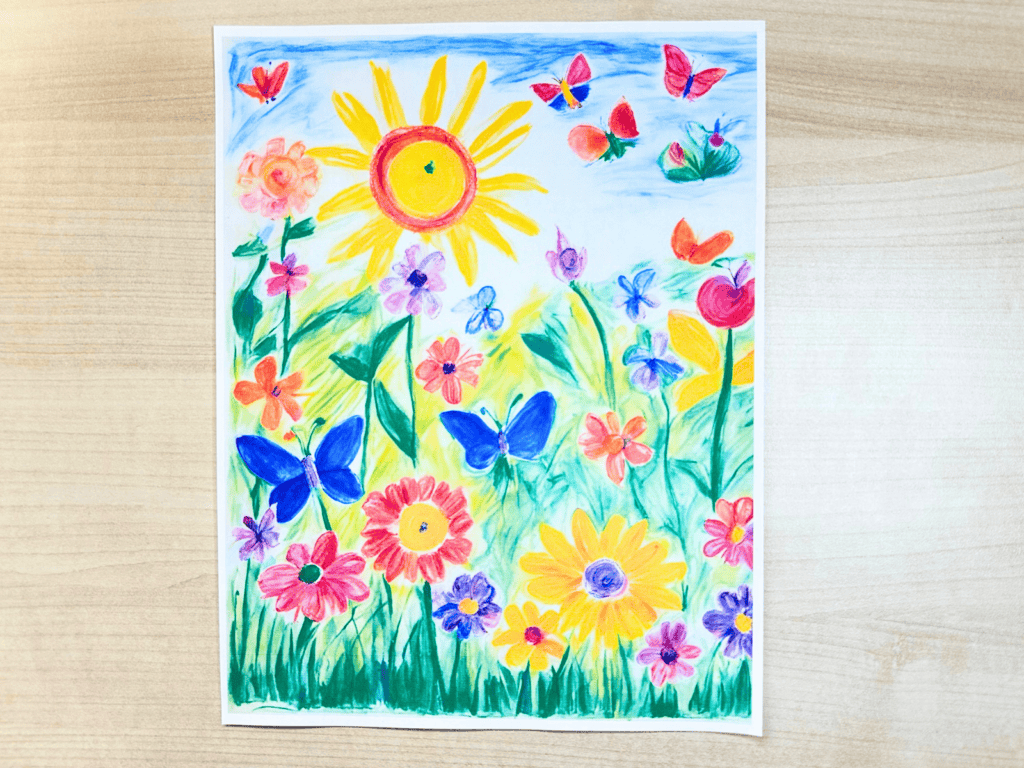
This system preserves special memories and important documents from your child’s school years. These items are kept indefinitely or for many years.
Recommended Storage Methods:
Organization Tips:
What to Include:
When to Review and Rotate:
Transition Between Systems
As items move out of your short-term system, decide whether they belong in mid-term storage for potential future reference or if they’re significant enough for long-term archiving. Regular reviews of your mid-term storage will help you curate items for long-term keeping or recycling.
Remember, the goal is to create a system that works for your family. Feel free to adjust these timeframes and categories to best suit your needs and space constraints.
Digital archiving techniques for artwork and special projects

Use a scanning app on your smartphone:
Create digital folders organized by year:
Back up files to the cloud for safekeeping:
Displaying Digital Artwork with Smart Home Devices
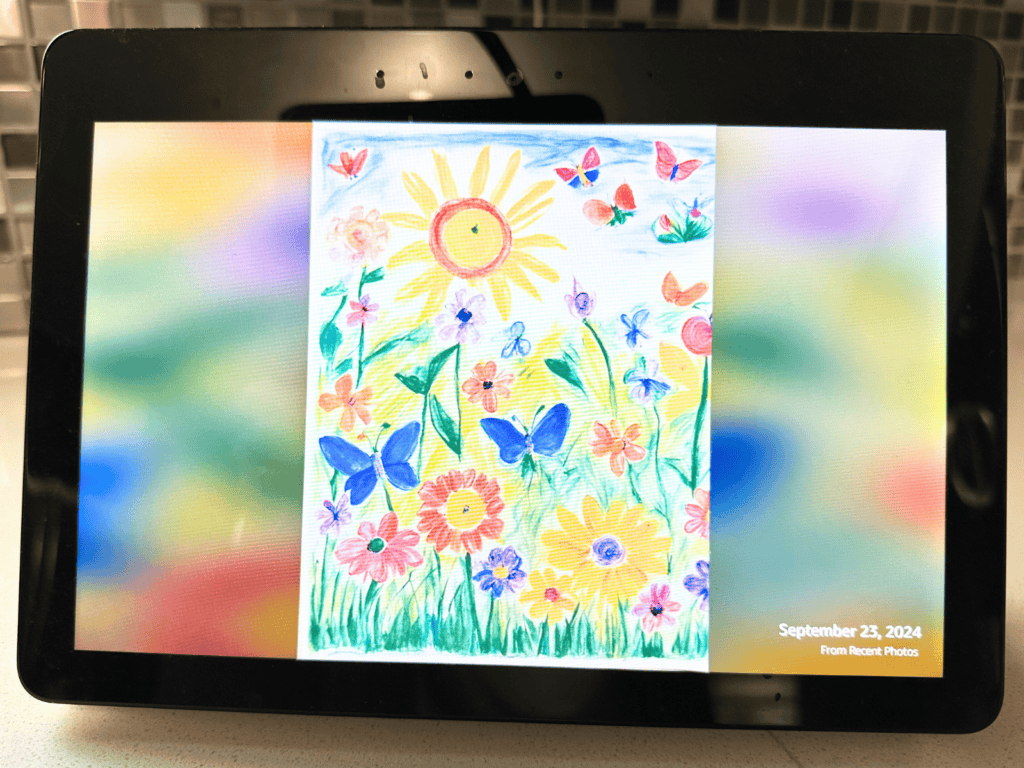
While preserving physical artwork is important, digital displays offer a dynamic way to showcase your child’s creativity. Here’s a tech-savvy solution using Amazon’s Echo Show:
Capture artwork with your smartphone:
Use the Amazon Photos app:
Set up your Amazon Alexa Show:
Your Amazon Alexa Show will now display a rotating gallery of your child’s masterpieces. This method preserves the artwork digitally and celebrates your child’s creativity daily in your home.
Display Tip:
Make it a monthly ritual to photograph and add new artwork to your digital display. This will keep your gallery fresh and show your child how much you value their creative efforts.
Balancing digital and physical storage methods:
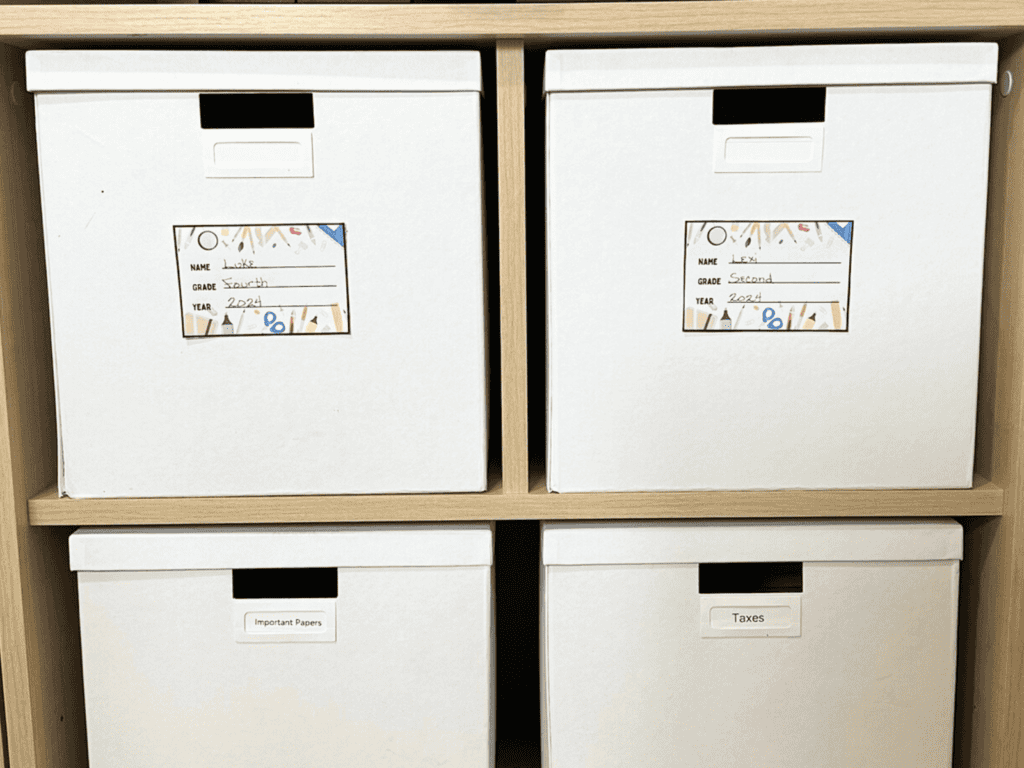
By balancing digital and physical storage, you can preserve memories without being overwhelmed by paper clutter. This approach allows you to keep the most special items in physical form while still maintaining a comprehensive digital archive of your child’s school journey.
Creating annual or semi-annual memory books

Use a simple photo book service:
Include scanned artwork and school photos:
Add your child’s quotes or stories for a personal touch:
Tips for creating the memory book:
Following these guidelines, you’ll create a comprehensive digital archive and meaningful memory books detailing your child’s school journey.
Digital Archiving Tip:
When scanning or photographing items for digital storage, ensure you use high resolution and save in common file formats (like .jpg for images or .pdf for documents) for future accessibility. Store these files in cloud services like Google Drive or Dropbox, and make sure to regularly back up your digital archives.
Maintaining the Organization System
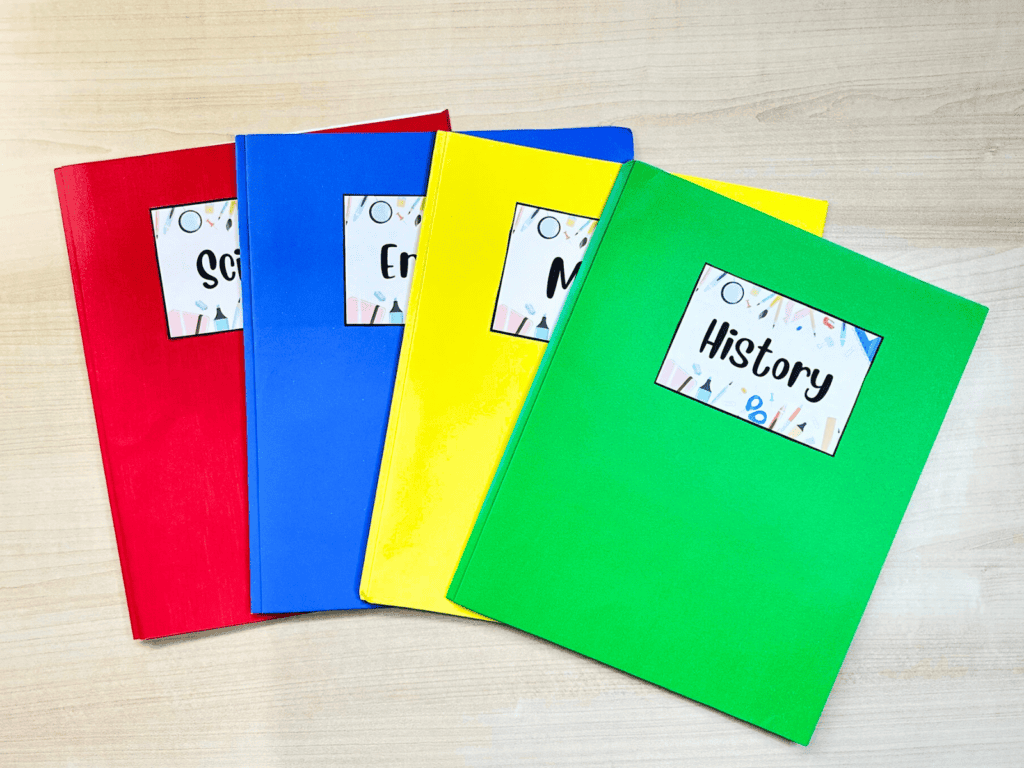
Keep the paper chaos at bay with these simple habits!
Establishing daily, weekly and monthly review routines
Daily quick-sort (5-10 minutes):
Weekly review (15-30 minutes):
Monthly organization (30-60 minutes):
Seasonal clean-out (1-2 hours, every 3-4 months):
Involving children in the maintenance process
Adjusting the system as children grow and needs change
Remember, the perfect system is one that works for your family. Keep it simple, stay consistent, and don’t be afraid to tweak as you go!
Troubleshooting Common Organization Challenges
What to do when papers pile up again
Strategies for reluctant organizers
Adapting the system for multiple children
Building a foundation for lifelong organization
Organizing kids’ school papers is just the beginning. As your children grow, they’ll face new organizational challenges, from managing their own schedules to keeping track of important documents. By teaching them these skills early, you’re setting them up for success in all areas of life.
For more tips on managing important documents beyond school papers, check out our “Beginner’s Guide to Organizing Important Documents at Home.” This guide will help you create a comprehensive system for all your family’s essential paperwork, ensuring you’re prepared for whatever life throws your way.
Remember, organizing is a skill that improves with practice. Stay patient, keep at it, and enjoy the benefits of a more organized, less cluttered home!

