How I Organized Under My Bathroom Sink in 5 Easy Steps
For the longest time, the space under my bathroom sink was my least favorite spot in the entire house. It was cluttered, hard to find anything, and honestly, a little embarrassing. Bottles tipped over, hair tools tangled together, random products I forgot I even owned—it was a daily frustration every time I reached for something.
Organizing under the bathroom sink can feel impossible due to the small space, the pipes taking up valuable room, and the tendency for it to collect a mix of everything—from cleaning supplies to extra toiletries. Without a plan, it turns into a catch-all cabinet where things go to disappear.
I finally decided that enough was enough. With a few smart storage solutions and some intentional decluttering, I transformed this awkward, messy space into an organized, easy-to-use area that actually makes me happy when I open the cabinet doors.
In this post, I’m sharing the exact five steps I used to tackle my under-sink chaos, along with the products and tips that made the biggest difference—so you can create your own “after” that’s just as satisfying.
Step 1 – Clear Everything Out
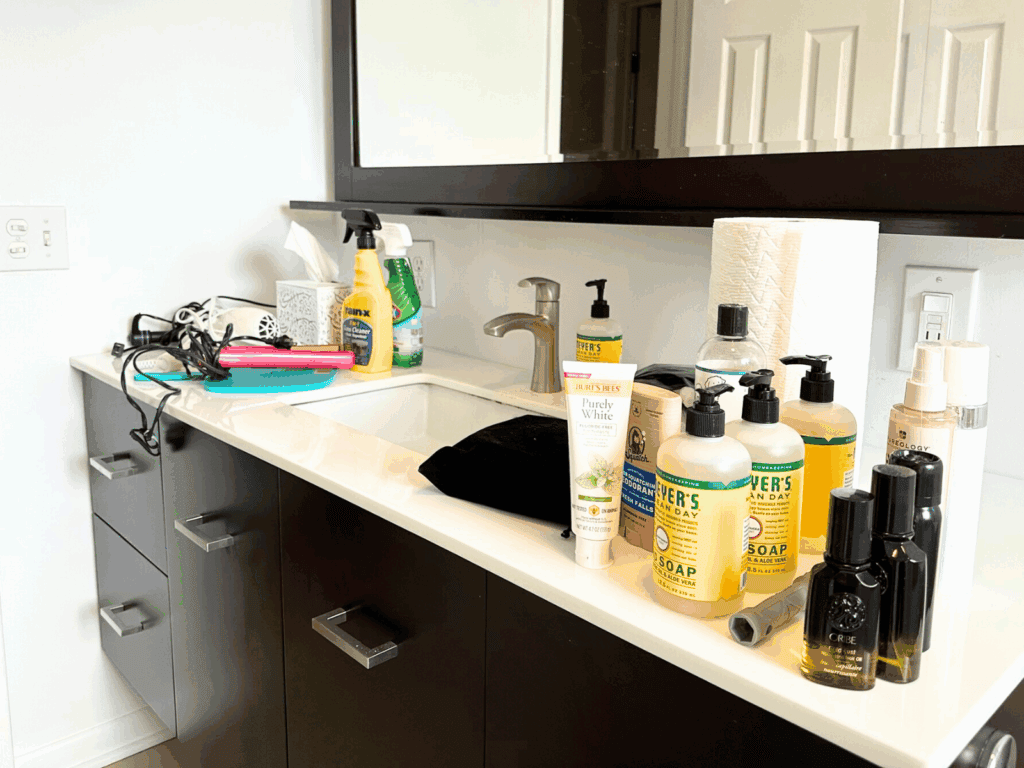
The first step was simple but made the biggest difference—I took everything out from under my bathroom sink. No sorting as I went, no trying to tidy in place—just a completely blank slate to work with.
As I emptied the cabinet, I grouped similar items on the floor:
- Hair products and tools
- Skin care and makeup
- Cleaning supplies
- Miscellaneous items that didn’t belong in the bathroom
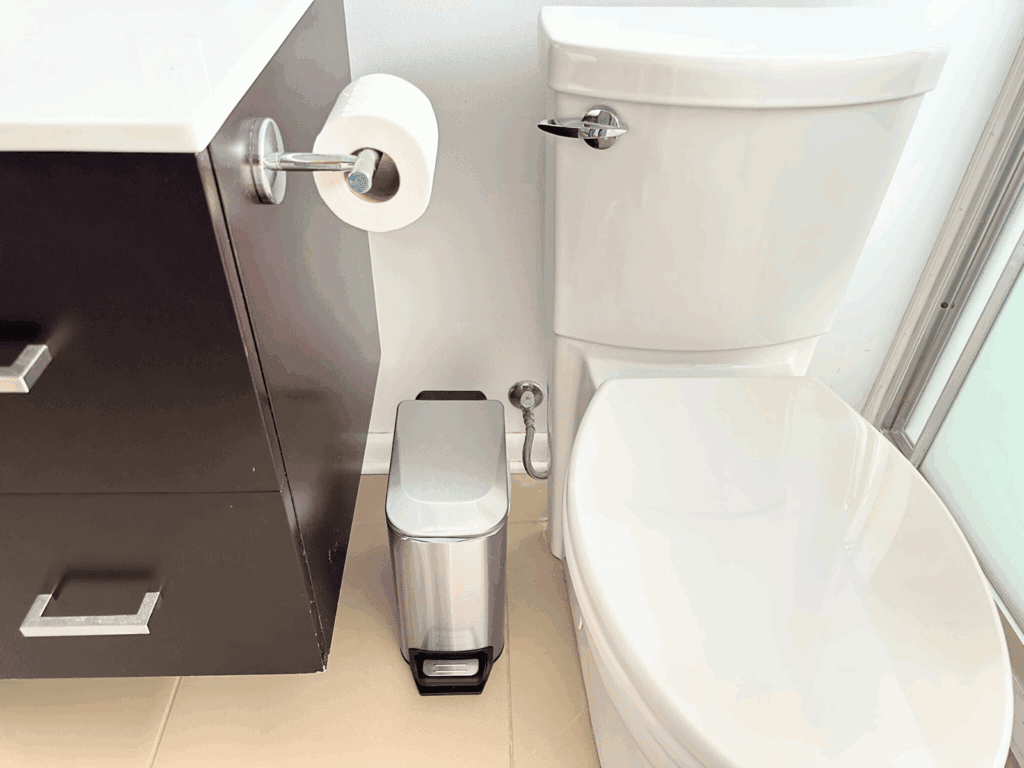
This is also when I noticed my garbage can was taking up a huge portion of the cabinet. While it seemed convenient to have it there, it was wasting prime storage space. I decided to replace it with a garbage can with a lid and relocate it to another spot in the bathroom. That simple change instantly freed up more room for organizers.
Once everything was out, it became obvious how much I had that didn’t need to be there. Anything expired, broken, or no longer useful went straight into the trash. I still use some things, but not in the bathroom—those were relocated to other parts of the house where they make more sense (like my cleaning closet or bedroom vanity).
Tip: Have both a trash bag and a small box or basket ready for items you plan to relocate. That way, you can deal with them all at once instead of making multiple trips mid-project.
Step 2 – Clean and Assess the Space
Once everything was out, I took the opportunity to give the cabinet a good cleaning. I wiped down the sides, bottom, and back wall to remove dust, hair, and the occasional product spill that had built up over time.
While cleaning, I paid close attention to the condition of the bottom of the cabinet. I planned to decide whether I needed to add a shelf liner for extra protection. In the end, the cabinet was in great shape—no stains, scratches, or worn areas—so I skipped the liner and kept the natural surface.
Next, I grabbed my measuring tape.
I measured:
- The width and depth of the cabinet
- The height from the base to the bottom of the sink
- The open spaces around the pipes
These measurements helped me determine the exact type of organizers that would fit. It also made it clear that I’d need to choose storage solutions that worked around the pipes instead of wasting that space.
Tip: Keep your measurements handy in your phone. That way, you can check product sizes while shopping without second-guessing yourself.

Step 3 – Choose the Right Organizers
With the cabinet clean and my measurements in hand, it was time for the fun part—choosing organizers that would make the space functional and easy to maintain.
The biggest challenge under my bathroom sink was the pipes. They take up valuable space, so I needed storage that could work around them while still giving me plenty of room for the things I use most.
Here’s what I used:
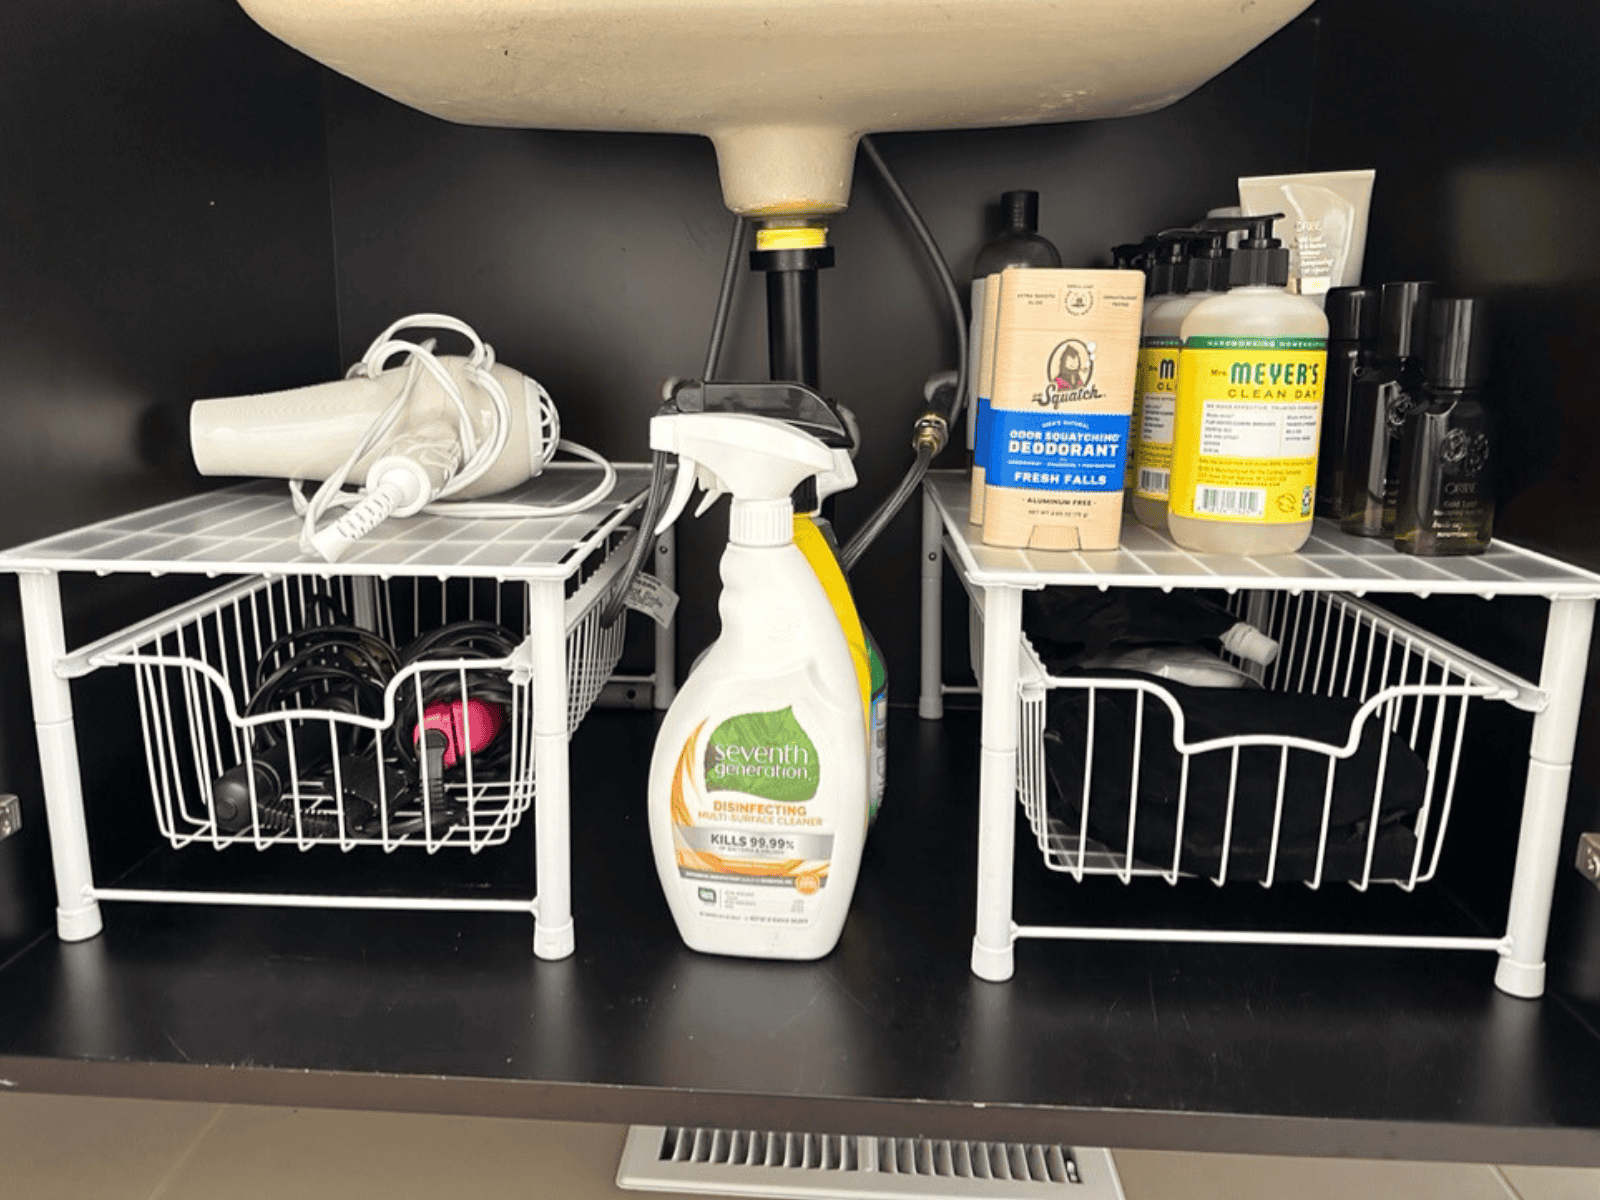
- Two Simple Houseware Stackable Basket Drawers in White – These fit perfectly in the open space, giving me two tiers of storage in each unit. The pull-out baskets make it easy to grab what I need without digging or knocking things over.
- One Adhesive Hook – I placed this on the inside of the cabinet door to hang the mirror I use for styling the back of my hair.

Here’s how I organized them:
- Top tier of the first unit: Hair dryer for quick access.
- Basket of the first unit: Curling iron and hair straightener stored neatly together.
- Basket of the second unit: Bulk shampoo pouches (I buy them in large refill packs).
- Top tier of the second unit: Overstock products like extra deodorant and toothpaste.
I chose white organizers because they blend seamlessly with the cabinet and make the space feel brighter and more open. Both were budget-friendly, easy to assemble, and instantly made the cabinet feel more functional.
Tip: Don’t overlook the inside of your cabinet doors. A single hook can be the perfect spot for hanging small but awkward items like styling mirrors, brushes, or cleaning cloths.

Step 4 – Categorize and Contain
When I started putting things back, I didn’t just focus on where they fit—I thought about how often I use them. There’s no reason to dig under the sink every single morning for my daily essentials, so I moved my most-used products into the top drawers of my vanity. This keeps them right at my fingertips and speeds up my routine.
The space under the sink is now reserved for items I don’t reach for as often. My hair dryer is still easy to grab from the top tier of one organizer, but bulk shampoo pouches, extra toiletries, and backup products live below in baskets or the second tier. This way, the under-sink area stays organized longer because I’m not constantly shuffling things around to get to my everyday items.
This “frequent vs. occasional” system works for any small bathroom—if you can keep the high-traffic items in the most accessible spots, the rest of your storage will stay neater with less effort.
Tip: Before you start organizing, pay attention to what you use every day vs. once a week or once a month. Let your habits guide where things go.

Step 5 – The After Reveal
Opening my bathroom cabinet used to feel like bracing for chaos. Now, it’s one of the most satisfying parts of my morning routine. Everything has a home, and I can see exactly what I have at a glance.
Relocating the garbage can to another spot in the bathroom was one of the simplest changes, but it freed up a surprising amount of storage space under the sink. Pair that with the right organizers, and the space now works with my habits instead of against them.
The best part? This entire makeover—including the organizers, hook, and new garbage can—cost me just $105. No custom cabinetry, no major DIY project, just a few smart choices that made a big difference.
Here’s the transformation:
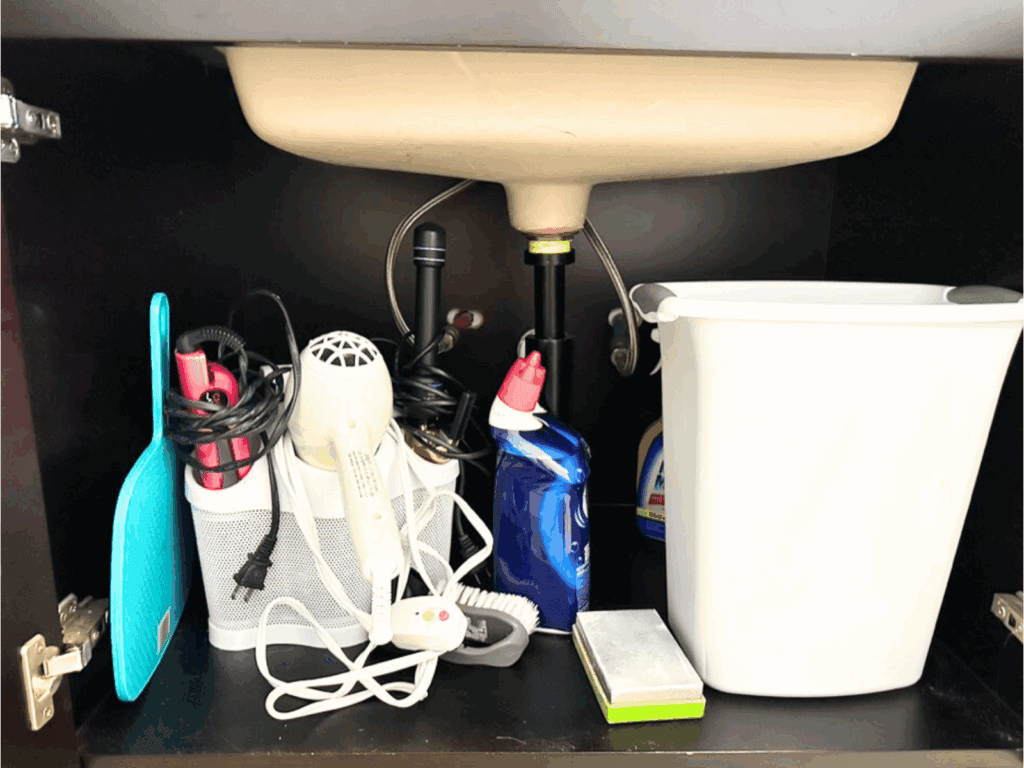
Before: A cluttered, overstuffed space where items got lost or knocked over.
After: A streamlined, easy-to-use storage area that’s neat, functional, and easy to maintain.

Additional Resources
If you’re looking for more bathroom and small space organization inspiration, check out these posts:
- 22 Budget-Friendly Bathroom Organization Ideas – Creative ways to make your bathroom more functional without spending a lot.
- 33 Small Bathroom Organization Tips – Smart storage solutions to maximize every inch of your bathroom.
- How to Organize Every Room of the House With Baskets and Bins – A versatile approach to keeping your entire home tidy.