
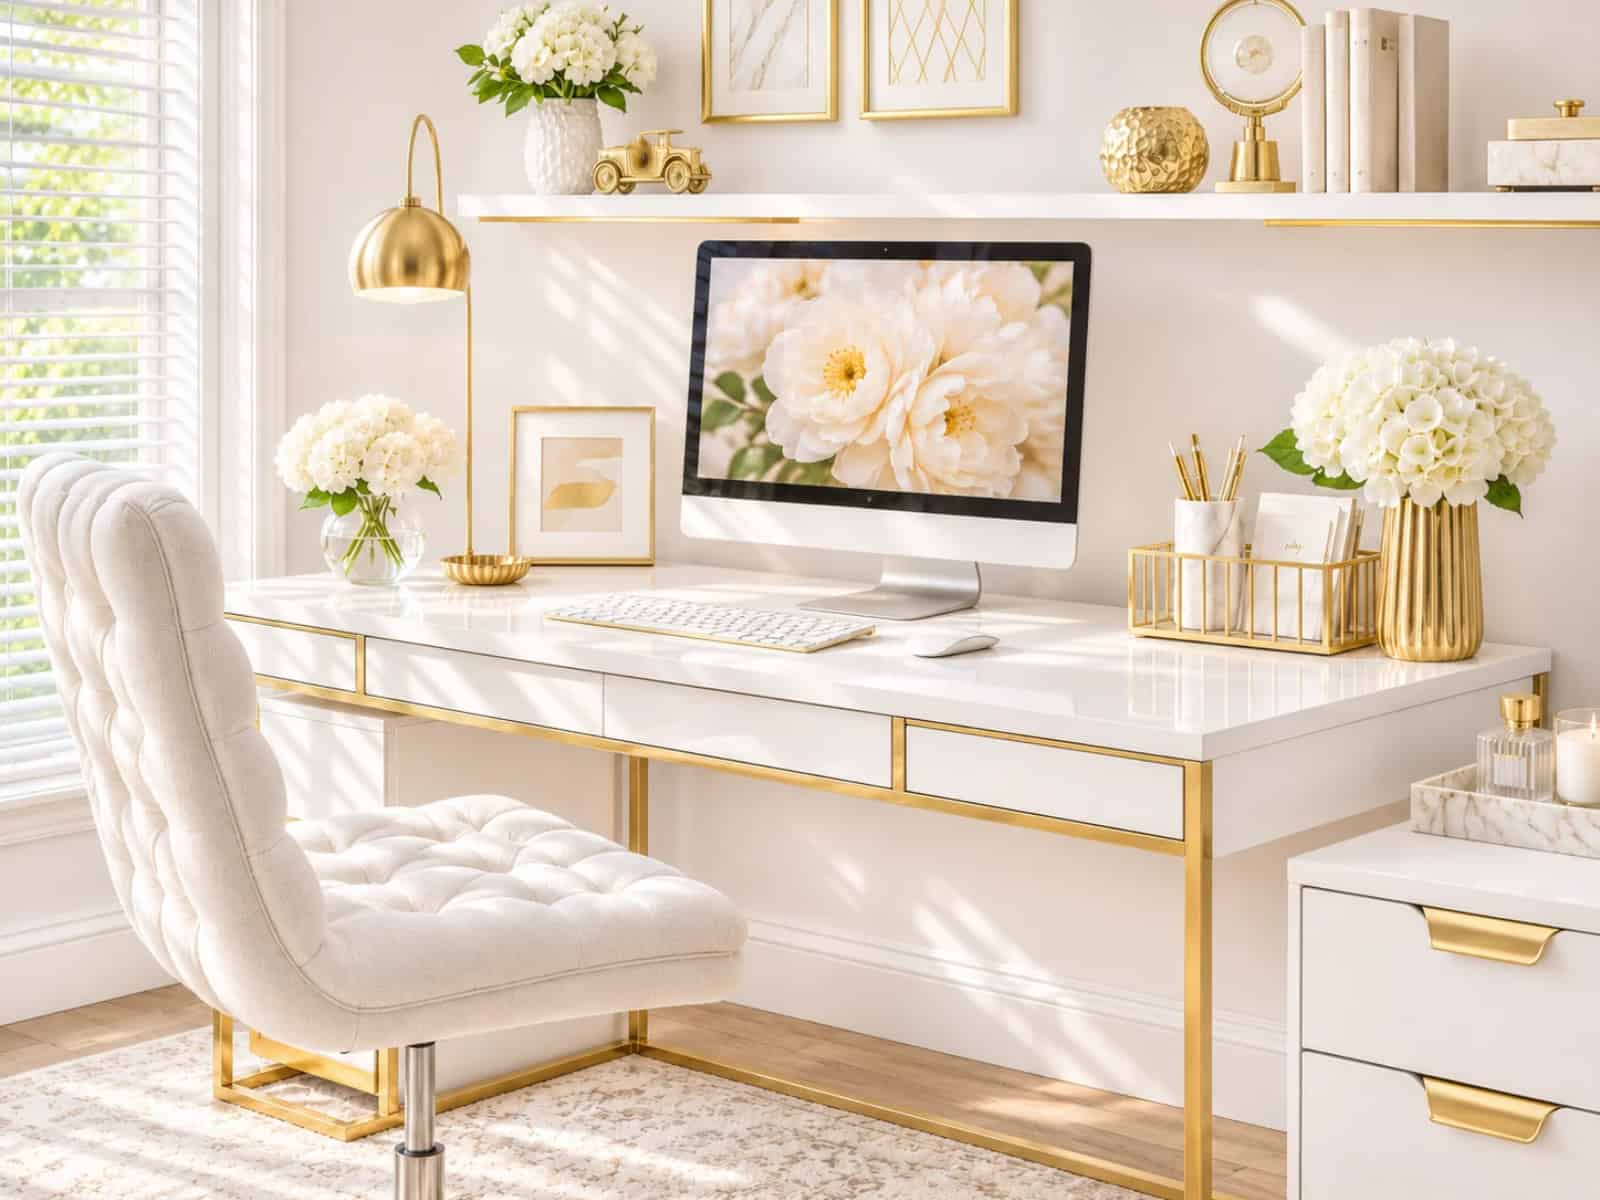
28 Home Office Organization Ideas That Make Your Space Easier to Use

You sit down at your desk to get something done, but first you have to move a stack of papers, find a working pen, and clear enough space for your laptop. Before you’ve started your actual task, you’ve already spent time dealing with clutter.
A home office doesn’t need to be large or perfectly decorated to work well. It needs enough room for what you do there, a reliable place for important papers, and storage that doesn’t make everyday tasks more complicated.
These 28 home office organization ideas will help you clear your desk, organize paperwork, manage supplies, and make better use of the space you already have. You don’t need to use every idea. Start with whatever frustrates you most when you sit down to work.
This post contains affiliate links. As an Amazon Associate, I earn from qualifying purchases. You can read my disclosure here.
Start With a Desk You Can Actually Use
Your desk is where most of the work happens, so that’s the best place to begin. Before shopping for organizers, figure out what’s taking up space and what genuinely needs to stay within reach.
1. Clear Enough Space to Do Your Work
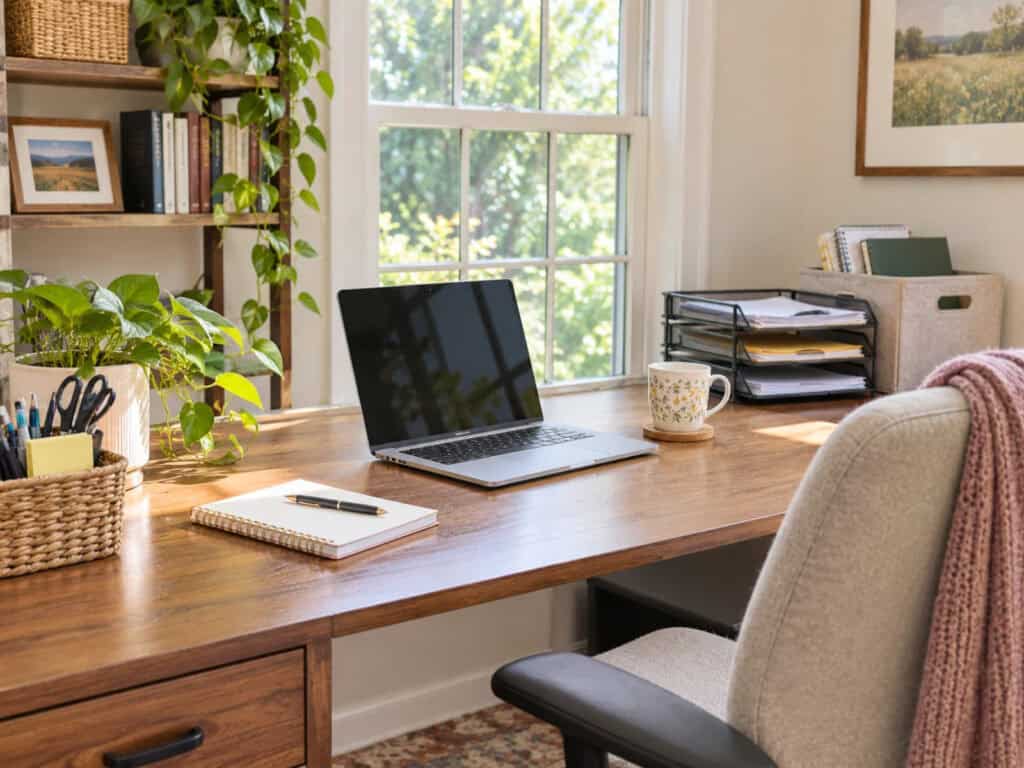
You don’t have to empty your entire office to make progress. Start by clearing the part of your desk where you actually work.
Move anything that doesn’t belong there, including dishes, unopened mail, extra supplies, and things you brought into the room but never put away.
Then think about how you use your desk. Do you need space for a laptop and mouse? Do you regularly spread out paperwork? Do you need a clear area beside your computer for writing?
Give your main activity enough space before deciding what else can stay.
A desk that looks pretty but doesn’t have room for your work isn’t very useful.
2. Keep Your Most-Used Supplies Within Reach
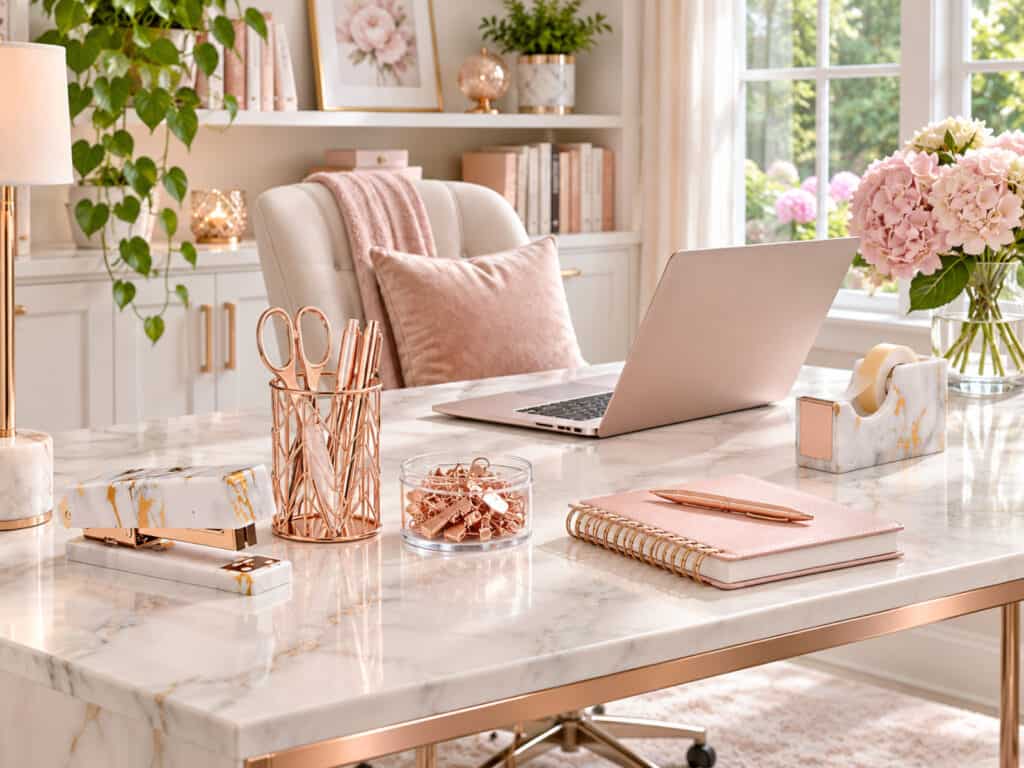
Look at the supplies you reach for almost every day. Those deserve the easiest spots.
You might need a pen, notebook, stapler, or calculator close by. Supplies you use occasionally can go in a drawer or on a nearby shelf.
Try this before buying anything: move your extra supplies out of the way for a week. If you never reach for something, it probably doesn’t need a permanent spot on your desktop.
3. Use One Desk Organizer for Small Essentials
Pens, paper clips, sticky notes, and other small items can quickly spread across a desk.
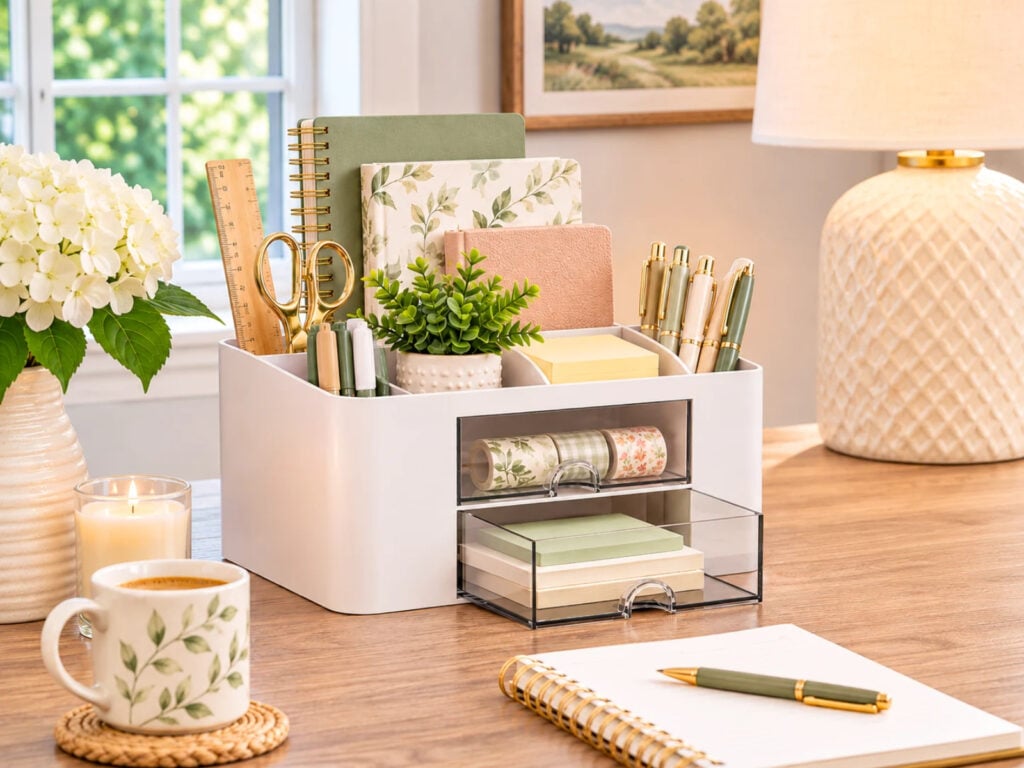
A multi-functional desk organizer gives them one place to go.
I have used an organizer like this on my own desk for the supplies I reach for frequently.
But the size matters. If an organizer holds twenty pens and you regularly use two, you don’t need to fill every compartment.
A mug for pens and a small dish for paper clips might work just as well.
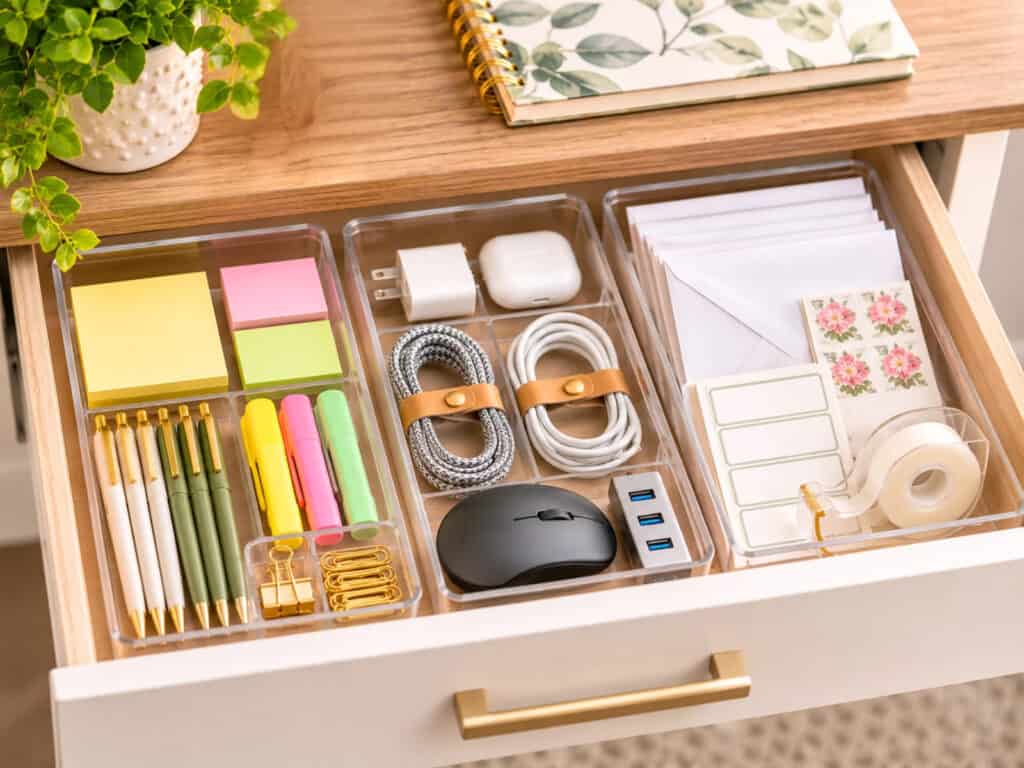
4. Divide Desk Drawers by What You Use Together
Desk drawers often become a place to put anything you want out of sight.
Instead, group supplies according to how you use them.
For example, keep pens, highlighters, and sticky notes together. Store chargers and small computer accessories in another section. Give envelopes, stamps, and mailing labels their own space if you use them regularly.
Small boxes or containers you already own can work as drawer dividers.
Before adding them, remove the dried-out pens, empty packaging, and supplies that no longer serve a purpose. Dividers won’t make an overfilled drawer easier to use.
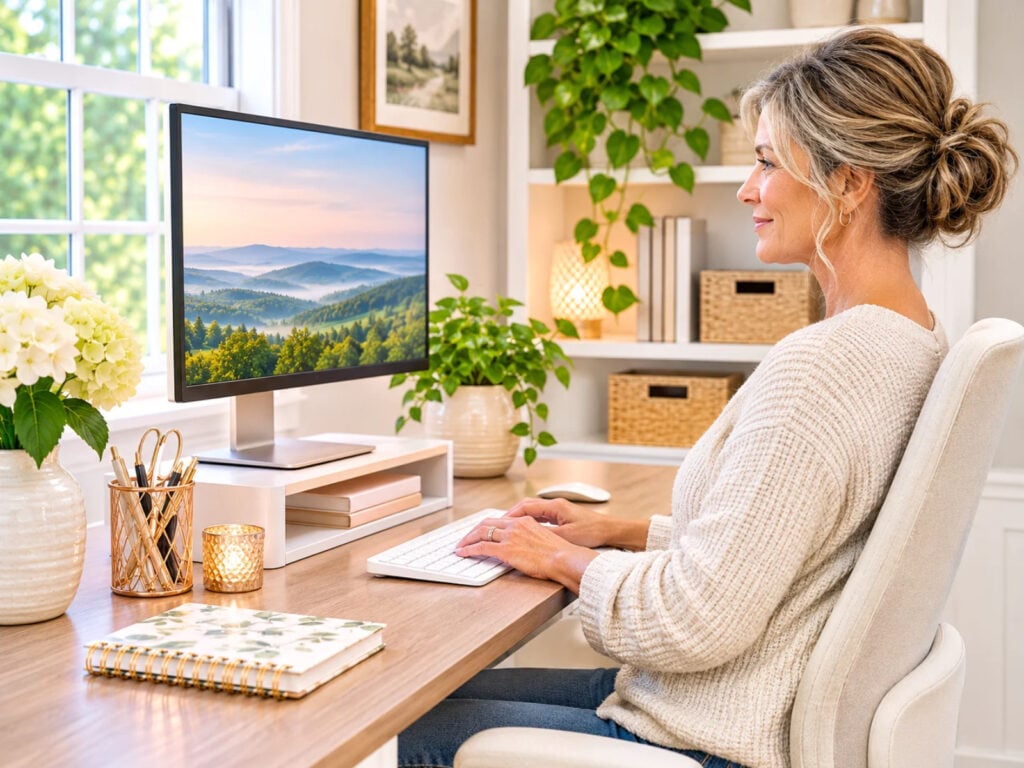
5. Position Your Computer Before Adding More Accessories
It’s easy to focus on how a desk looks and overlook whether it’s comfortable to use.
Make sure your screen is directly in front of your usual seating position and that you can see it without repeatedly bending or twisting your neck. Adjust the screen height to suit your vision and setup.
You may already have a suitable monitor stand. If not, a stable riser might help, but check your actual viewing position before buying one.
Leave enough room for your keyboard, mouse, and any paperwork you need beside the computer.
The goal is to make your desk comfortable to work at, not to fit as many accessories on it as possible.
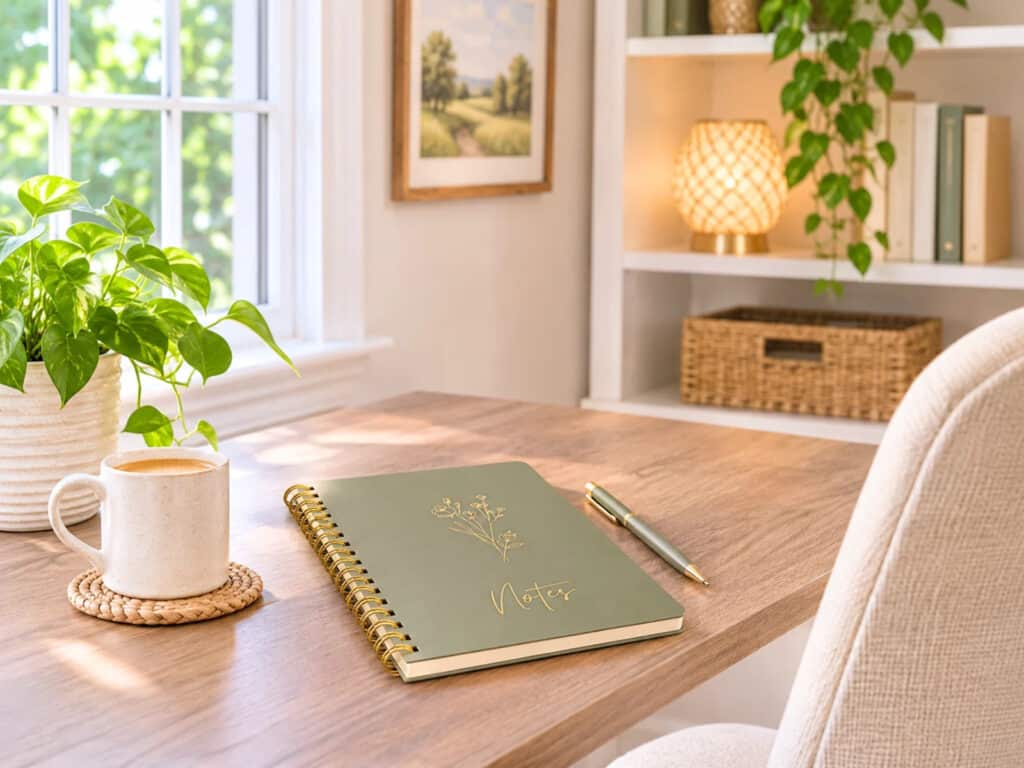
6. Keep One Notebook for Quick Notes
I like having a notebook on my desk for notes during phone calls.
It’s much easier than searching for a scrap of paper when someone gives you a phone number or an important detail.
The trick is deciding what happens to those notes afterward.
If something needs to go on your calendar, add it. If it’s a task, move it to your regular task list. If you no longer need the information, cross it off or recycle the page.
Otherwise, even a beautiful notebook can become another place where unfinished tasks disappear.
Organize Paperwork So It Doesn’t Keep Coming Back
Paper clutter is one of the biggest home office frustrations. You can straighten a stack of papers today and have another one sitting on your desk by the end of the week.
The solution isn’t necessarily a bigger filing cabinet. It’s having a way to deal with incoming papers before they pile up.
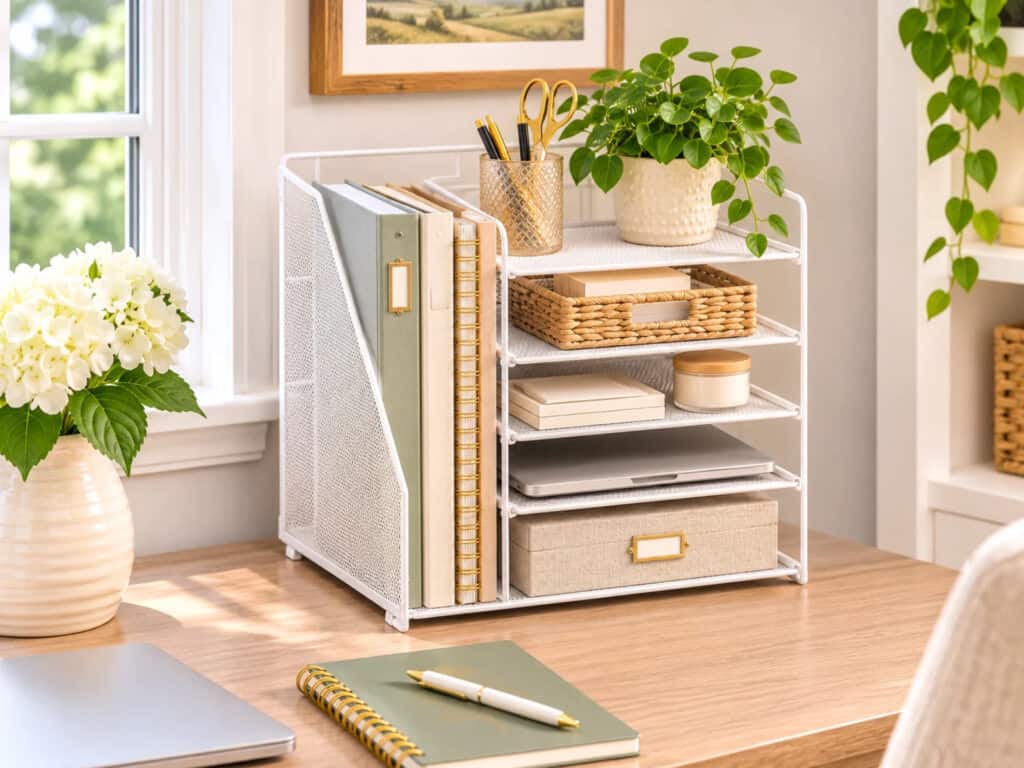
7. Separate Papers That Need Action From Papers You Need to Keep
Not every paper belongs in a filing cabinet. Some need you to do something. Others are waiting for a response, and some simply need to be stored.
Use three categories:
- Action: Bills to pay, forms to complete, or paperwork that needs a decision.
- Waiting: Documents connected to something you’ve already started but haven’t finished.
- File: Papers you’re finished with but still need to keep.
You can use three trays, labeled folders, or separate sections of one organizer.
Review your action papers regularly so they don’t become permanent residents of the desk.
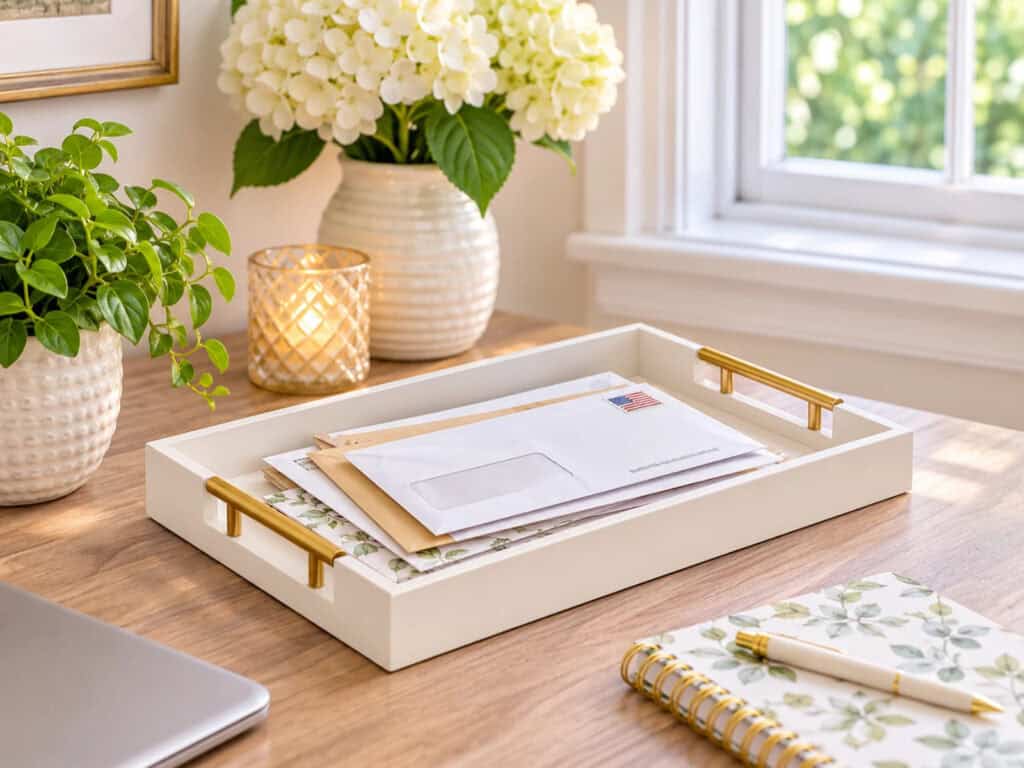
8. Give Incoming Mail One Landing Spot
If your desk is where household mail ends up, give it one designated place.
A single tray or folder is enough for most homes. Open the mail, recycle unwanted envelopes and advertisements, and move important papers into the appropriate category.
Don’t start another pile beside the tray when it gets full.
If multiple people use the home office, agree on where incoming mail belongs so it doesn’t end up scattered across several surfaces.
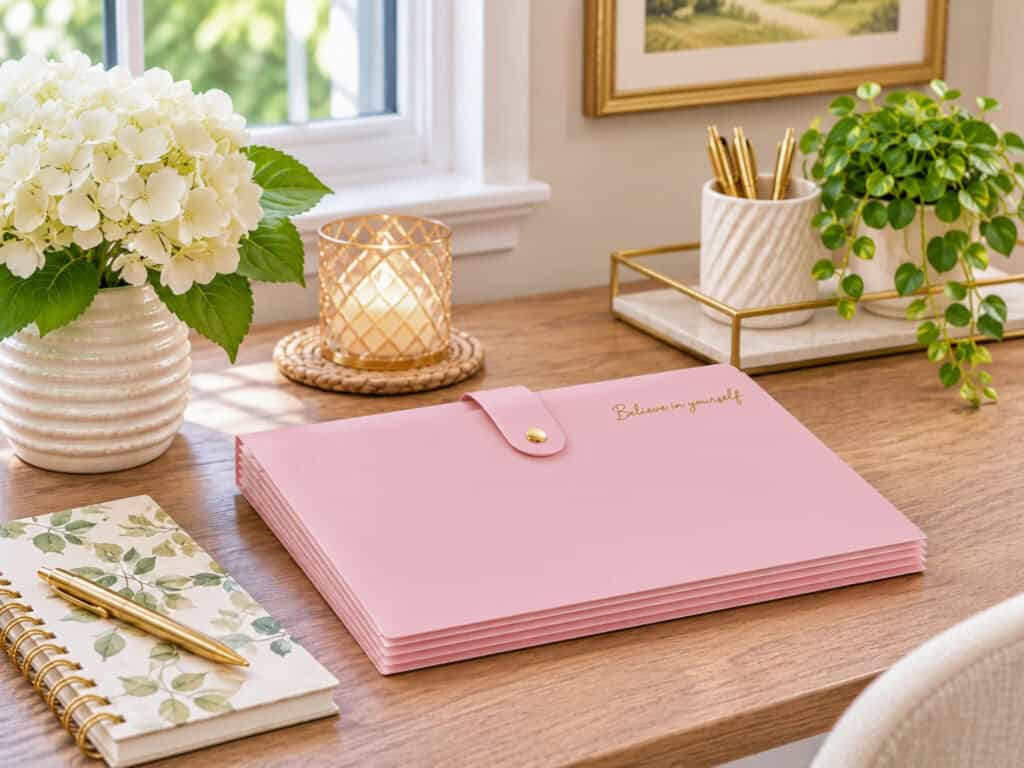
9. Create Simple Files for Active Projects
Papers connected to a project are easier to find when you keep them together.
For example, you might need a folder for a home renovation, a current insurance claim, or paperwork for a property you’re managing.
Label folders with specific names rather than something vague like “Important Stuff.”
File folders with labels can help, but ordinary folders you already own will work.
Once a project is complete, decide which papers must be kept, which can be digitized, and which can be securely discarded.
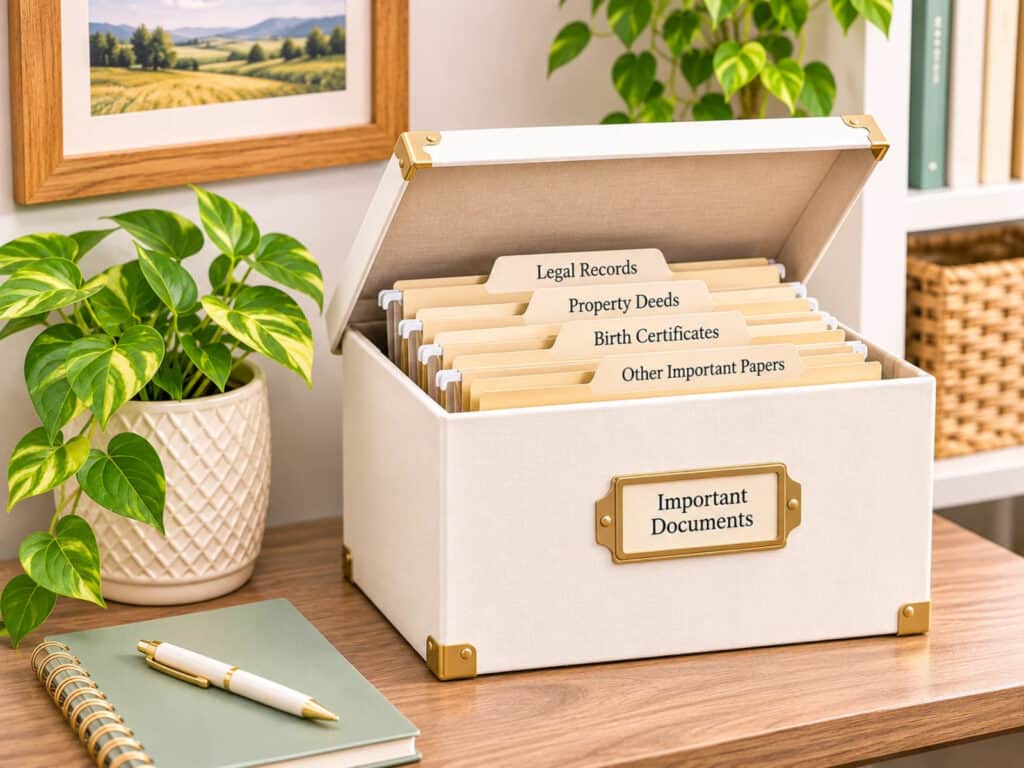
10. Store Important Documents Separately From Everyday Paperwork
Some documents need long-term storage rather than daily access.
Birth certificates, property deeds, legal records, and other important documents should have a secure, predictable location.
Don’t mix them with grocery coupons, old notes, or paperwork you haven’t sorted. You can use a dedicated file box, secure cabinet, or another storage method appropriate for the documents.
If you’re unsure which papers to keep or how to arrange them, my guide to organizing important documents at home explains the process in more detail.
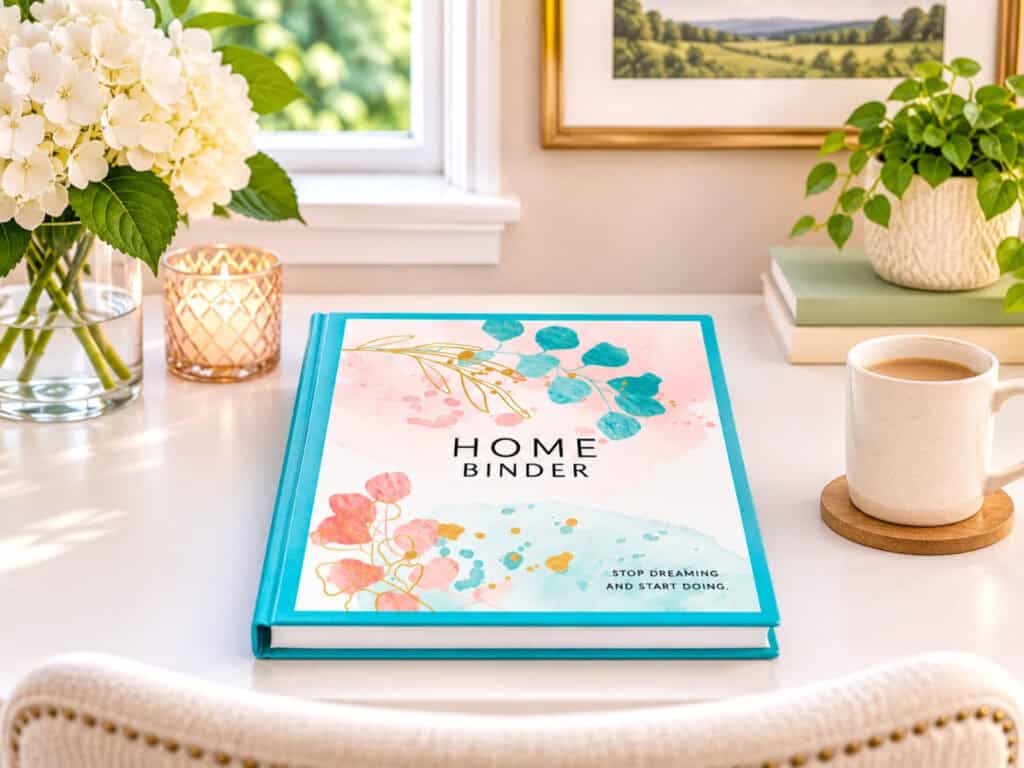
11. Use a Home Binder for Information You Refer to Often
Not everything needs to be filed away. Some information is useful to have together where you can find it quickly.
A home binder can hold household schedules, emergency contacts, planning pages, and other reference information you regularly use.
I keep a Home Binder with printables for managing different parts of my home and daily life.
If you use a binder, choose sections based on what you actually need. You don’t have to fill it with pages you’ll never look at.
And keep highly sensitive original documents in more secure storage rather than leaving them in an everyday binder on your desk.
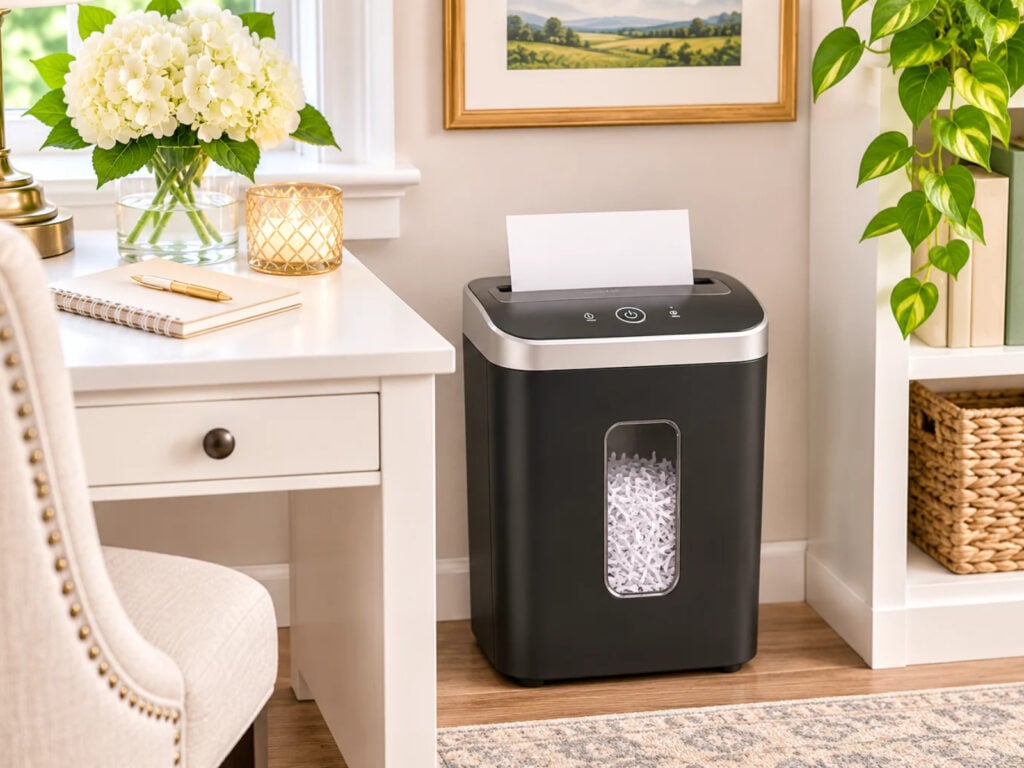
12. Make It Easy to Shred Papers You No Longer Need
Sensitive paperwork shouldn’t sit in a growing pile just because you haven’t decided how to dispose of it.
Keep a small collection folder or container for documents that are ready to be shredded.
Before discarding financial, tax, legal, or other records, make sure you no longer need to retain them.
A paper shredder can be convenient if you handle confidential paperwork regularly. If you only have a small amount, a local community shredding event may be sufficient.
The important part is having a plan so private information doesn’t end up in the regular trash.
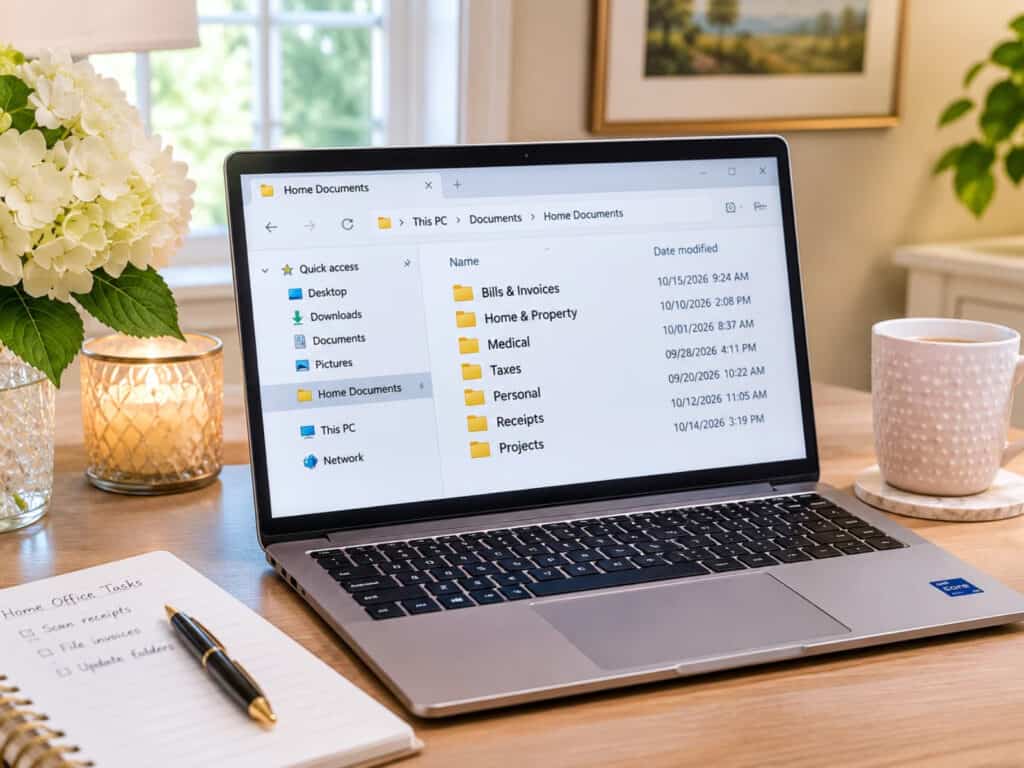
13. Keep Digital Files Organized, Too
Moving paperwork onto your computer can save physical space, but only if you can find the files afterward.
Choose one main location for your digital documents, then create a few useful folders based on your work or household responsibilities.
Use file names that tell you what you’re opening. For example, “2026-October-Invoice” is much easier to recognize than “Scan0047.”
For my rental business, I’ve used Stessa to help manage receipts, expenses, and bookkeeping tasks. Other documents can be organized in an appropriate cloud storage service or on your computer with a reliable backup.
If your computer has become just as cluttered as your desk, my Digital Declutter Checklist can help you work through your files, email, and other digital clutter.
Make Better Use of Shelves and Vertical Storage
When floor space is limited, the walls and shelves around your desk can make a big difference.
But more storage isn’t always the answer. The goal is to get things off your working surface while keeping them easy to find and put away.
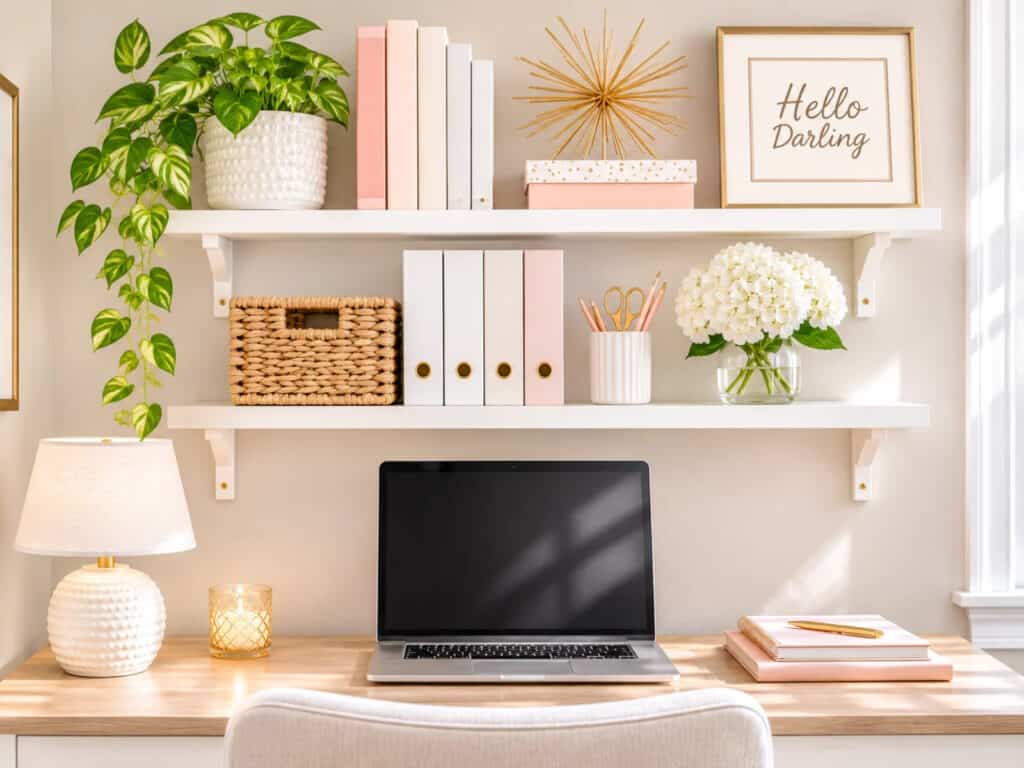
14. Add Shelves for Things That Don’t Need Desk Space
Wall-mounted shelves can hold books, reference materials, and supplies that don’t need to sit directly on your desk.
Before installing anything, decide what you plan to store there.
A shallow shelf might be plenty for a few books or small containers. Heavy equipment or large storage boxes may need more substantial shelving.
Keep frequently used items at a comfortable height, and reserve harder-to-reach shelves for things you don’t need often.
You can find more ways to use existing wall space in my article about maximizing vertical storage.
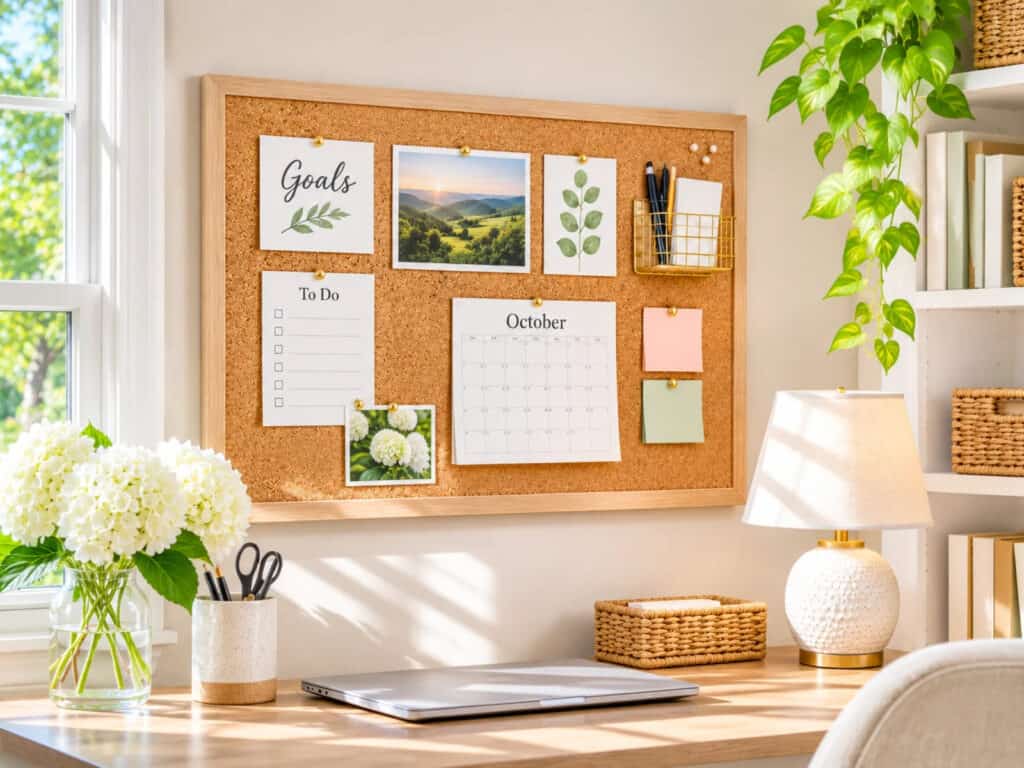
15. Choose a Corkboard or Pegboard Based on What You Need to Store
A corkboard works well for information you need to see, such as a current schedule, project deadlines, or reminders.
A pegboard organizer is better suited to supplies such as scissors, small tools, and craft materials.
Choose the one that solves your actual storage problem.
And don’t fill a corkboard with reminders you stopped noticing months ago. Remove outdated papers whenever you add something new.
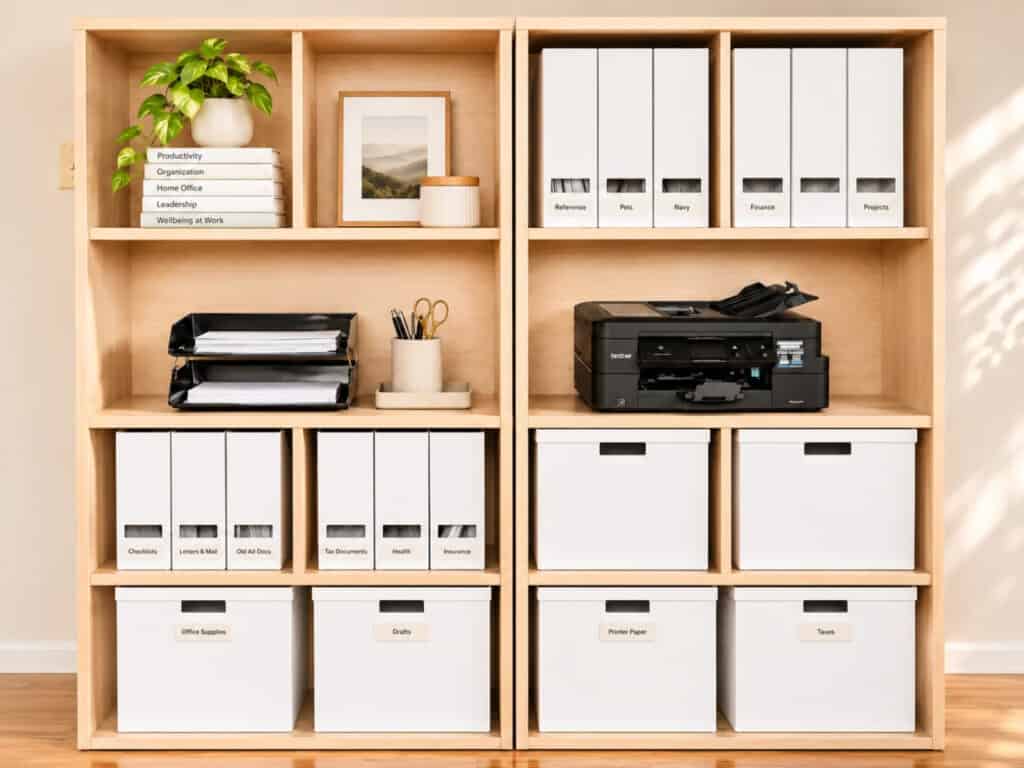
16. Use Cube Shelves With Boxes for Less-Used Supplies
In my home office, I’ve used IKEA KALLAX cube shelving with TJENA storage boxes to organize paperwork and other supplies.
I like having the boxes labeled so I can find what I need without opening every container.
Closed boxes also help keep the shelves looking less cluttered, especially when you’re storing supplies that don’t need to be on display.
The important part is deciding what belongs in each box.
For example, you might have one for printer supplies, another for office equipment, and a separate box for completed project records.
Avoid creating a box labeled “Miscellaneous” unless you want to spend time searching through it later.
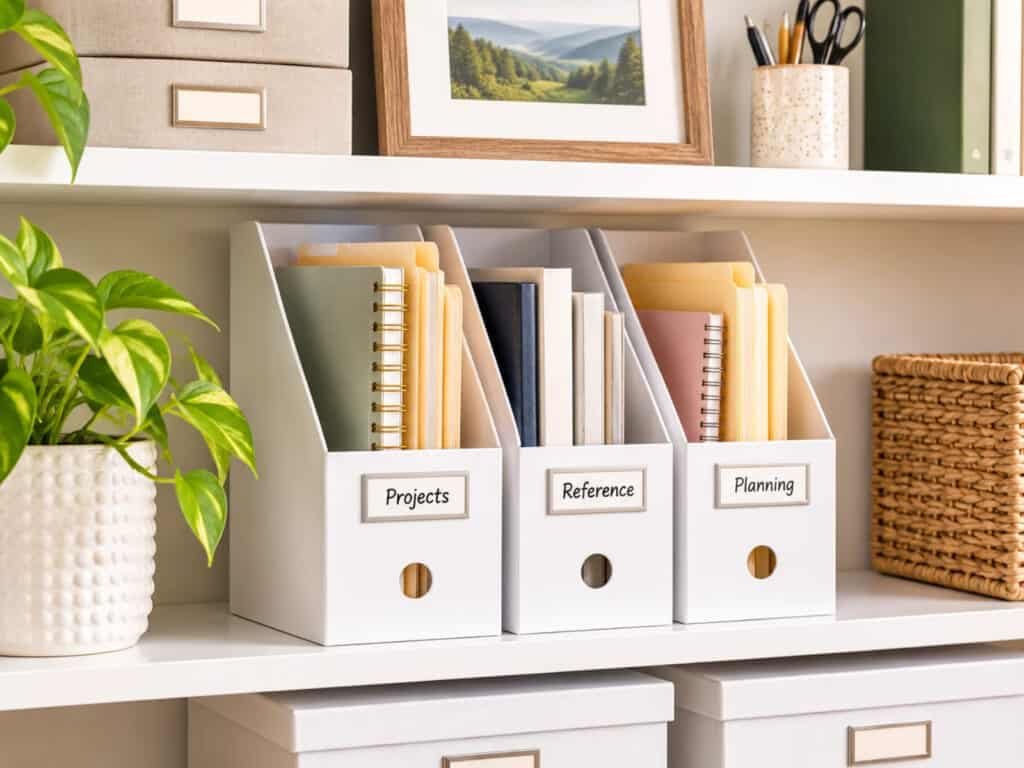
17. Keep Frequently Used Folders Upright
Papers you refer to regularly can be awkward to store in a stack. A magazine holder can keep active folders or notebooks upright on a shelf where you can see their labels.
This works especially well for current projects or reference materials you reach for several times a week.
You don’t need one for every category. Start with the papers that are constantly being moved around your desk.
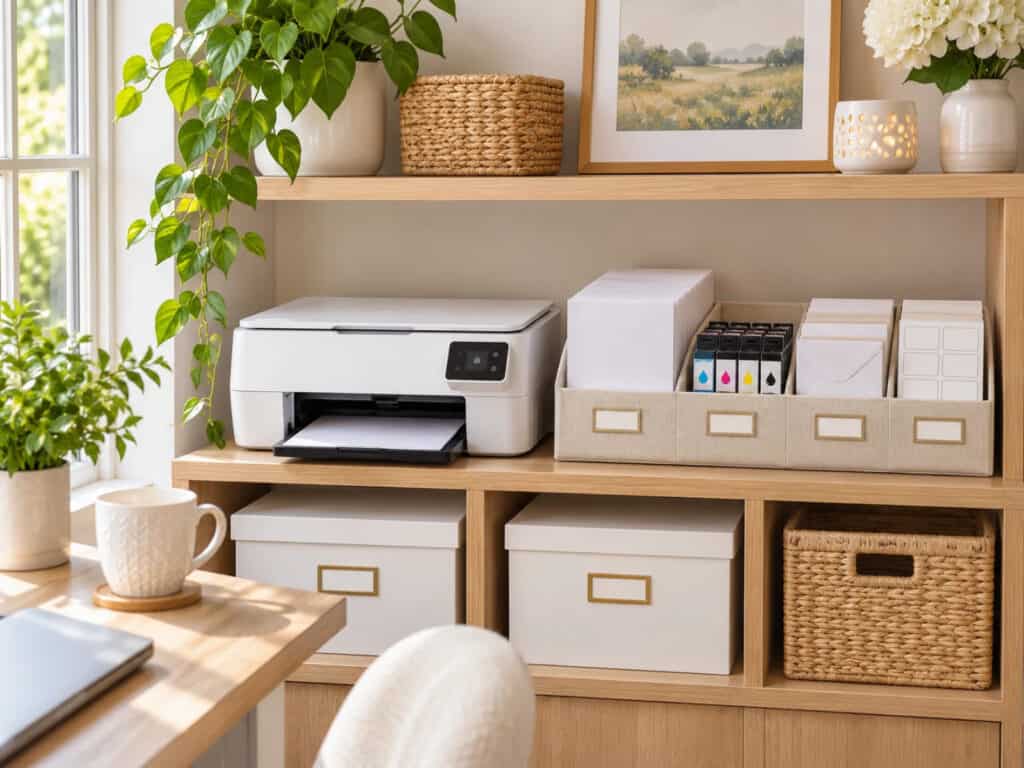
18. Store Printer Supplies Near the Printer
If you have a printer, keep its frequently used supplies nearby.
Printer paper, spare ink, envelopes, and labels can share a shelf, drawer, or container, provided there’s enough room for the equipment to operate safely.
This saves you from searching several places every time you need to print something.
If you rarely print, there’s no need to create an elaborate printing station. A single labeled box in a nearby cabinet might be enough.
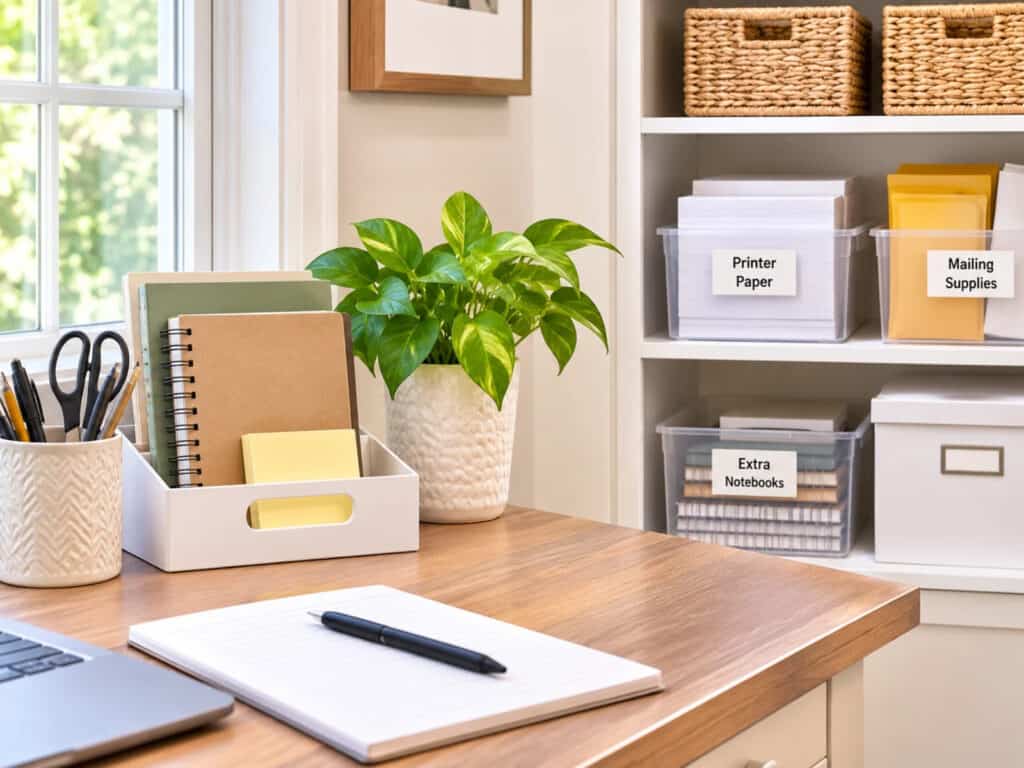
19. Move Extra Supplies Out of Your Everyday Work Area
You might need spare notebooks, printer paper, and mailing supplies, but you probably don’t need all of them within arm’s reach.
Keep a reasonable amount near your desk and put the extras in one designated storage area. Before you buy more supplies, check what you already have.
It’s surprisingly easy to accumulate duplicate notebooks, pens, tape, and other office materials simply because you can’t remember where the last ones went.
Get Cords and Electronics Under Control
Computer accessories can make a workspace feel cluttered even when everything else is organized. A few small changes can make it easier to use your equipment without cords taking over the desk.
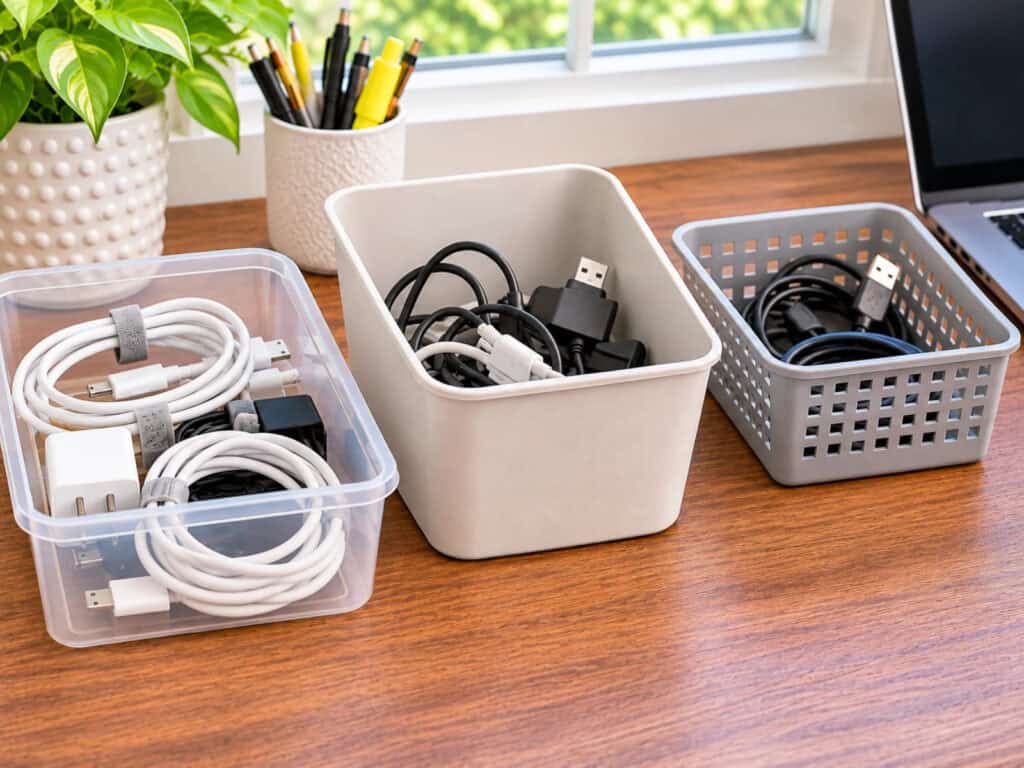
20. Remove Cords and Chargers You No Longer Use
Before buying cable organizers, unplug everything you don’t currently need.
Sort through extra charging cords, outdated device accessories, and cables you’re keeping without knowing what they belong to.
Keep the cords for equipment you still own and use. Recycle unwanted electronics and accessories appropriately.
Then look at what’s left and decide where each connection needs to go.
21. Keep Cables Together Without Hiding Problems
A cable sleeve or a few cord clips can keep computer cables from spreading across the back of your desk.
If several cords look alike, label their ends so you know which device each belongs to.
Keep cables away from moving chair parts and places where someone could trip over them. Don’t run extension cords under rugs or overload power strips.
Cable management should make equipment easier and safer to use, not simply hide a problem.
22. Give Frequently Charged Devices One Location
If your phone, tablet, headphones, and other devices are regularly left around the office, choose one place for charging.
That might be a corner of your desk, a nearby shelf, or a small charging station.
Before buying a docking station or multi-device charger, check whether your devices are compatible and whether you actually need it.
For some people, a single charger and a dedicated spot for their phone are enough.
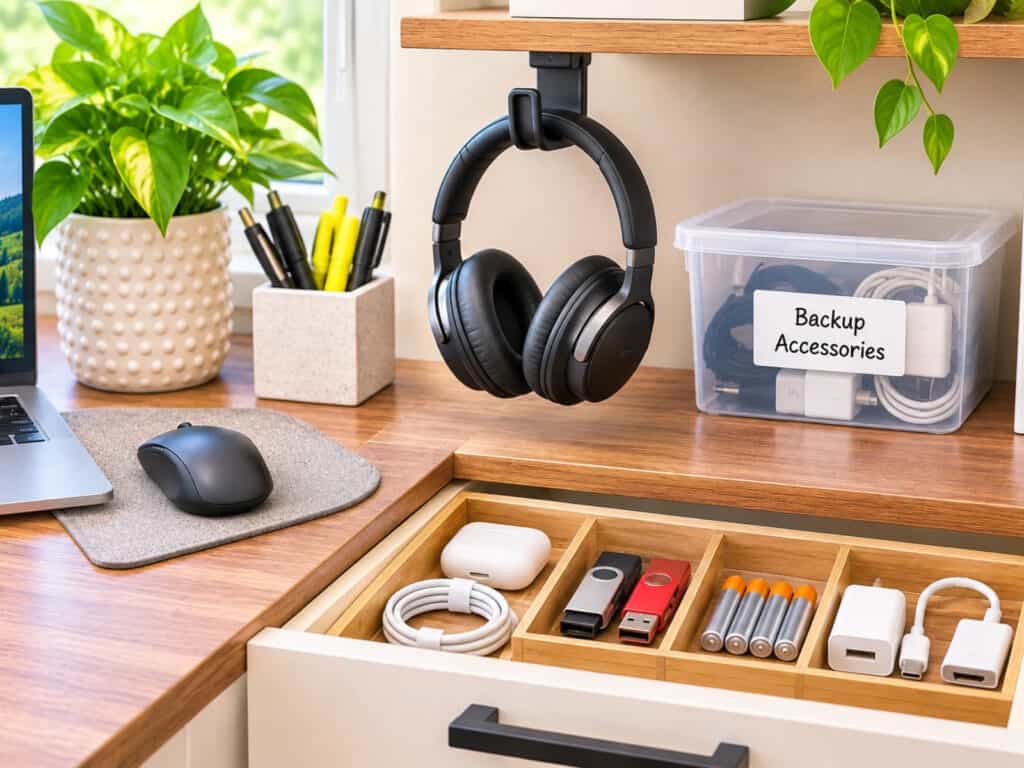
23. Store Headphones and Small Tech Accessories Together
Headphones, flash drives, adapters, and spare mouse batteries tend to disappear into drawers. Give the ones you regularly use an easy-to-reach home.
A small drawer section works well for accessories. Headphones can go on a hook, a shelf, or a stand if you use them frequently.
Keep seldom-used adapters and backup accessories in a labeled container so they aren’t mixed in with everyday supplies.
Home Office Organization Ideas for Small or Shared Spaces
You don’t need a separate room to have an organized home office.
A desk in the bedroom, a corner of the living room, or a shared household workspace can function well when your supplies have somewhere to go.
24. Create a Portable Office Kit
If you work at the dining table or another shared surface, keep your essentials in one portable container.
A small basket, tote, or handled caddy can hold your notebook, pens, charger, and other items you need when working.
When you’re finished, everything goes back into the container.
Store it on a nearby shelf or in a cupboard rather than leaving your work spread across a space someone else needs.
This is often more practical than trying to create permanent desk storage where there isn’t room for it.
25. Use a Rolling Cart When Supplies Need to Move
A rolling storage cart can be useful when your workspace doesn’t have drawers or when you regularly move supplies between areas.
For example, someone who handles household paperwork and craft projects at the same table might keep the supplies in separate sections of a cart.
But measure the space before buying one.
A cart that blocks a walkway or constantly needs to be moved out of the way can create more frustration than it solves.
26. Choose Furniture That Solves a Real Storage Problem
If you’re replacing your desk, think about what your current setup is missing.
Would drawers help keep office supplies out of sight? Do you need a wider working surface? Is the desk too deep for the room?
A desk with built-in storage may be useful when space is limited.
But don’t replace perfectly good furniture simply because you want a more organized office.
Sometimes removing unused supplies and rearranging one nearby shelf solves the problem without spending anything.
Make Your Home Office Comfortable and Easy to Maintain
Once the clutter has a place to go, a few finishing touches can make the office more pleasant to use. The important thing is keeping those finishing touches from becoming more clutter.

27. Improve Lighting Without Filling Every Surface
Good lighting makes a workspace easier to use, especially when you’re reading paperwork or working in the evening.
Try positioning your desk to take advantage of natural light without creating uncomfortable glare on your screen.
If you need more light, an adjustable desk lamp may be more useful than adding several decorative lamps.
I also like having personal touches in an office, such as meaningful artwork or photographs.
Choose a few things you enjoy seeing rather than covering every shelf and desktop surface with decorations.
28. Finish Your Workday With a Short Desk Reset
A home office is much easier to keep organized when you don’t have to start over every Monday.
Before leaving your workspace, return supplies to their places, put loose papers into the right folder or tray, and clear the surface you’ll need next time.
This doesn’t have to be a major cleaning session.
If your desk continually gets messy despite regular resets, pay attention to what keeps accumulating.
Maybe the paper tray is too far away. Maybe you need somewhere to put a notebook you’re using throughout the day. Or perhaps the drawer is so full that putting things back has become inconvenient.
Fix the problem that keeps creating the clutter instead of relying on another big cleanup.
You Don’t Need Every Home Office Organization Idea
An organized home office isn’t about filling the room with matching storage containers or buying every accessory that promises to make you more productive.
It’s about making ordinary tasks easier.
Start with the problem you notice most often. Clear your working surface, give incoming paperwork a dependable place to go, or move supplies you rarely use out of your everyday work area.
Then see whether that change makes the space easier to use before adding anything else.

Want a simple way to get started? Download my free Home Office Organization Checklist and work through the tasks that apply to your space. You can make noticeable improvements without reorganizing the entire room in one day.
I have a picture frame with metal backing that I use to hang notes, reminders, and special mementos.
That’s a fantastic idea! Using a picture frame with metal backing is both practical and stylish. It’s a great way to keep important notes and reminders visible while also adding a personal touch to your workspace with photos or mementos. Thanks for sharing your tip!