
How to Host a Successful Clothing Swap (And Finally Clear Your Closet)
Are you staring at a closet bursting with clothes but still feeling like you have nothing to wear? Most of us have clothes hanging unworn – impulse purchases, gifts that weren’t quite right, or “someday” pieces that never found their moment.
The Barriers: Why We Keep Clothes We Don’t Wear
The guilt of getting rid of barely worn items holds us back. The thought of wasting money makes us keep things we don’t love. And sometimes, the effort of figuring out what to do with all those clothes feels overwhelming.
The Solution: Host a Clothing Swap
Transform decluttering from a solitary chore into a social event. Give your gently-used clothes a second life with friends while refreshing your own wardrobe – all without spending a dime. It’s an environmentally friendly way to clear your closet while having fun.
Ready to learn how to host your own successful clothing swap? Let’s dive into the details.
Before the Swap: Preparation
Clean Out Your Closet
Start by sorting through your own clothes. Pull out anything that: hasn’t been worn in the past year, doesn’t fit quite right, or no longer matches your style. Focus on items in good condition that someone else would love to wear. Keep a basket handy as you sort, and be honest with yourself – if you haven’t reached for it recently, it’s probably time to let it go.
Need help deciding what to keep or swap? Check out my detailed guide, “8 Genius Ways to Declutter Clothes Without Regret,” for step-by-step instructions on clearing your closet effectively.
Pick the Perfect Time and Place

Choose a date about 2-3 weeks out, giving guests enough time to declutter their own closets. Weekends usually work best. For location, you’ll need:
- A space large enough to lay out all the clothes
- Good lighting (natural light is best for seeing true colors)
- At least one full-length mirror
- There should be enough room for people to move around comfortably. Your home, a community center, or rented space can work.
Create Your Guest List
The ideal size is 8-12 people – enough for variety but not so many that it becomes chaotic. Consider inviting friends who:
- Wear similar size ranges
- Have complementary styles
- Will actively participate and bring quality items
Send Clear Invitations
Send a brief initial invitation to gauge interest, then follow up with detailed guidelines once people RSVP:
Initial Invitation
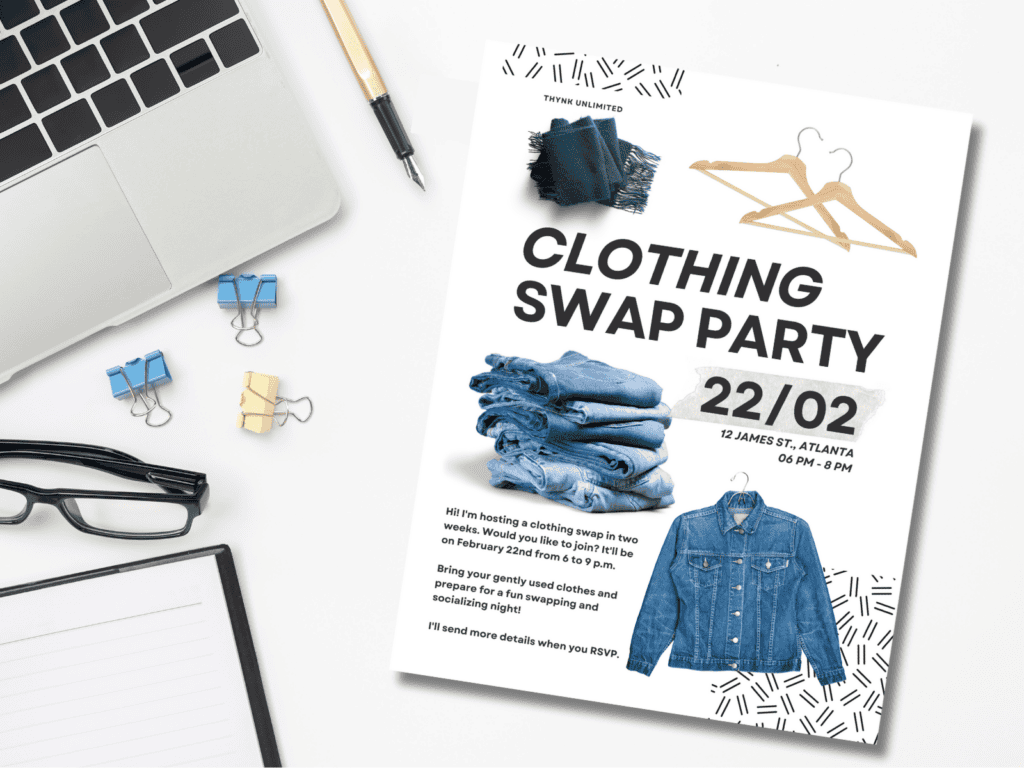
“Hi! I’m hosting a clothing swap in two weeks. Want to join? It’ll be [Day], [Date] from 6-9 PM. Bring your gently used clothes and prepare for a fun swapping and socializing night! I’ll send more details when you RSVP.”
After RSVP – Send Detailed Guidelines
What to Bring:
- Types of clothing (casual wear, work clothes, seasonal items)
- Number of items (suggest 10-15 pieces per person)
- Whether accessories and shoes are included
- Clean, gently used items only
Condition Requirements:
- All items are freshly washed and dried
- No stains, tears, or missing buttons
- Working zippers and fasteners
- Items should be something you’d gift to a friend
Day of Event – Send Final Reminder
“Looking forward to seeing you tonight at [time] for the clothing swap! Don’t forget to:
- Bring your pre-washed clothes
- [Address and any parking instructions]
- Text me if you need anything: [your number]”
Use platforms like Paperless Post, Partiful, or Mixily to manage RSVPs and share these guidelines professionally.
Gather Your Supplies

Essential items to have ready:
- Name tags and Sharpie markers ($8-10)
- Hangers (plan for 10 per person, $15-20 for 100)
- Full-length mirrors ($15-20 each)
- Privacy screen or designated changing area ($20-30, or use sheets/curtains from home)
Refreshments ($30-40 total)
- Water bottles
- Wine (optional)
- Light snacks
Basic supplies ($10 total)
- Napkins or paper towels
- Trash bags for donation collection
- Signs and labels for organizing clothes
- Optional: Portable clothing racks ($25-35 each)
Total Essential Costs: $65-80. Total with Optional Items: $130-175
Note: To reduce costs, many items can be borrowed from friends or reused for future swaps. Consider asking guests to bring extra hangers or portable racks if they have them.
Plan Your Organization System

Decide how you’ll display and sort clothes at the swap:
Display options:
- Portable clothing racks (ideal for dresses and tops)
- Tables for folded items and accessories
- Both work well for different types of clothing
Sort clothing by:
- Size (XS to XL)
- Type (tops, pants, dresses)
- Season or Occasion
During the Swap: Hosting Tips

Setting Up Your Space
Arrange your space for easy browsing and trying on:
- Create clear sections based on your organization system
- Set up a designated try-on area with mirrors
- Keep pathways clear for movement
- Have bags or boxes ready for people to collect their “new” items
- Set up a refreshment area away from the clothes
Creating the Right Atmosphere
Make it a fun social event:
- Play upbeat background music
- Serve light refreshments and drinks (away from the clothes)
- Encourage people to give style advice to each other
- Take photos of people’s “before” and “after” picks
- Keep the energy positive and supportive
Organizing the Clothes
As guests arrive, help them:
- Find the right section for their items
- Hang or fold clothes appropriately
- Use the signs you prepared to keep things organized
- Keep accessories and shoes in their designated area
Check-In Process & Fairness System
As guests arrive:
- Count and record how many items each person brings
- Give each person 3-5 tokens for the first 30 minutes of shopping (This creates a fair start for everyone and prevents one person from immediately grabbing all the best pieces.)
- Especially helpful if some guests bring fewer items or none at all
- Keep a notebook to track items brought
- After the 30-minute token period ends, open shopping begins. At this point, tokens are no longer needed, but guests should remember their initial item count – they can take home the same number of items they contributed.
Event Timeline
6:00 PM – Welcome & Setup
- Greet guests with name tags
- Help sort and hang clothes
- Set up refreshment area
6:30 PM – Official Start
- Welcome speech and explain swap rules
- Quick icebreaker (share your name, what you do, and one item you hope to find)
- Begin token shopping period:
- Each person can claim 3-5 items with their tokens
- This ensures everyone gets a chance at special pieces
7:00 PM – Open Shopping
- Switch from the token system to open browsing
- Encourage trying on items
7:30 PM – Mid-Event
- Group photo
- Second icebreaker (share your favorite find so far)
- Continue open browsing
8:45 PM – Wrap-Up
- Final call for trying on clothes
- Begin organizing donations
- Thank everyone for coming
9:00 PM – Event End
- Pack donation bags
- Clean up space
After the Swap: Handling Leftover Items

Have a Donation Plan Ready
Don’t let leftover clothes end up back in closets. Plan ahead:
- Keep boxes or bags ready for donations
- Load donations directly into your car if possible
- Sort items by the requirements of your chosen charity
- Take photos of donation-ready items for tax purposes
Where to Donate
Consider these options for leftover clothes:
- Local women’s shelters (especially for work clothes)
- Dress for Success for professional wear
- Local thrift stores that support charities
- Buy-nothing groups in your community
- Consignment shops for higher-end pieces
Transport Tips
Make donation drop-off easy:
- Pack clothes in sturdy boxes or bags
- Keep dress clothes on hangers and covered
- Label boxes by type or size if required
- Check donation hours in advance
Tips for Success
Common Pitfalls to Avoid
Set a firm “no pre-shopping” rule
Make it clear that no one can set aside or claim items while setting up. Everyone should start browsing at the same time to keep things fair. This prevents the frustration of guests arriving to find the best items already claimed.
Track items carefully at check-in
Count each person’s contributions when they arrive and give them a matching number (if someone brings 10 items, they can take 10 items home). Skipping this step can lead to confusion and hurt feelings if some people take more than they brought. A simple checklist with names and numbers keeps everything fair.
Set and stick to a time limit
Plan for the swap to last 2-3 hours maximum. Longer events tend to lose energy and momentum. A clear end time helps people stay focused on making decisions and keeps the event running smoothly.
Making It a Regular Event
Turn your swap into a tradition:
- Schedule swaps seasonally (4 times a year)
- Rotate hosting duties among friends
- Keep a contact list of interested participants
- Build on what works and adjust what doesn’t
- Consider themed swaps (work wear, holiday outfits, accessories)